Darksiders Genesis Boss Guide: How to defeat them all
This guide to the boss fights in Darksiders Genesis shows you:
- Which bosses there are
- How to defeat them
- Which character you should use to defeat them
Darksiders Genesis changes the perspective, but the gameplay remains true to the series. This means that, as usual, you'll solve puzzles and face numerous bosses.
Each of the special enemies has certain strengths and weaknesses - you can find out exactly which ones here. We'll introduce you to all the bosses and show you how to defeat them. We will also tell you which rider is best to use.
Table of contents for the boss guide
- Boss: Abyss Devil
- Boss: Unruly Demon
- Boss: Legion Bolt Spitter
- Boss: Magma Dog
- Boss: The Dog Master
- Boss: Mammon
- Boss: Death Rider
- Boss: Corruption Cannon
- Boss: Belial
- Boss: Astarte
- Boss: Nephilim Avenger
- Boss: Grinser
- Boss: Beetle Queen
- Boss: Stormcaller
- Boss: Dagon
- Boss: Curse Chamber
- Boss: Juggernaut
1. Boss: Abyss Devil
- Level: 1st Dethroned
- Rider: Strife
Tactics: The Abyss Devil is the first boss and not a particularly difficult one. For one thing, he sits at the corner of the arena for the entire fight and doesn't move. For another, he is very large and provides a lot of surface area for attacks.
He mainly uses claw slashes and ranged attacks. For the latter, he shoots lava balls or triggers a deadly sonic wave with a stomp - just hop up here. Because you best counter the attacks from a distance and the boss is an easy target as mentioned, you should let Strife take precedence.
The first boss is an easy target.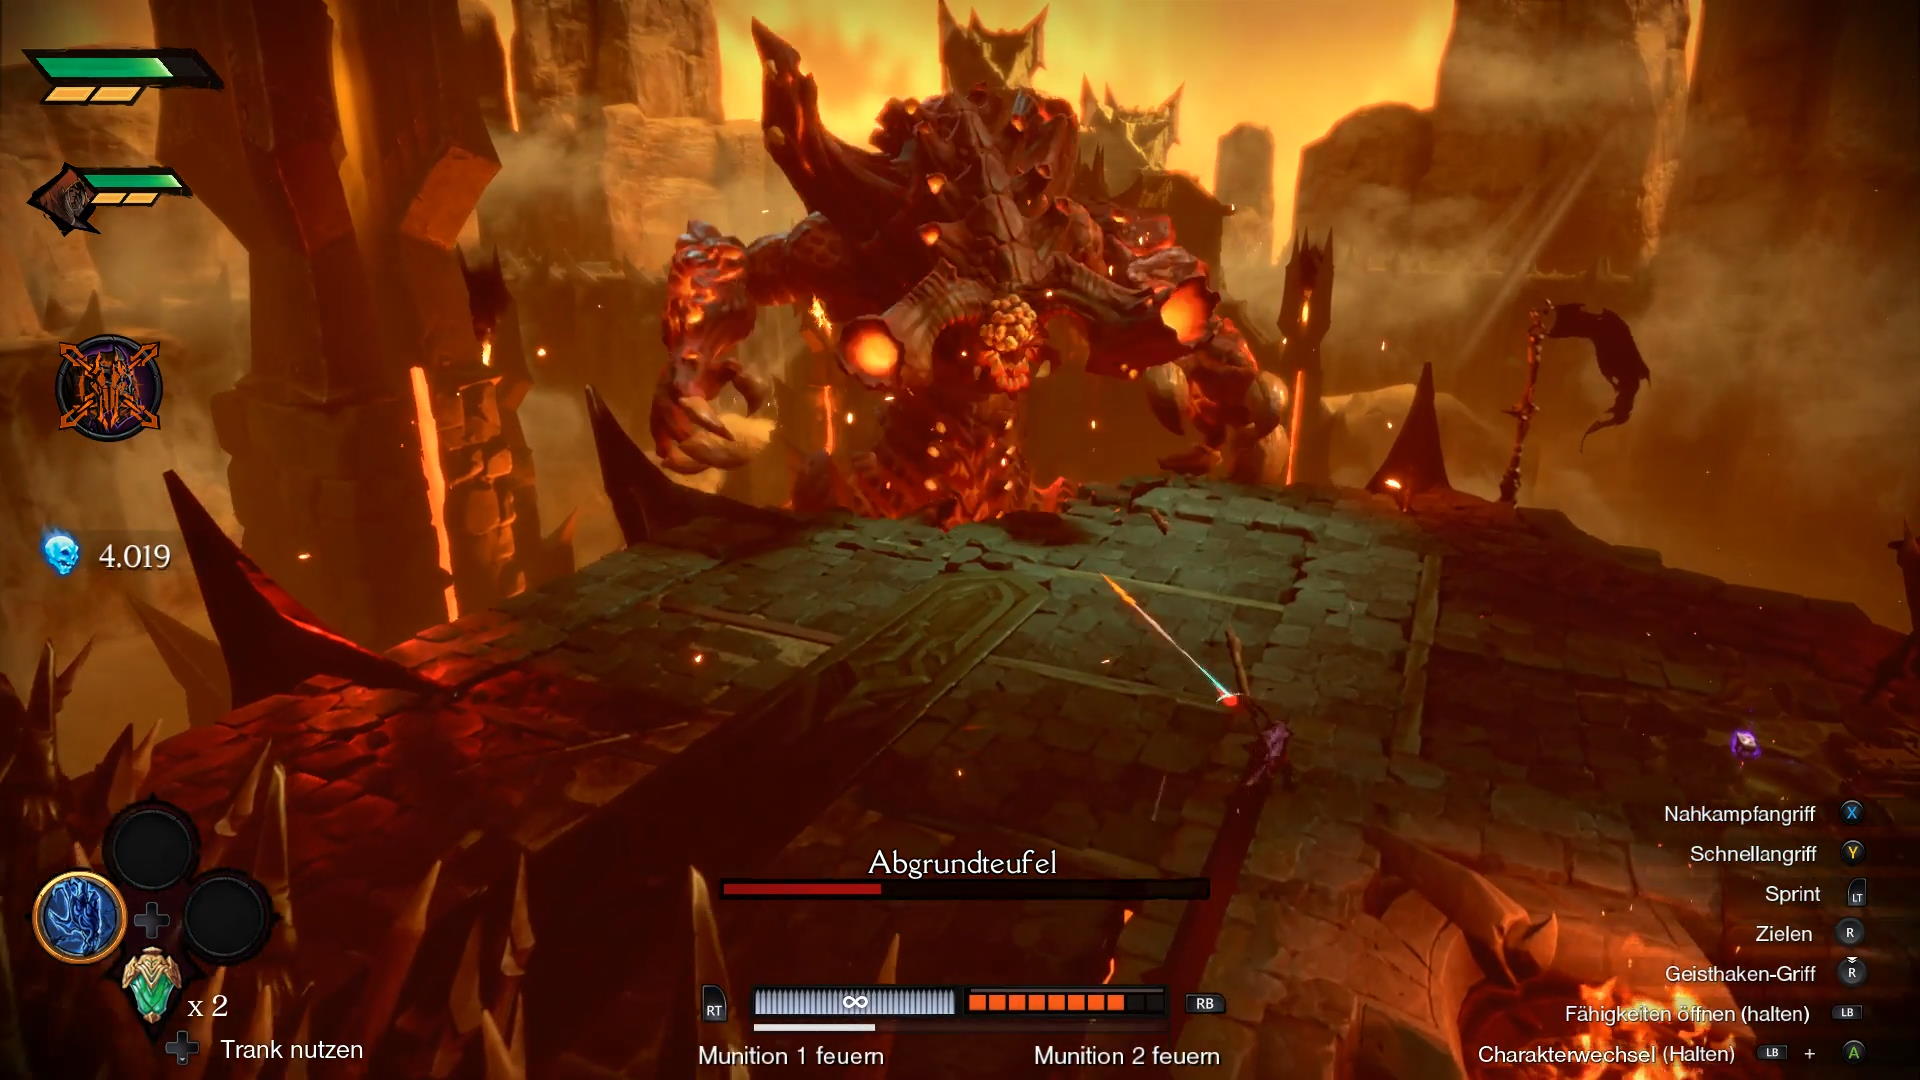
Because with this rider you can comfortably shoot at the devil from a corner, while he barely reaches you. Note, however, that at some point normal enemies will join the fight. Don't focus too much on them, because the demons will also disappear with the boss' demise.
2. Boss: Unruly Demon
- Level: 2nd Cinder Pit, 5th The Hoard
- Rider: Strife
You should be careful of the steamroller.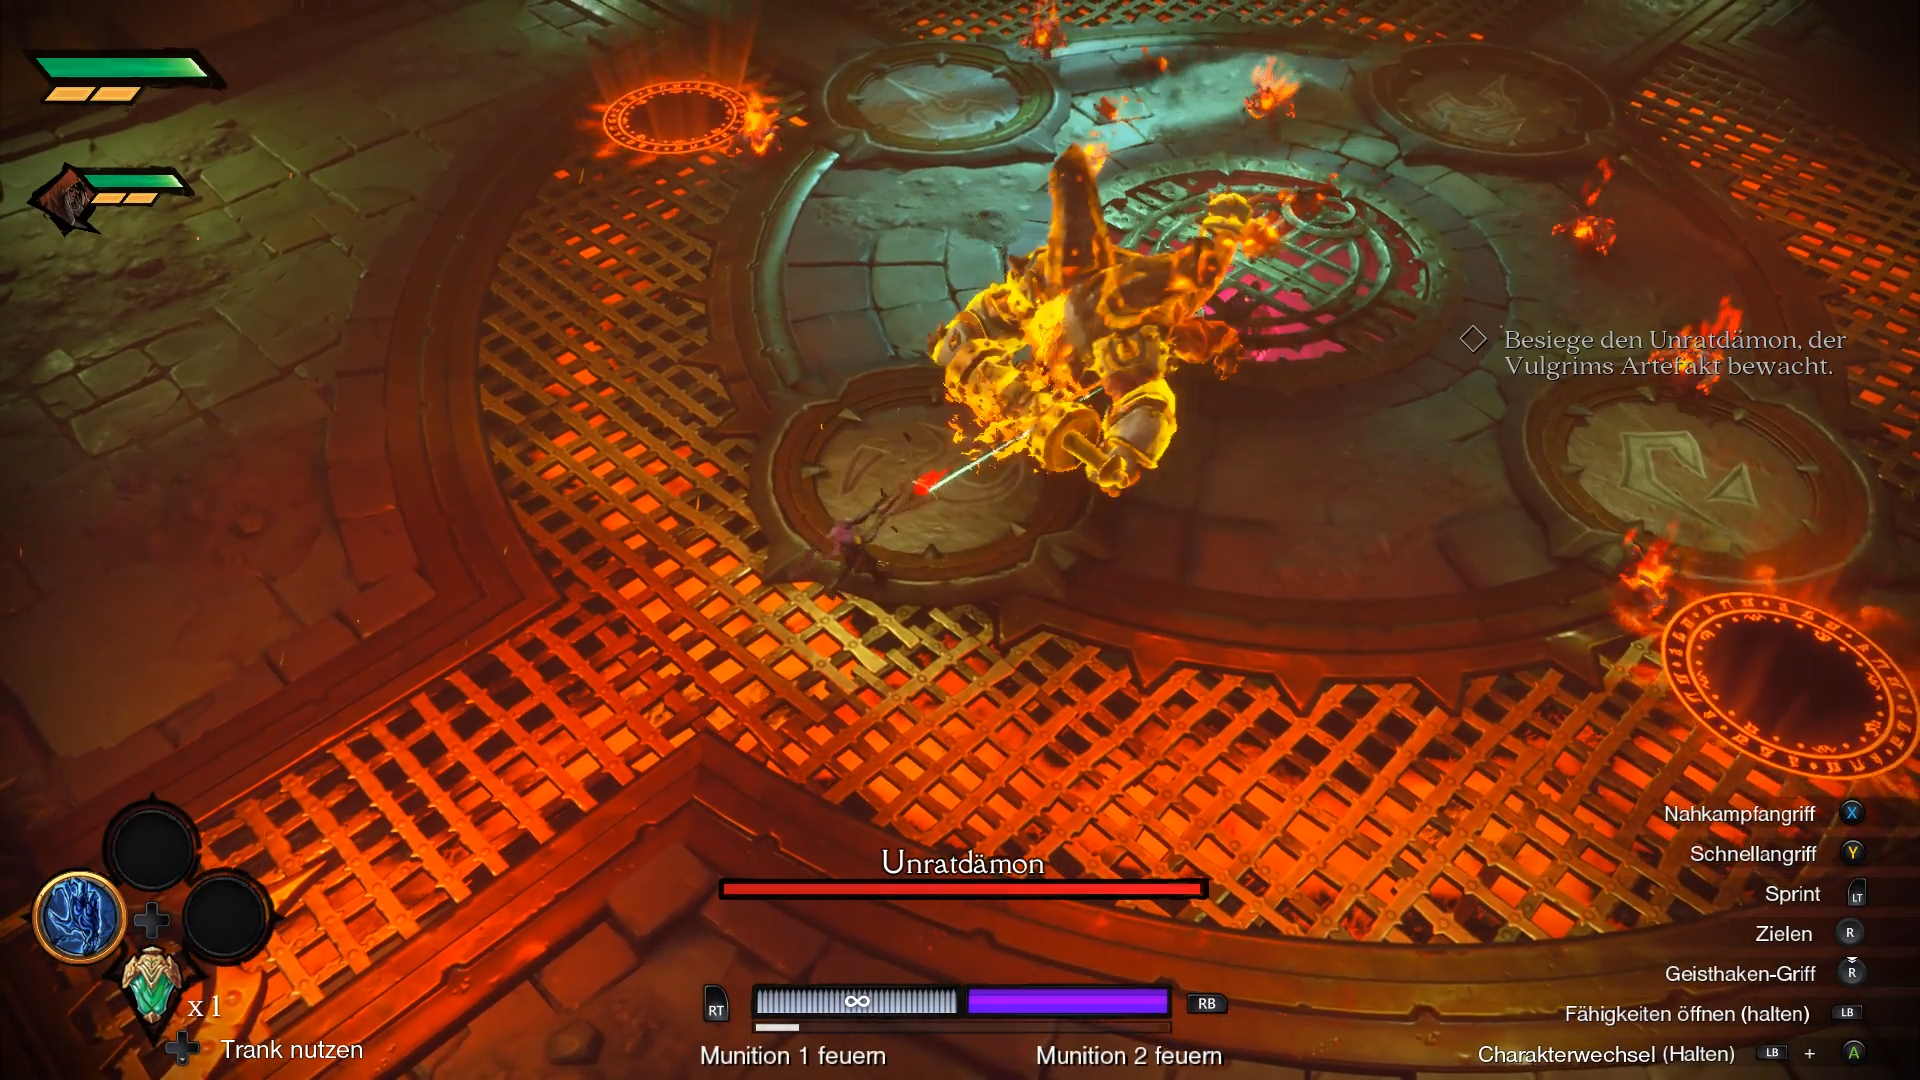
Tactics: This boss is much more agile and runs around the arena. He lashes out at you with a huge club that the filth demon uses like a rolling pin. Therefore, it is once again easier to keep your distance with Strife.
However, keep an eye on the normal enemies, as they can shoot at you with lava and drain your life bar very quickly. Otherwise, dodge sideways with the "rolling pin attack" and keep shooting at the boss.
3. Boss: Legion Bolt Spitter
- Level: 3rd Inferno Chamber, 5th The Hoard (2 times), 14th The Pit (2 times), 15th War Machine
- Rider: War
This is the boss you will encounter most often.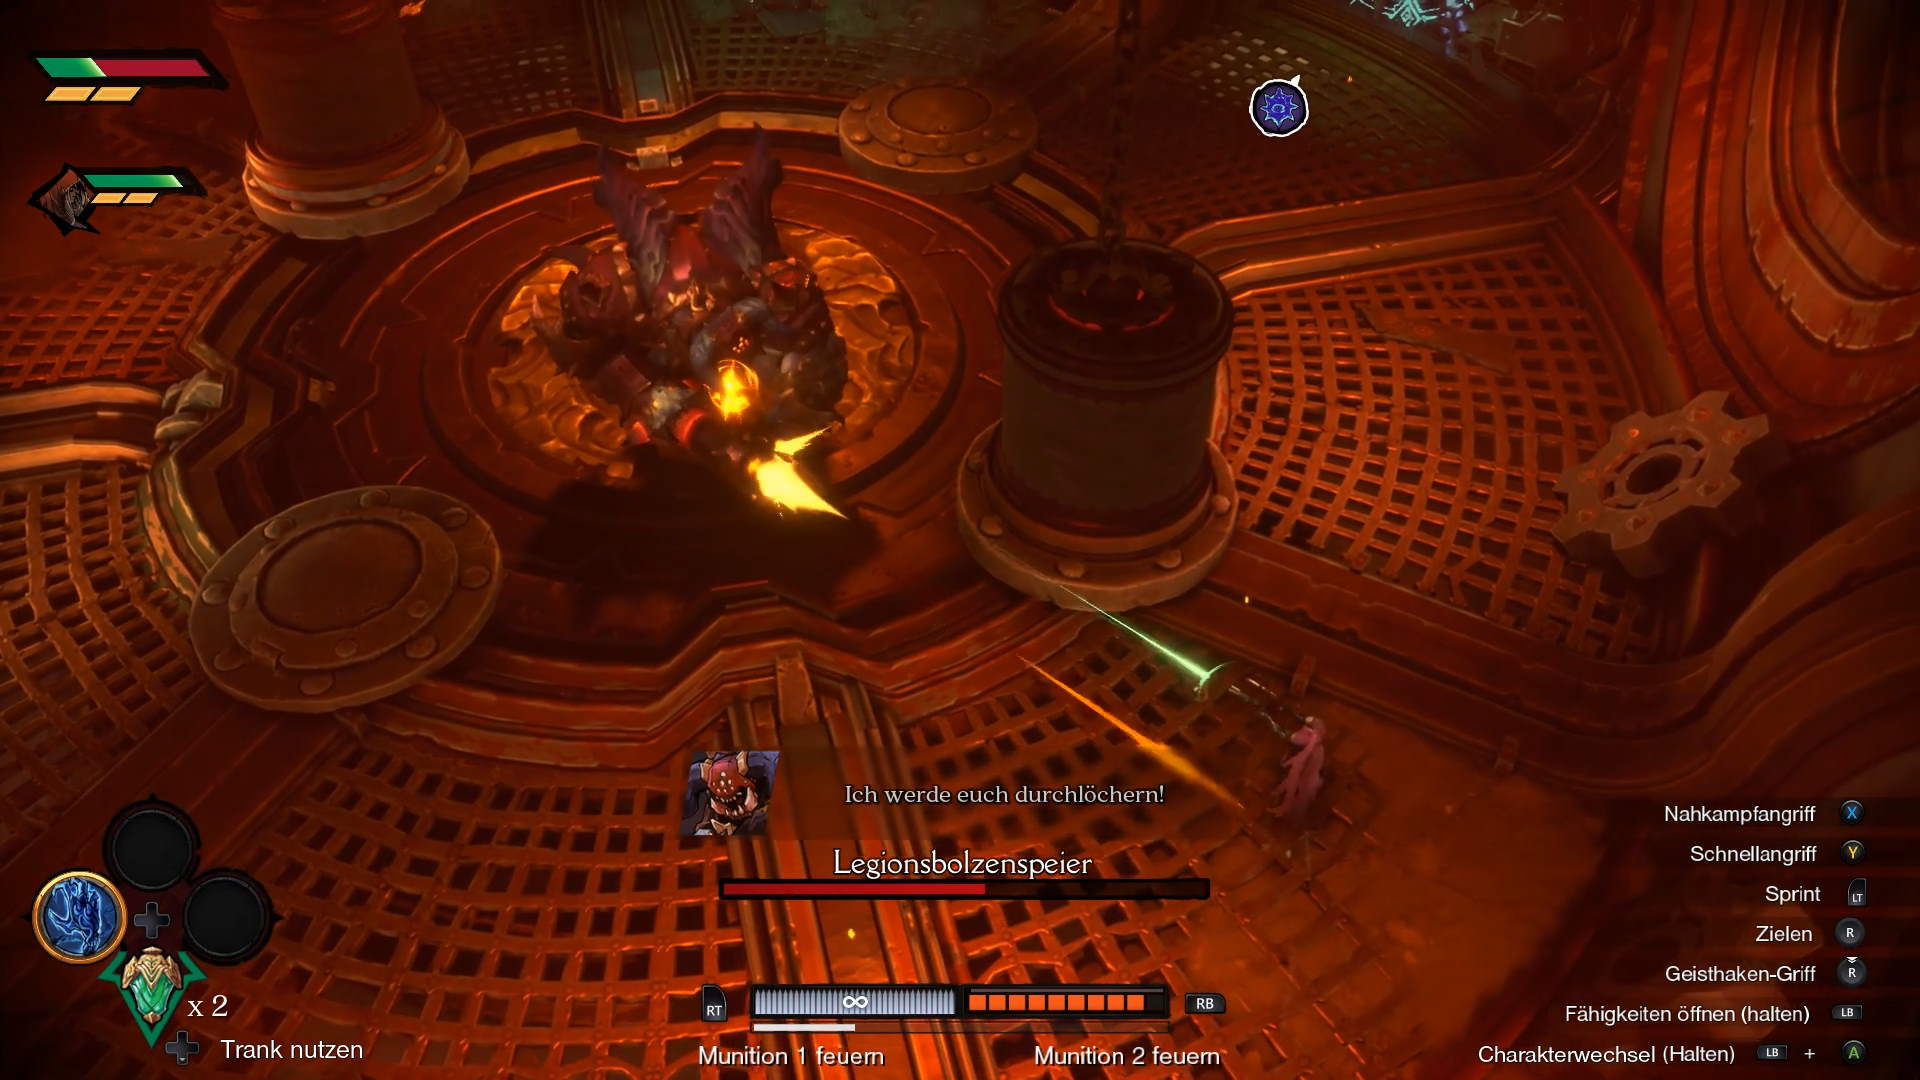
Tactics: The Legion Bolt Spitter has a machine gun as a weapon and will either shoot at you with it, or throw grenades in your direction. Although you can hide behind objects in level 3, the fast projectiles will catch you even if you only peek out from behind cover for a moment.
Therefore, it's best to go directly into close combat with War. Always try to be in the back of the boss and dodge every few attacks. Of course, the boss also hits with his fist from time to time. Nevertheless, the demon falls much faster with the sword than with the pistol. Also watch out for the smaller enemies as usual.
4. Boss: Magma Dog
- Level: 4th Ice Cave, 14th The Pit
- Rider: War, Strife
Watch out for the fiery breath of your opponent.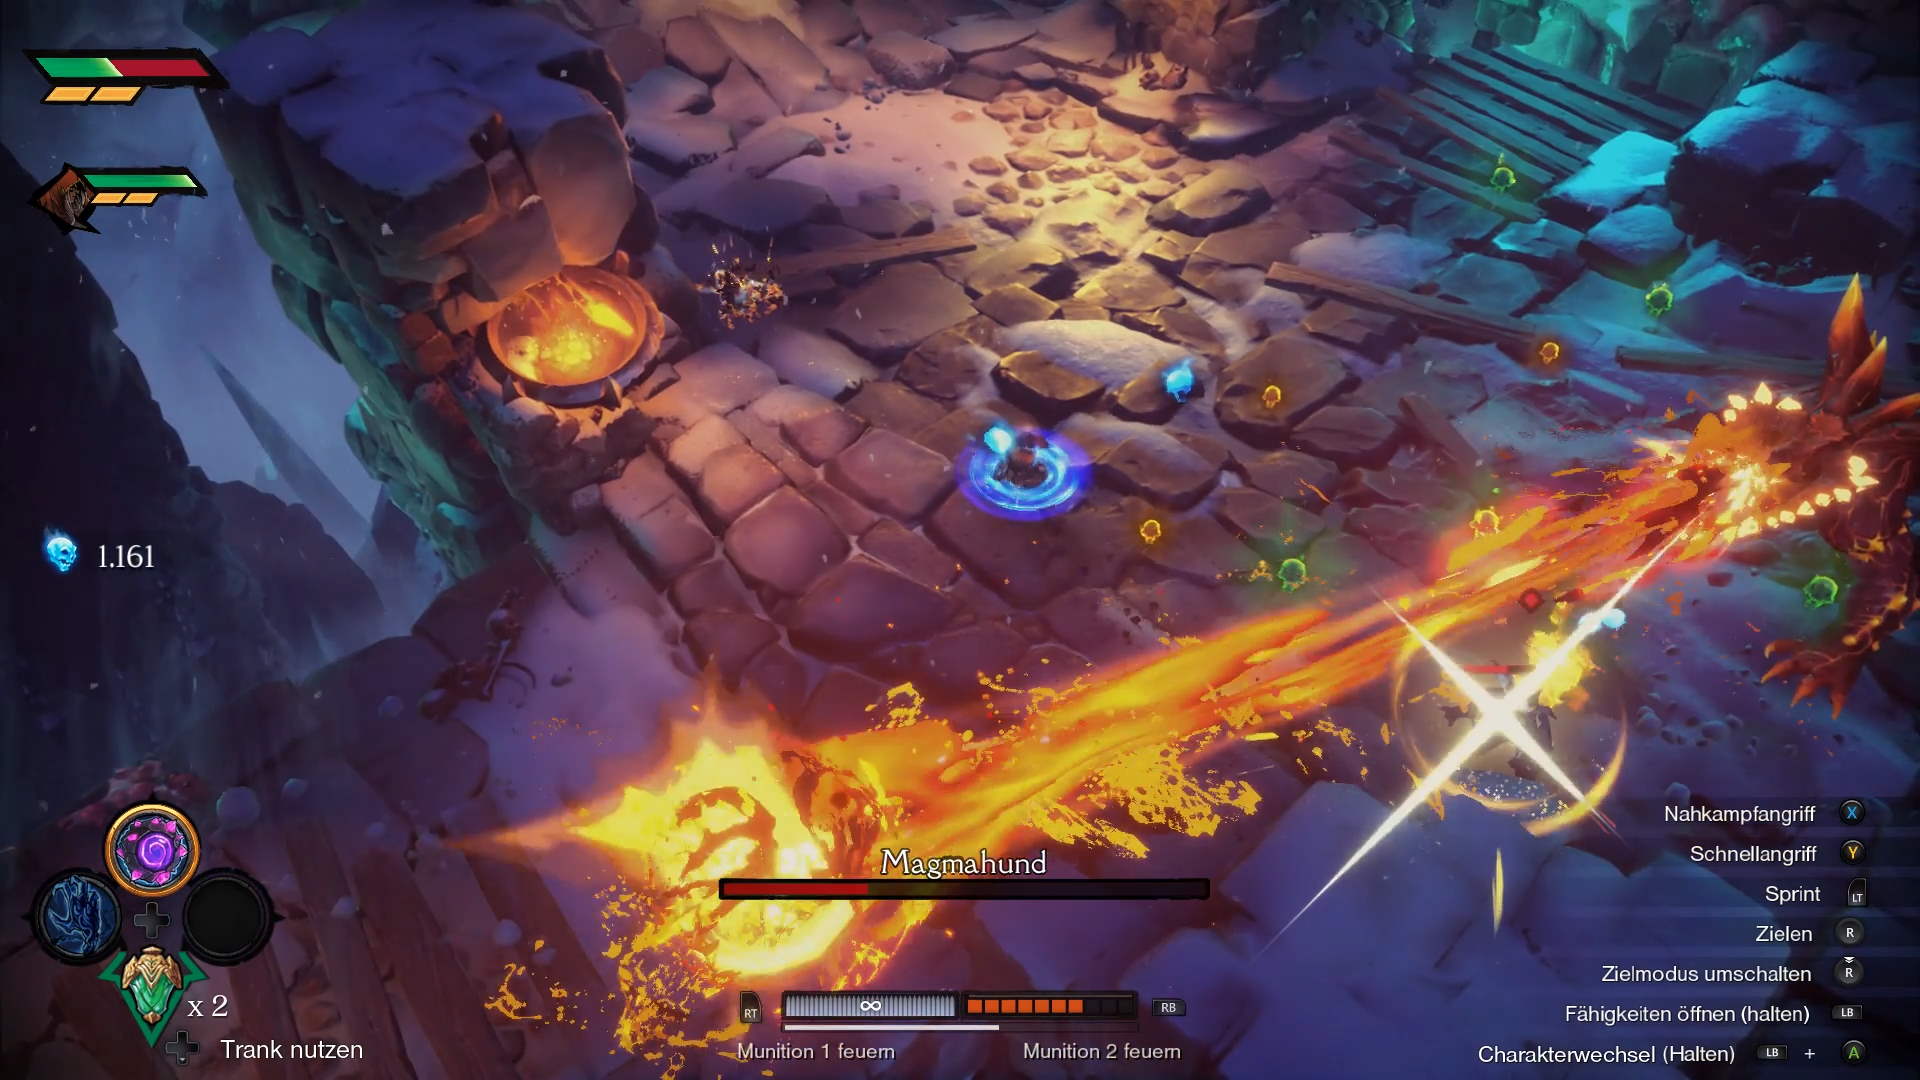
Tactics: With the Magma Dog, the name says it all - you're fighting a demon that quickly chases after you and keeps throwing magma at you. Basically, both riders have advantages and disadvantages here. War has trouble keeping up with the enemy, Strife doesn't have much room to maneuver.
However, because the normal enemies are particularly strong here, there is no better choice. Concentrate mainly on the dog and try to decimate the other enemies with area attacks as well.
5. Boss: The Dog Master
- Level: 5th The Hoard, 14th The Pit
- Rider: War
The Dog Master is an optional boss.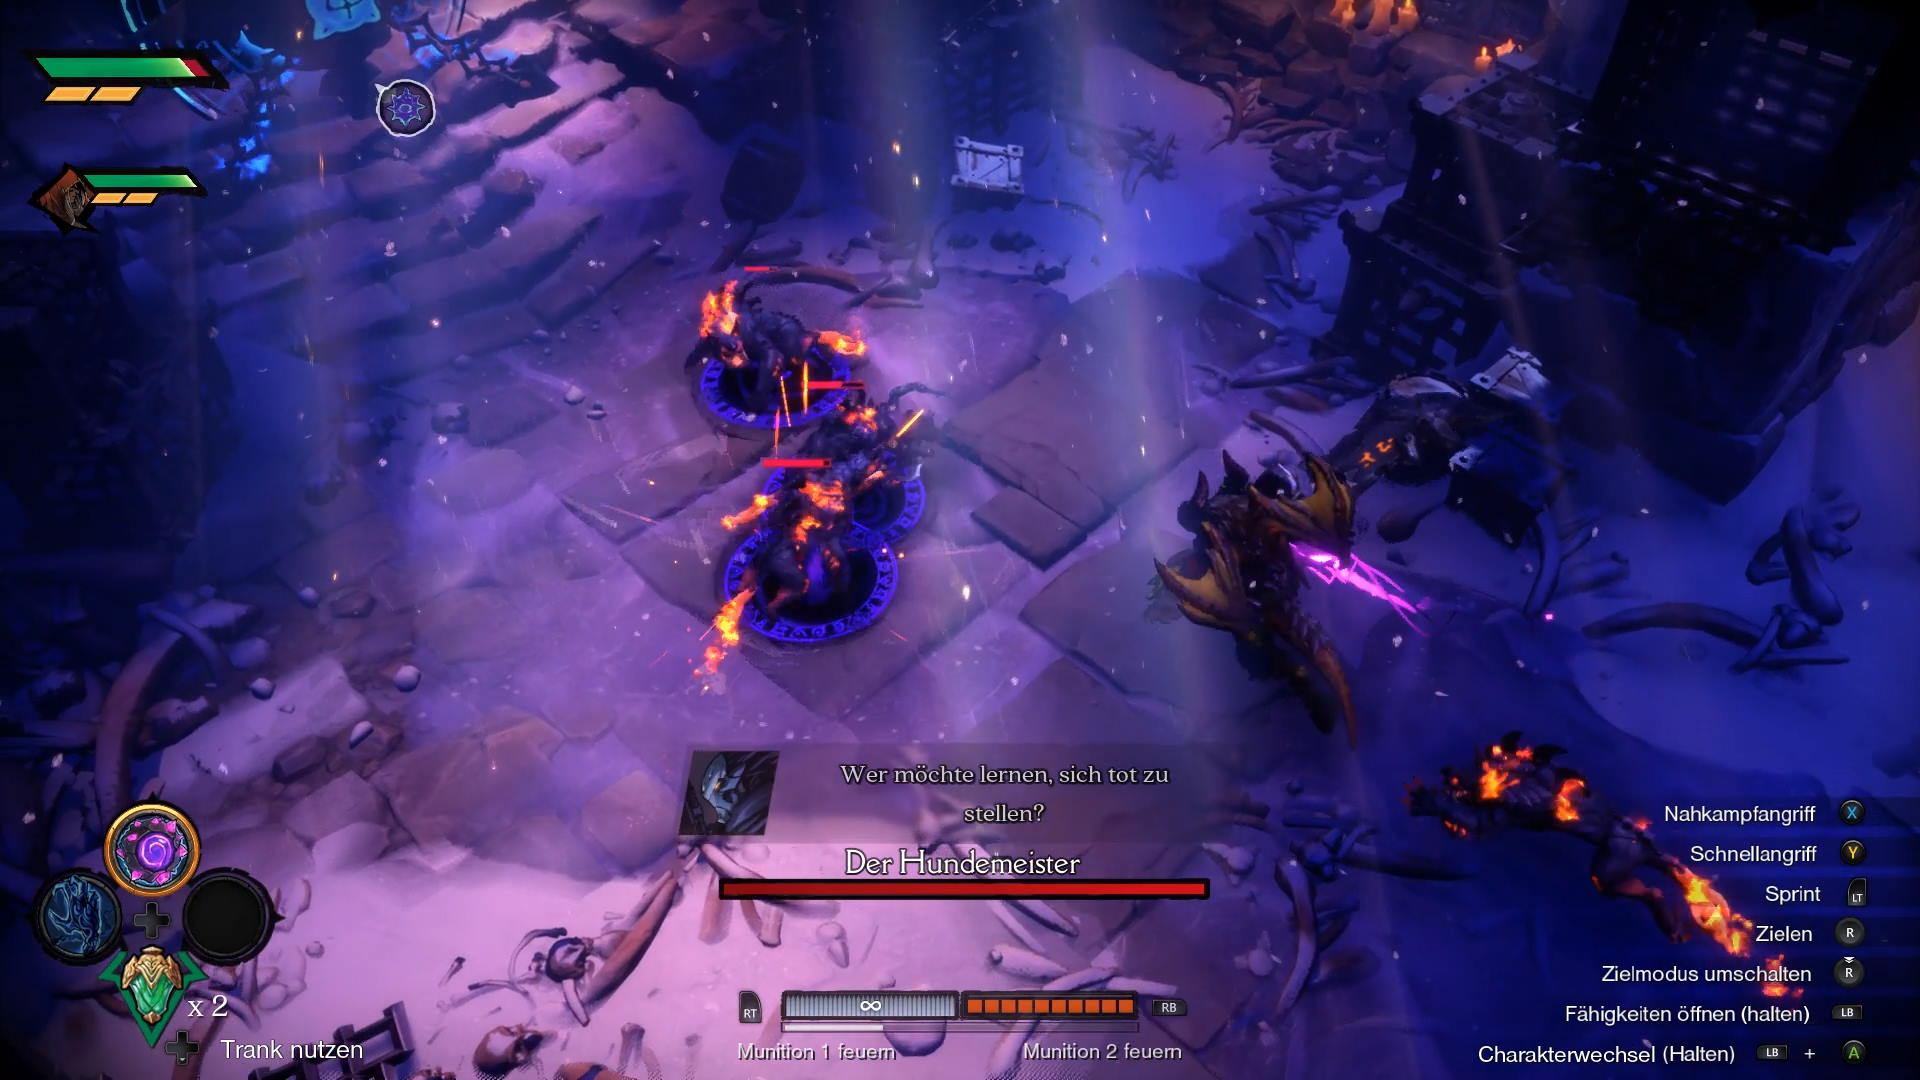
Tactics: The Dog Master will logically sic his dogs on you. They deal a lot of damage, but the boss's attacks also drain a lot of your energy. You are best off with area and melee attacks, which is why War should be your choice.
Try to stay on the boss, but watch out for his sword. He will throw it in your direction and here you have to pay special attention. Because the blade spins and stays with you for a short time, which means extremely high damage. Attack continuously, dodge and the enemy is no problem.
6. Boss: Mammon
- Level: 6th Mammon
- Rider: Strife
Mammon is the first really powerful enemy.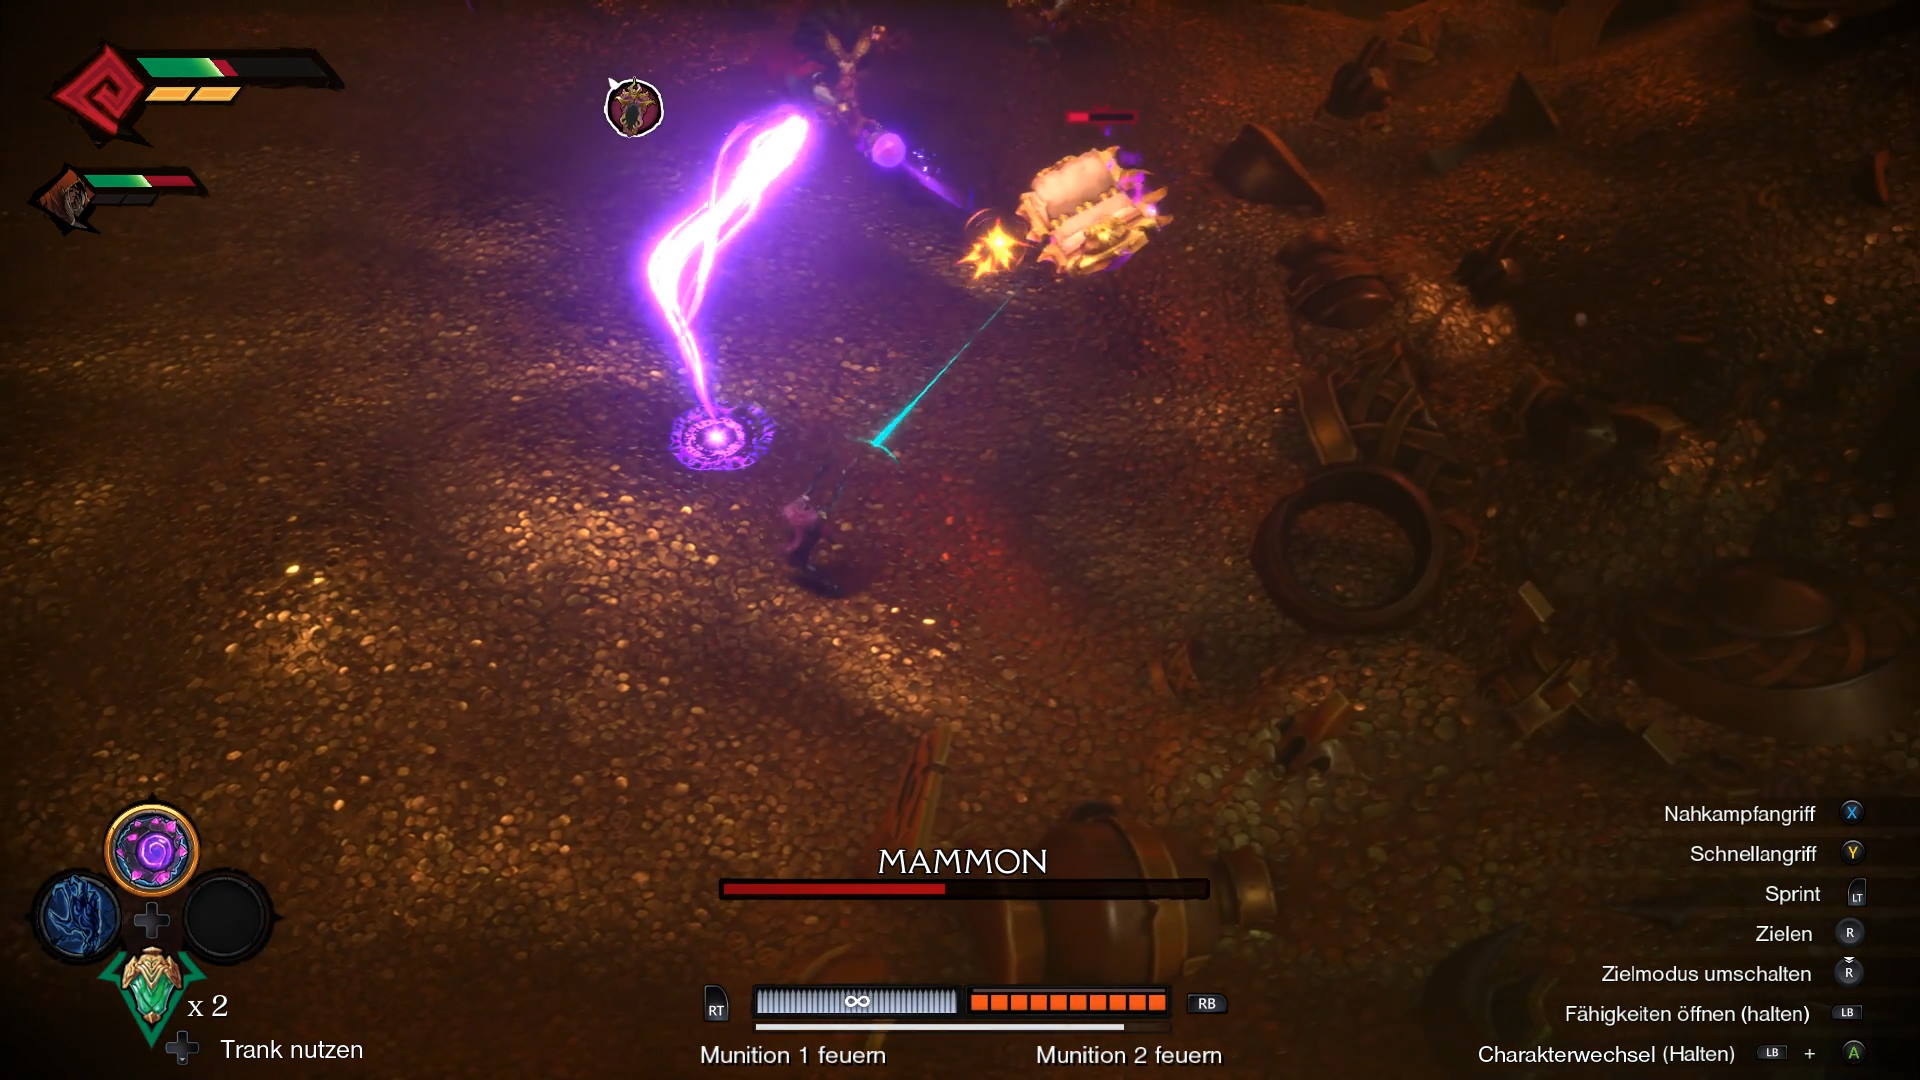
Tactics: Mammon is the first really big boss enemy, with an entire level dedicated to it. The rat keeps diving into the gold scattered on the ground to hide from you. It attacks with lightning and can multiply.
It also makes artifacts appear in the room, which summon other enemies and make tricks like duplication possible. Therefore, try to break the artifacts - even though you'll get a reward if you don't destroy any of them.
Because Mammon moves quickly through the arena and the items always appear at the edge of the place, Strife is your first choice. However, always keep an eye on the life meter, as the many clones and attacks quickly nibble away at the bar.
7. Boss: Death Rider
- Level: 7th Rot (3 times)
- Rider: War
The skeleton should not cause you any major problems.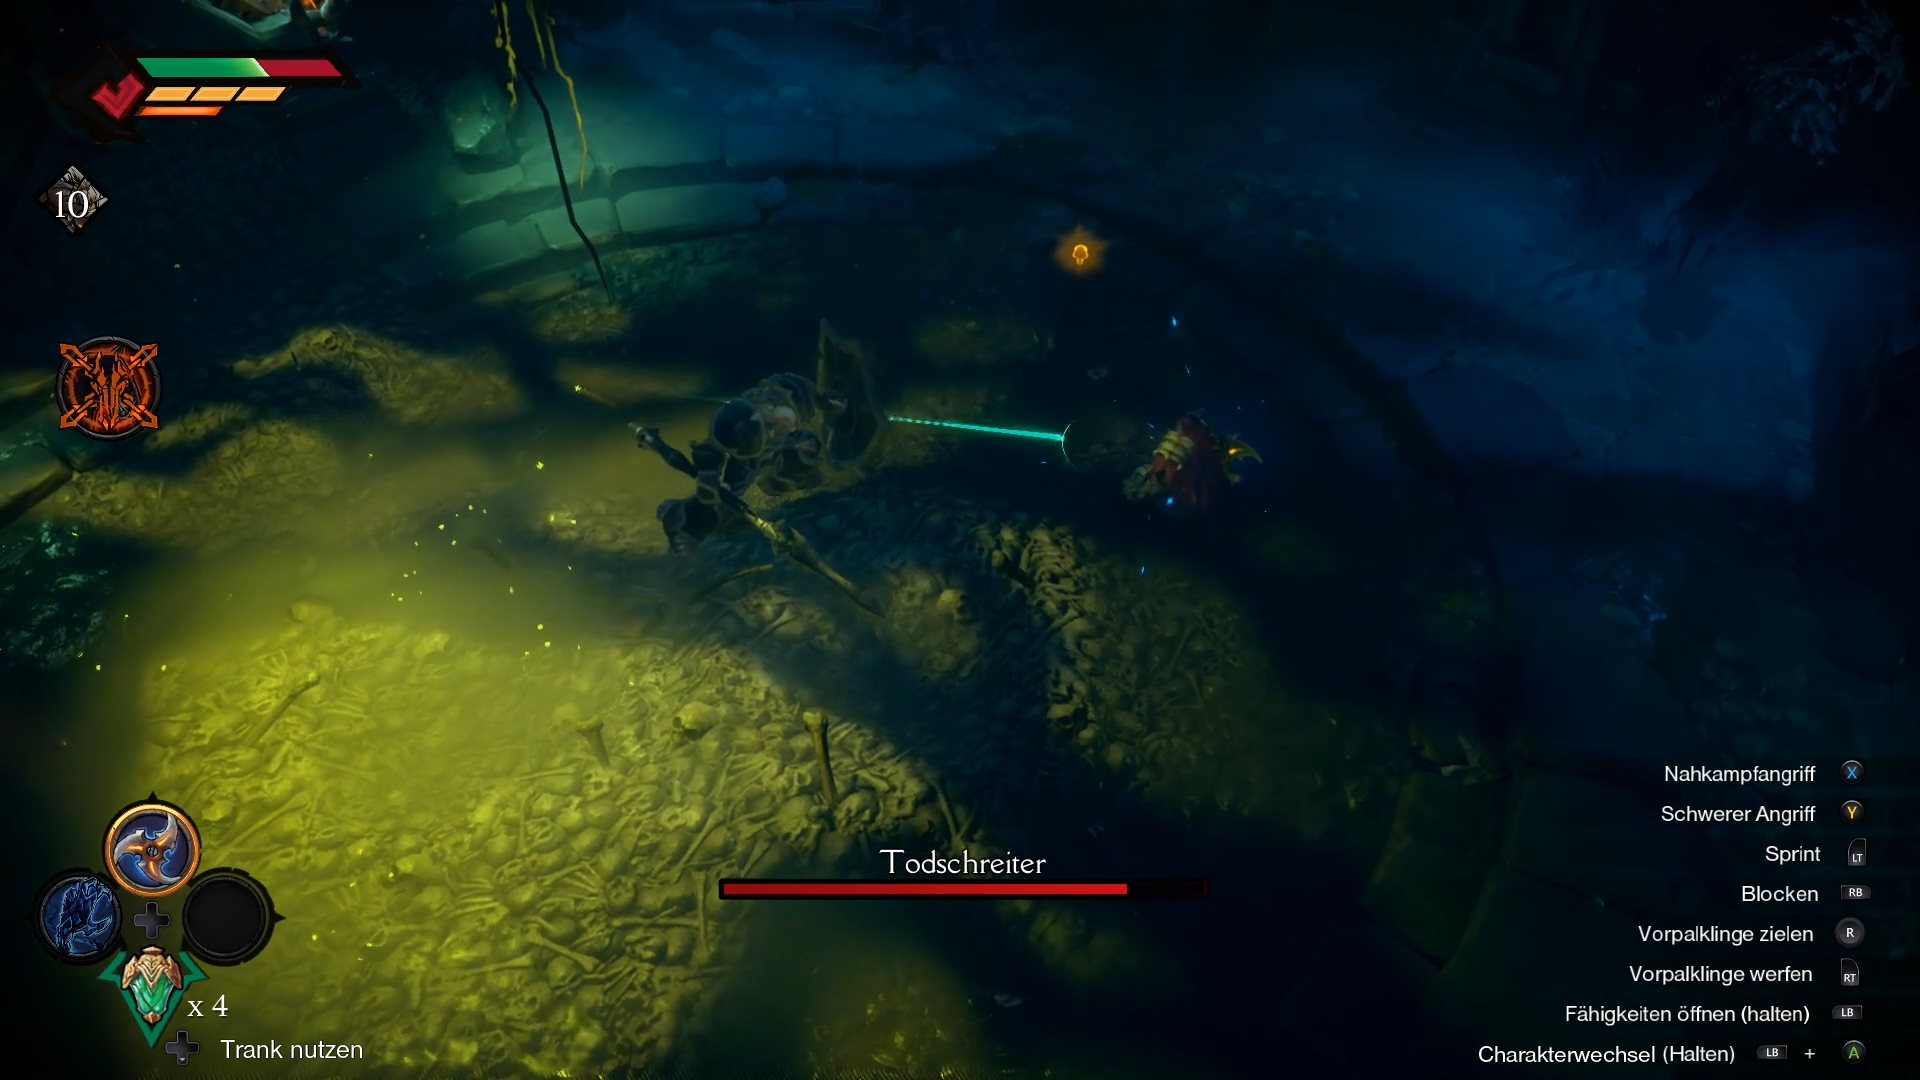
Tactics: Death Rider is basically just a stronger skeleton with a shield. Accordingly, he is well protected from your bullets at a distance. He always glides in with a stab attack, so he goes straight into close combat.
With War, you can also more easily take out the normal skeleton enemies. This is important because the archers can poison you quickly. If in doubt, use your Chaos form - the boss can hardly do anything against it.
8. Boss: Corruption Cannon
- Level: 8. the dam
- Rider: Strife
The principle is simple: Dodge and shoot!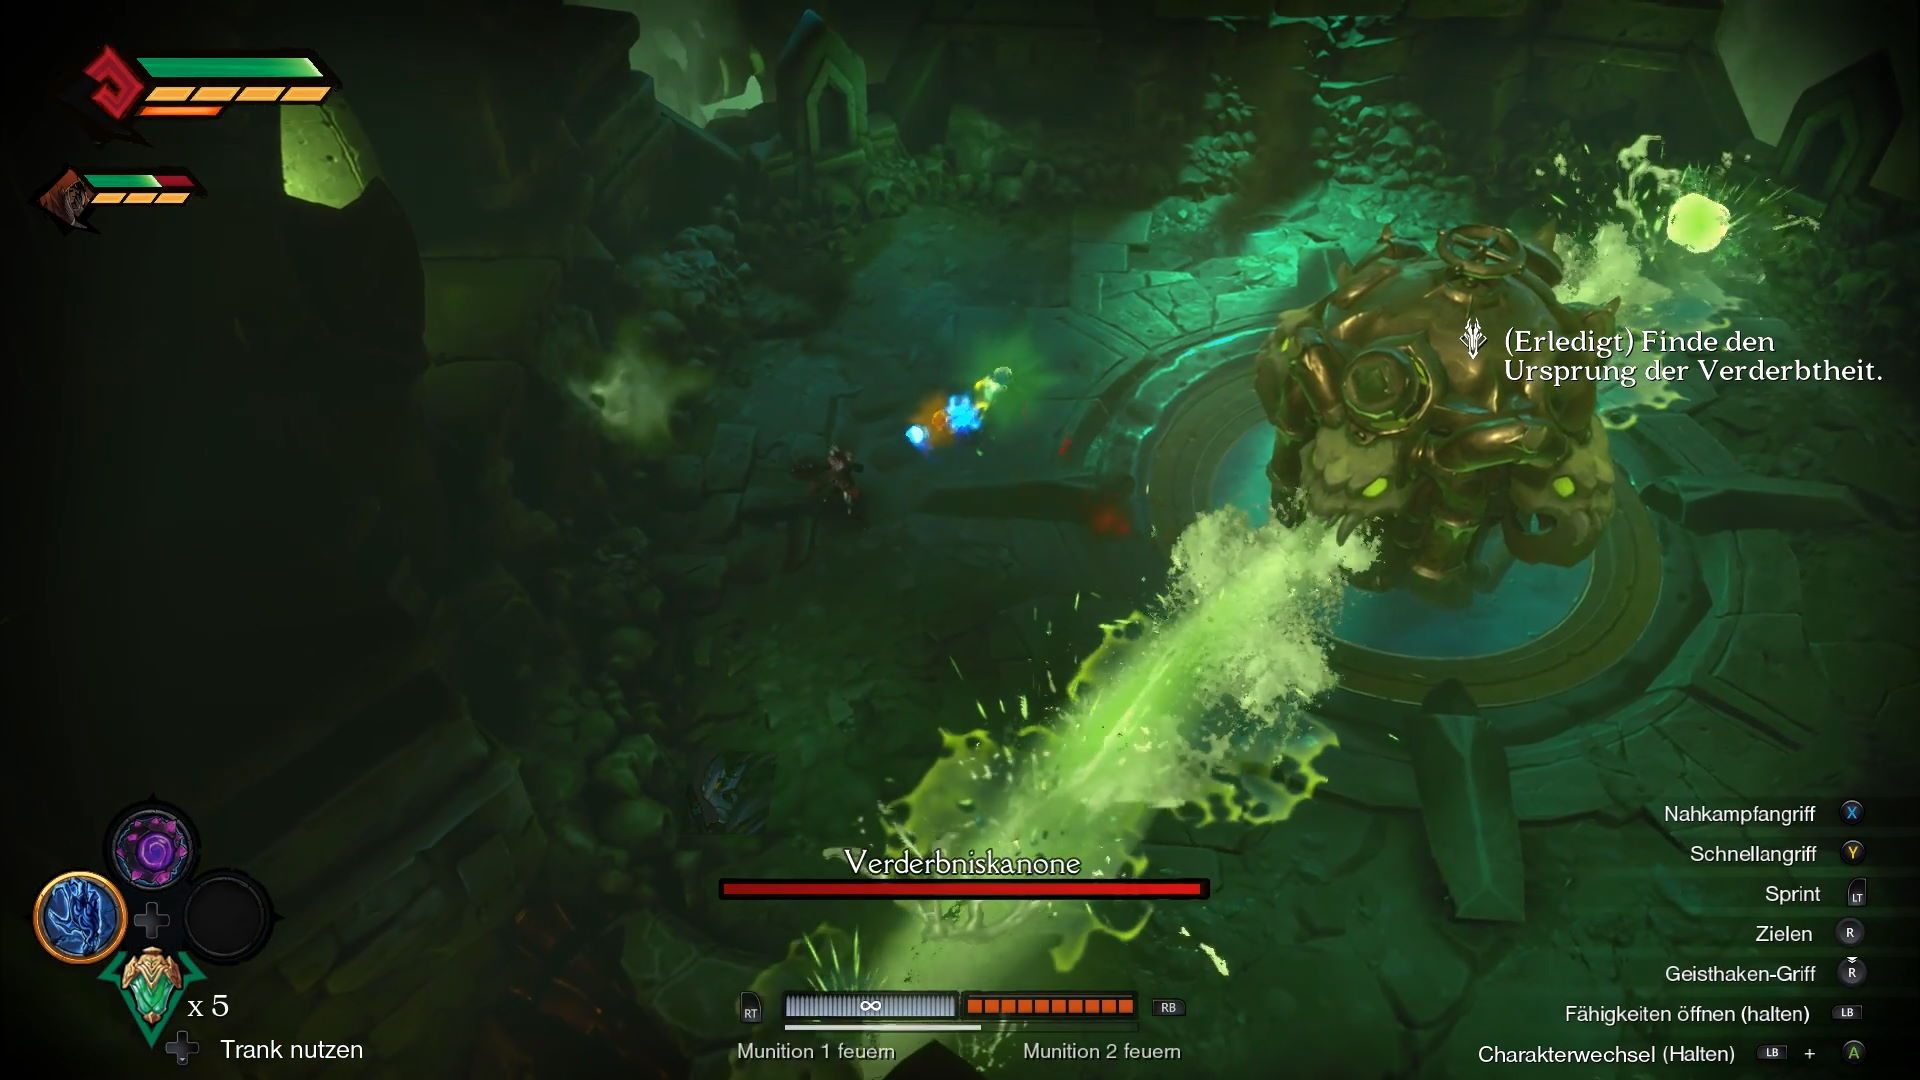
Tactics: The Corruption Cannon is just that - a cannon that fires deadly corruption at you. It always shoots from two openings, the poison stays on the ground for a short time, and then disappears.
Even though normal enemies interfere with the boss fight, the combat isn't particularly difficult. Rather, you just have to keep your distance and fire at the target. If you get too close, you won't be able to dodge the shots easily. Therefore, rely on Strife.
9. Boss: Belial
- Level: 9th Belial
- Rider: War, Strife
The second really dangerous demon is Belial.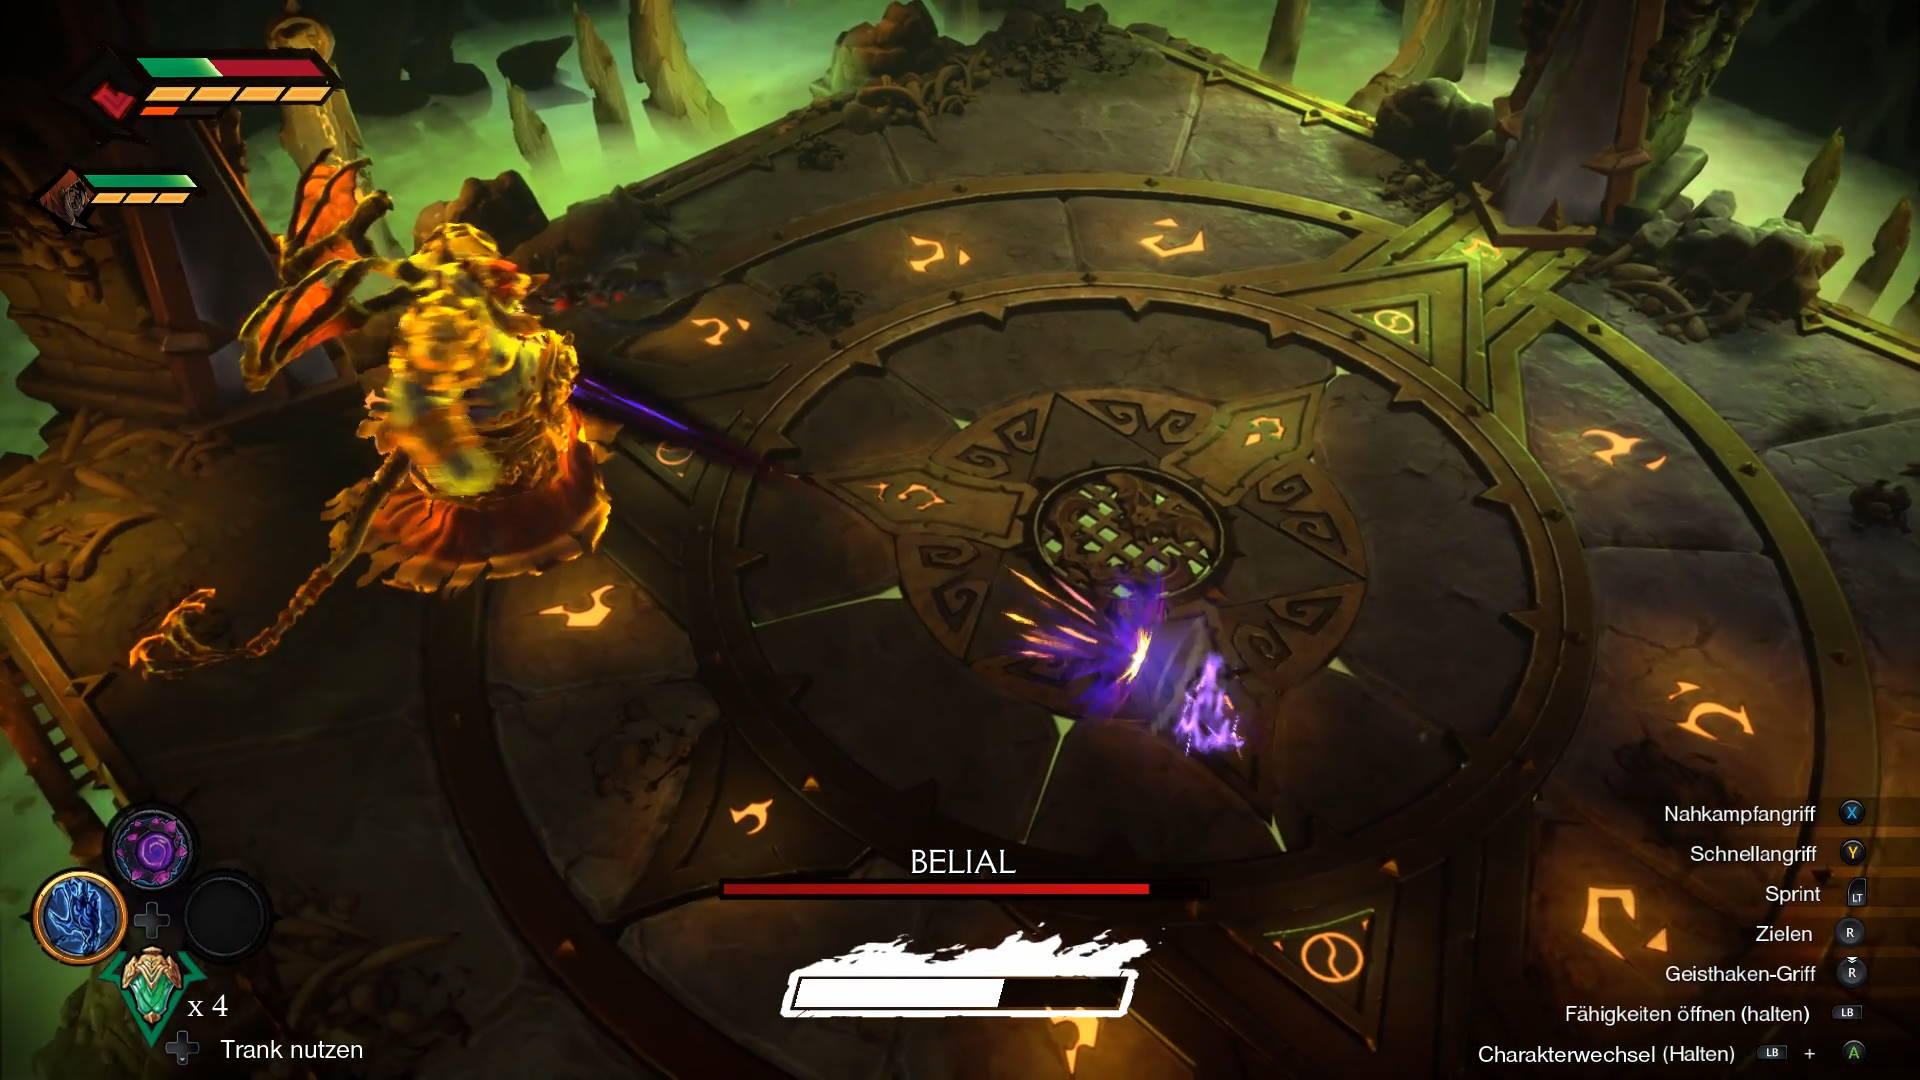
Tactics: Belial is a large but nimble opponent. He stabs at you with his spear and teleports through the small arena when needed. Therefore, dodge to the side at the slightest sign of an attack.
The normal enemies appear as usual, but they are not a problem. Nevertheless, you should decimate them. Because every now and then Belial beams himself into a corner and a maelstrom attracts the lower demons. This is how the boss heals itself - which you should avoid at all costs.
Since you'll be dodging a lot either way, no rider has a particular advantage. Therefore, you'll fight the battle with the hero you prefer to play. Towards the end, go all out and use your Chaos form to defeat the enemy.
10. Boss: Astarte
- Level: 10th Eden Prime
- Rider: Strife
This boss is the only one you'll defeat from a steed.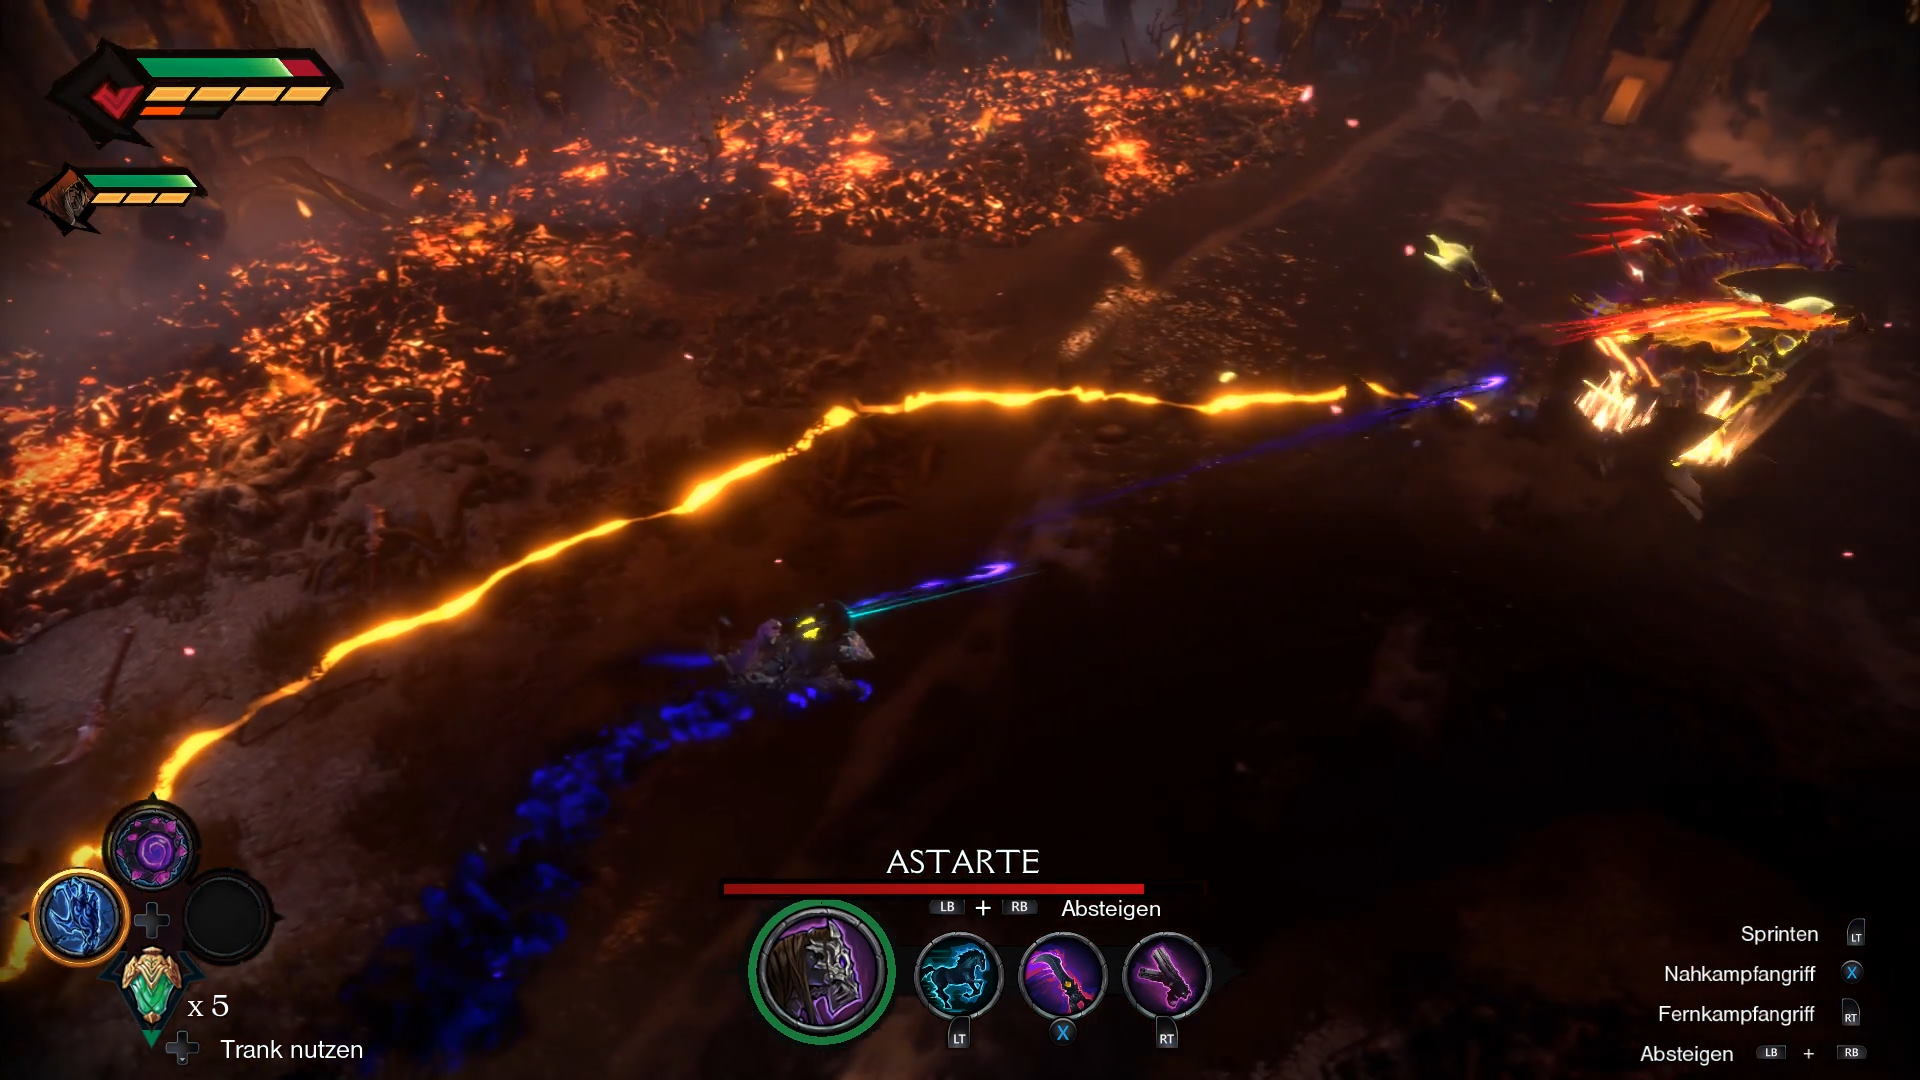
Tactics: Astarte circles the pyre in the middle of the arena and revives a total of six very powerful Nephilim, which interrupts the actual boss fight three times. You must defeat the latter - so finish them off as quickly as possible, as they will quickly become dangerous to you.
Astarte herself is easiest to defeat from horseback with pistols. Since she's always on the move, bullets are the easiest way to hit her. Strife is therefore the first choice. The Chaos Form is also extremely useful here towards the end, so use it.
11. Boss: Nephilim Avenger
- Level: 11th Fortress Fall
- Rider: War
War's spikes are by far the most effective here.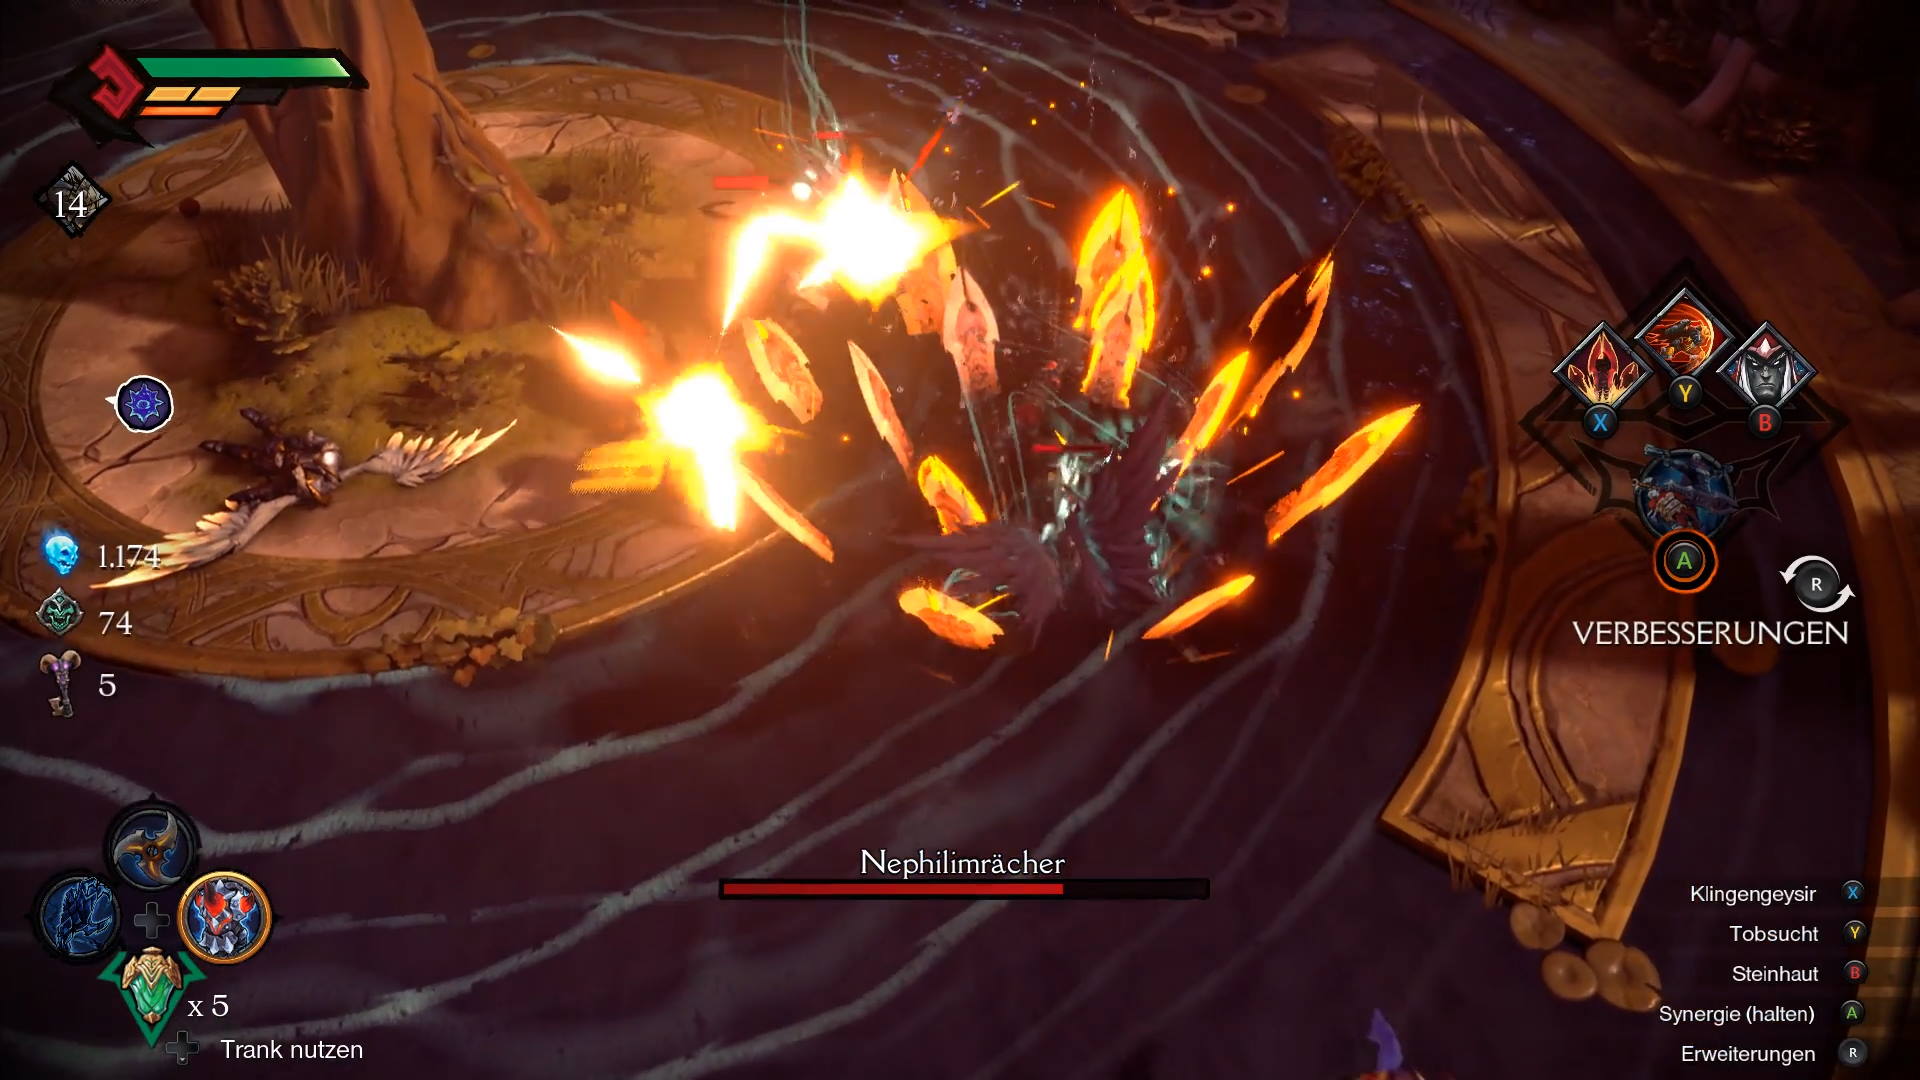
Tactics: The Fallen Angel is like two peas in a pod to the normal enemies. It just withstands significantly more. Because a number of normal enemies appear alongside the boss, War is best suited here, as it uses area attacks to best catch them all.
Pay particular attention to lightning attacks, which will quickly shoot your life bar.
12. Boss: Grinser
- Level: 11th Fortress Fall
- Rider: War, Strife
You've defeated a lot of demons like this in the game.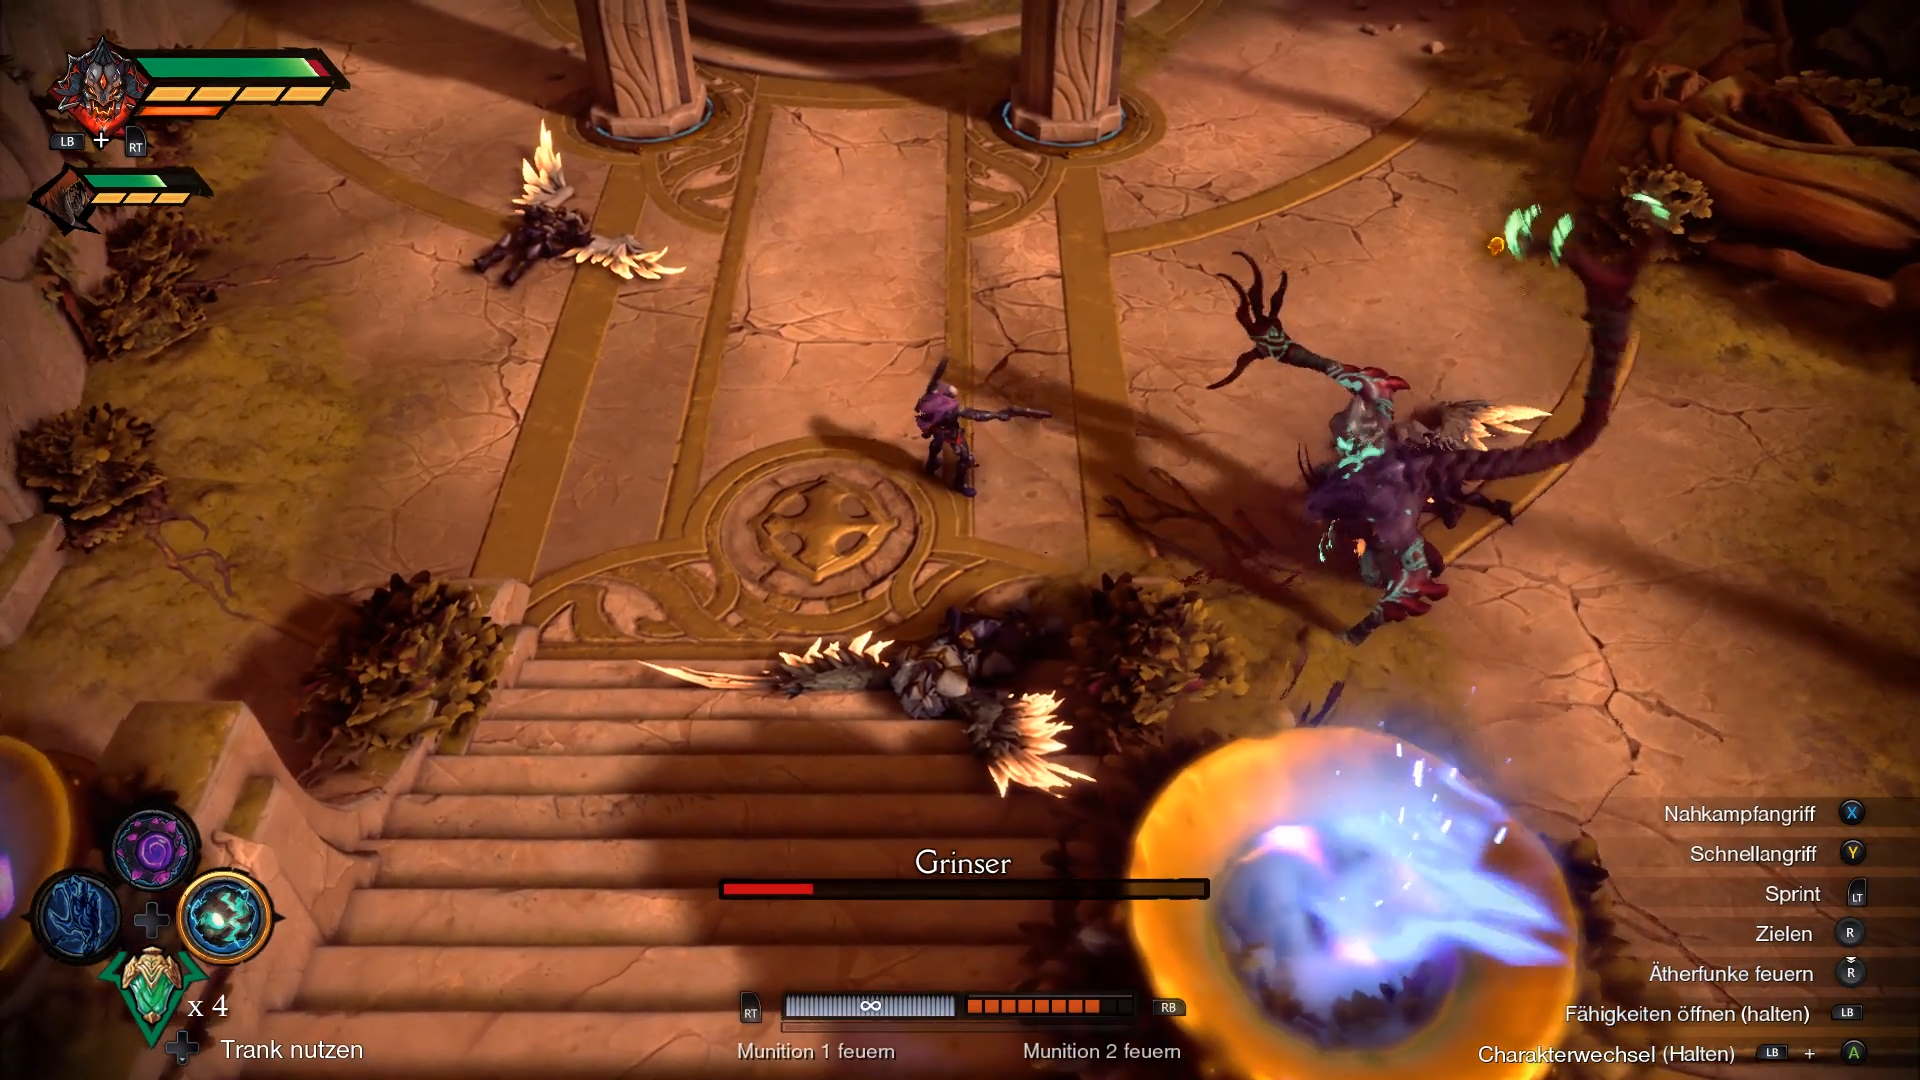
Tactics: This boss is also just a variation of a normal enemy with more life energy. The grinch flits nimbly through the arena, so you dodge to the side with every attack. No special maneuvers await you. Both ranged and melee attacks work well against him - the choice of rider is thus of little importance.
13. Boss: Beetle Queen
- Level: 12th Maelstrom
- Rider: War
The insect majesty also remains an optional boss.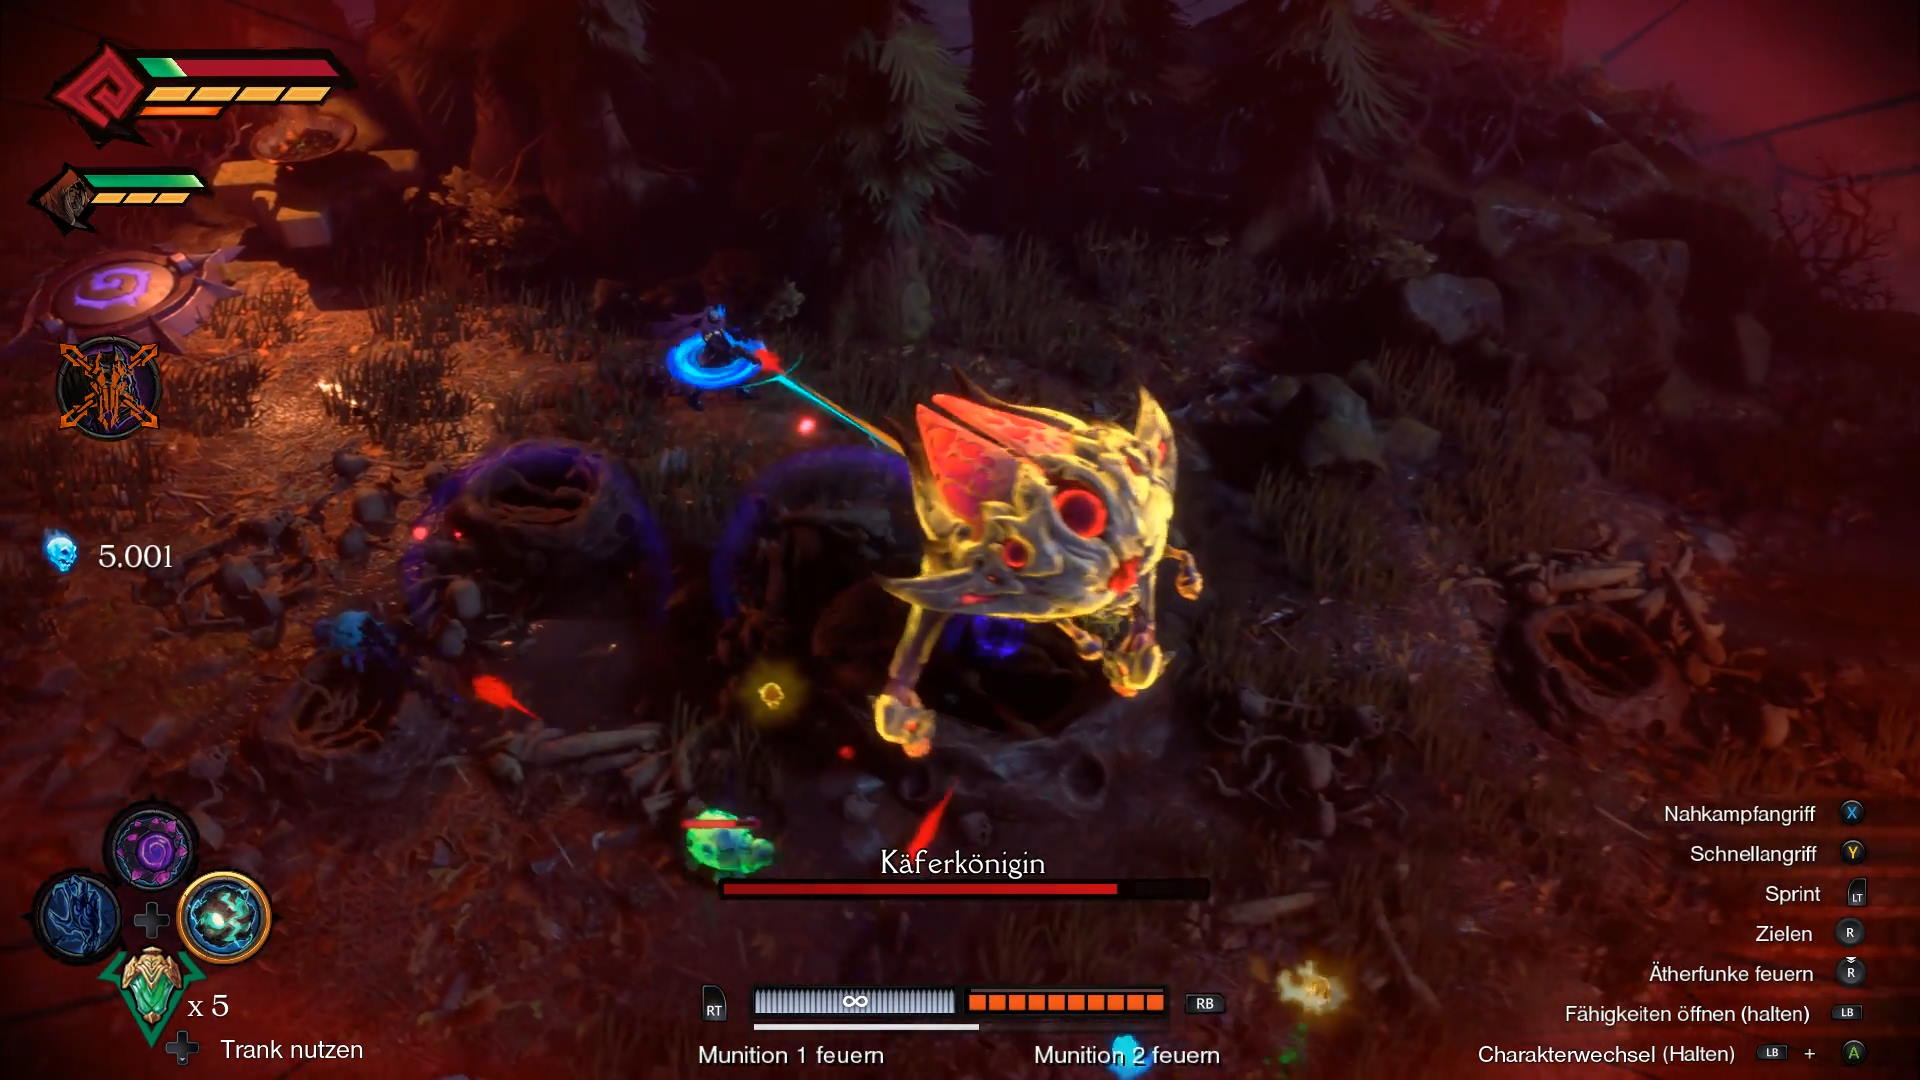
Tactics: The Beetle Queen is one of the few where the normal enemies are very annoying. Because the small enemies can withstand relatively much. Therefore, rely on War, which deals significantly stronger area damage.
The boss himself rushes at you, shoots flares at you and hits you with pincers. These are all attacks that you can easily dodge with a few rolls. Put a few blows on the queen, back away, finish off the little critters, and after a short while, victory is yours.
14. Boss: Stormcaller
- Level: 12th Maelstrom
- Rider: Strife
This boss is also just a slightly stronger normal enemy.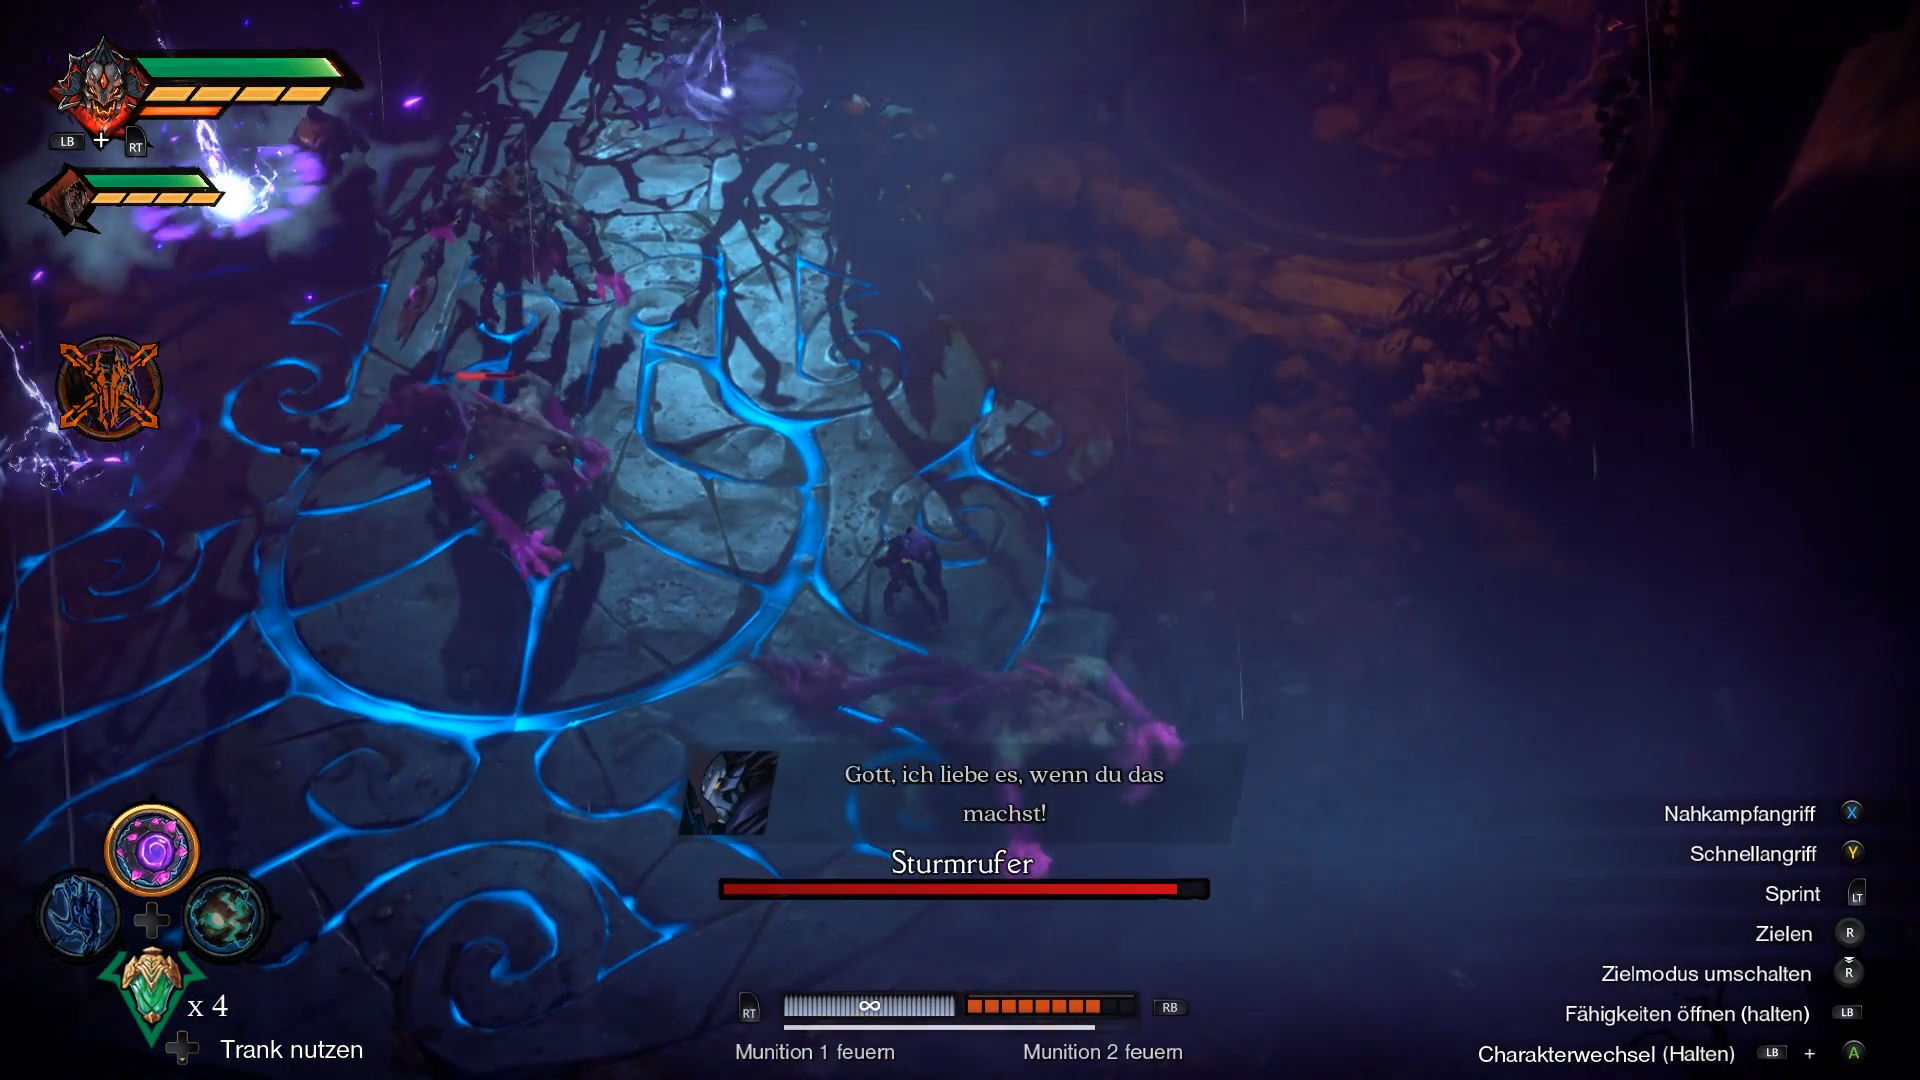
Tacticsthe Stormcaller is a shaman like the ones you've killed many times in the twelfth level. Accordingly, nothing new awaits you here. The boss sends lightning at you, summons demons, hits you in close combat and teleports around.
Therefore, it is an advantage if you can easily catch him in any corner. Use Strife's ranged strength and use the Rider's Chaos form towards the end of the battle. Then this boss won't be a problem either.
15. Boss: Dagon
- Level: 13th Dagon
- Rider: Strife
It's best to defeat Dagon from a certain distance - otherwise you'll be mud.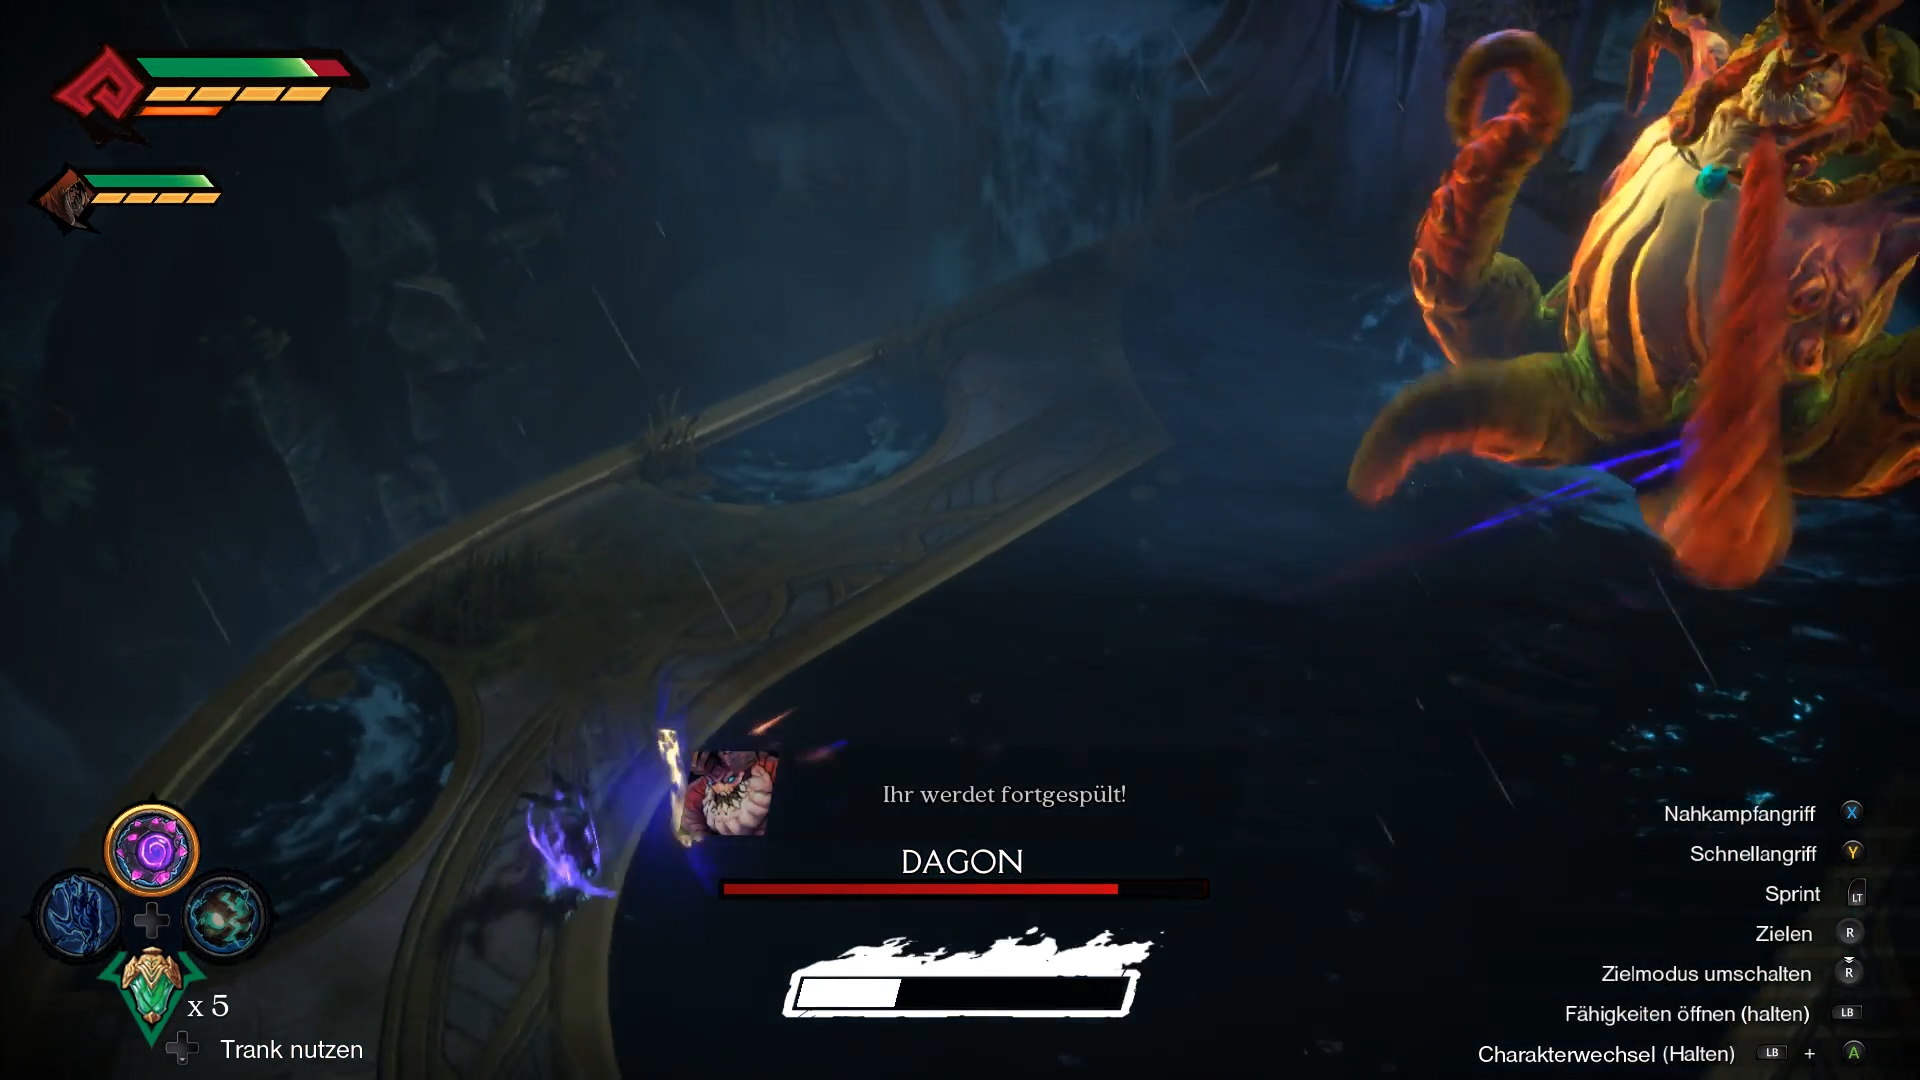
Tactics: Dagon himself stands quite static at one point. However, strong normal enemies will attack you the whole time. You shouldn't get too close to the boss, because he will hit you with his tentacles. He also uses tidal waves from time to time, which you can jump over.
Shoot him continuously and watch out for water balls. The boss charges them up and throws them at you. You can also break the projectiles beforehand - but your focus should be on Dagon himself. Strife is the best option and with a little patience this demon is also history.
16. Boss: Curse Chamber
- Level: 14. the pit
- Rider: Strife
Tactics: This boss is similar to the Corruption Cannon - only here lava flies through the arena instead of poison. Otherwise, proceed exactly as you did with the Corruption Cannon.
17. Boss: Moloch
- Level: 16th Moloch
- Rider: Strife Strife
As befits a co-op adventure, you can only defeat the last boss in a group.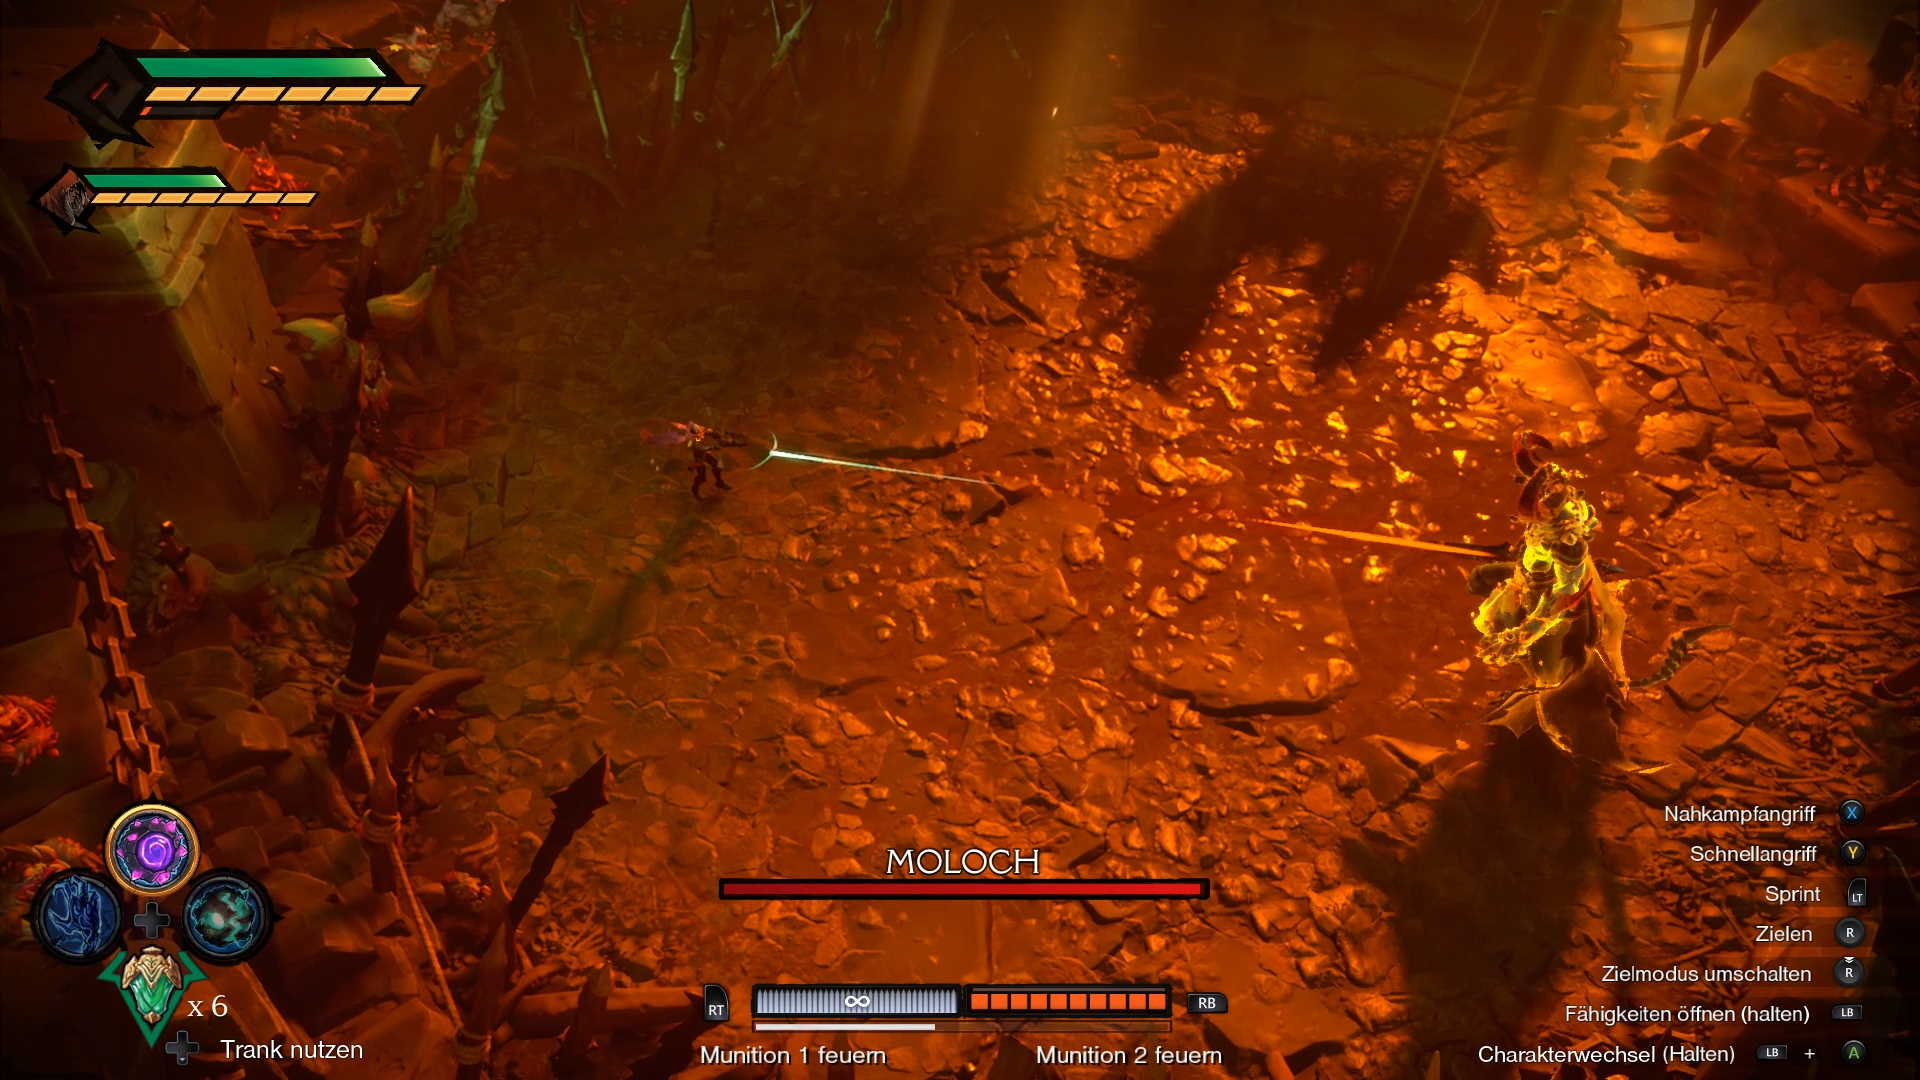
Tactics: Moloch deals a lot of melee damage, so always keep your distance. At first glance, that's all you need to do. However, the boss can make red crystals pop out of the ground with his punch. Only War can break them.
Accordingly, bombard Moloch with Strife from a distance, dodging his attacks again and again. As soon as too much area is covered with crystals, destroy them with War. But make sure that the boss also uses a stomp attack, with which he destroys everything in the arena.
This will help you with the crystals, but it also means a lot of lost life energy. Finally, use the chaos creatures and you will have successfully fought the last battle.
More about Darksiders Genesis
- Darksiders Genesis: Our tips will get you into the game perfectly
- Darksiders Genesis: All maps with all secrets
- Darksiders Genesis Guide: All information about the top-down shooter
Visit us on Facebook and Instagram and discuss your favorite games with us.