Control side missions: How to find & complete them all
Our guide to all side missions in Control tells you:
- where to find the side missions in Control
- how to complete the side missions
- what you get as a reward for each side mission
- how to complete the side missions in the two DLCs
We already told you how to solve all the main missions of the third-person shooter in our Control walkthrough. Here we tell you where to find all the side missions in Control () and what you have to do to complete them.
This way you'll also easily get the trophy "FBC Crisis Management Task Force", for which you'll have to complete 15 side miss ions. You can find out how to get all the other achievements in our trophy guide for Control.
A fun chase
Side mission location:
- In the maintenance sector, across from the janitor's office.
Step up to the table and the floor beneath you will collapse. In the Astral Plane, learn how to use the Dodge skill.
Across from the janitor's office, the floor collapses at this table.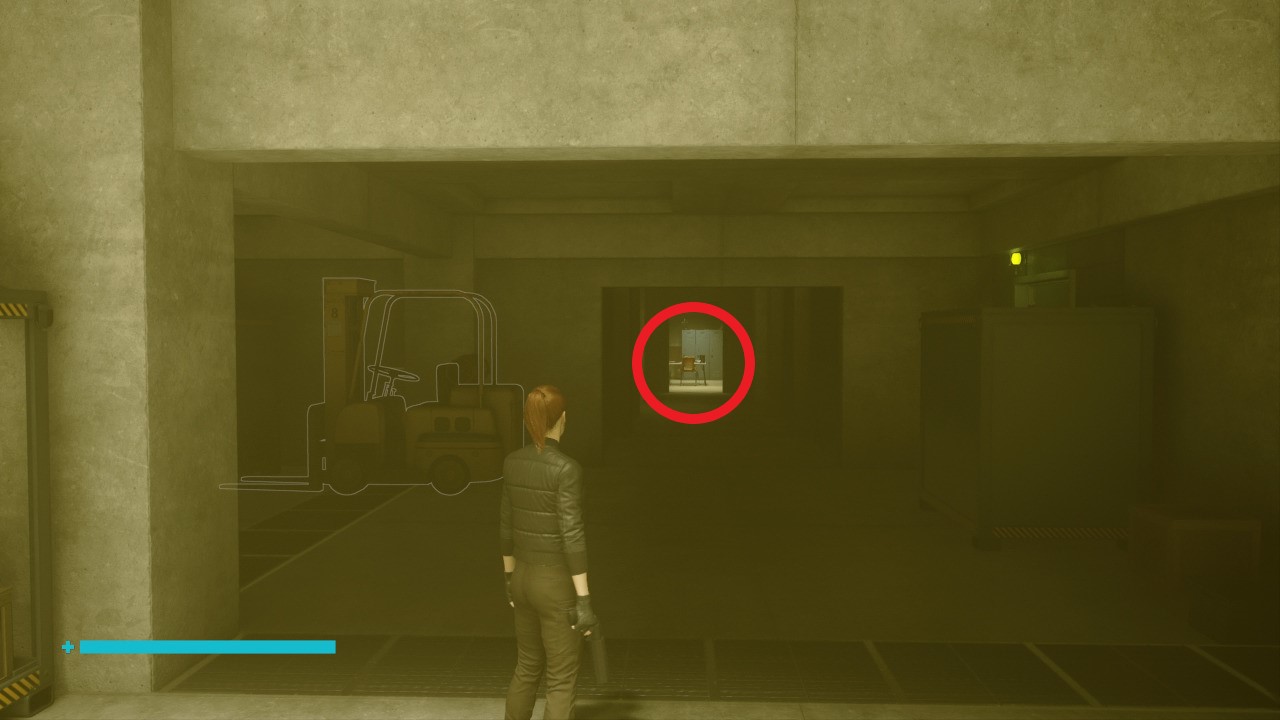
Reward:
- Dodge ability, two ability points, crafting materials, and a modification.
What a mess: Burn the trash
Side mission location:
- In the janitor's office by the blackboard.
From the "NCS Cooling Pumps - Entrance" checkpoint, go right to the blast furnace chamber. Use "Slingshot" to throw all the green barrels into the blast furnace.
Burn all the green barrels in the blast furnace.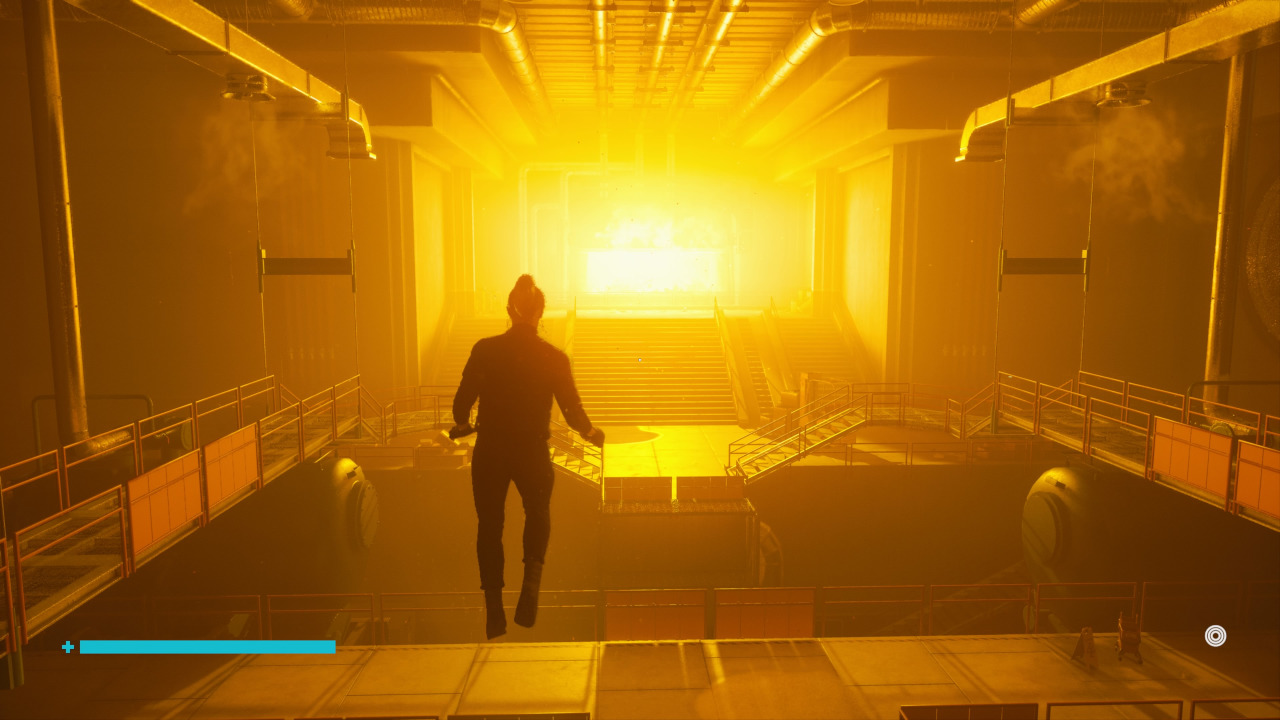
Reward:
- Two skill points, crafting material one modification.
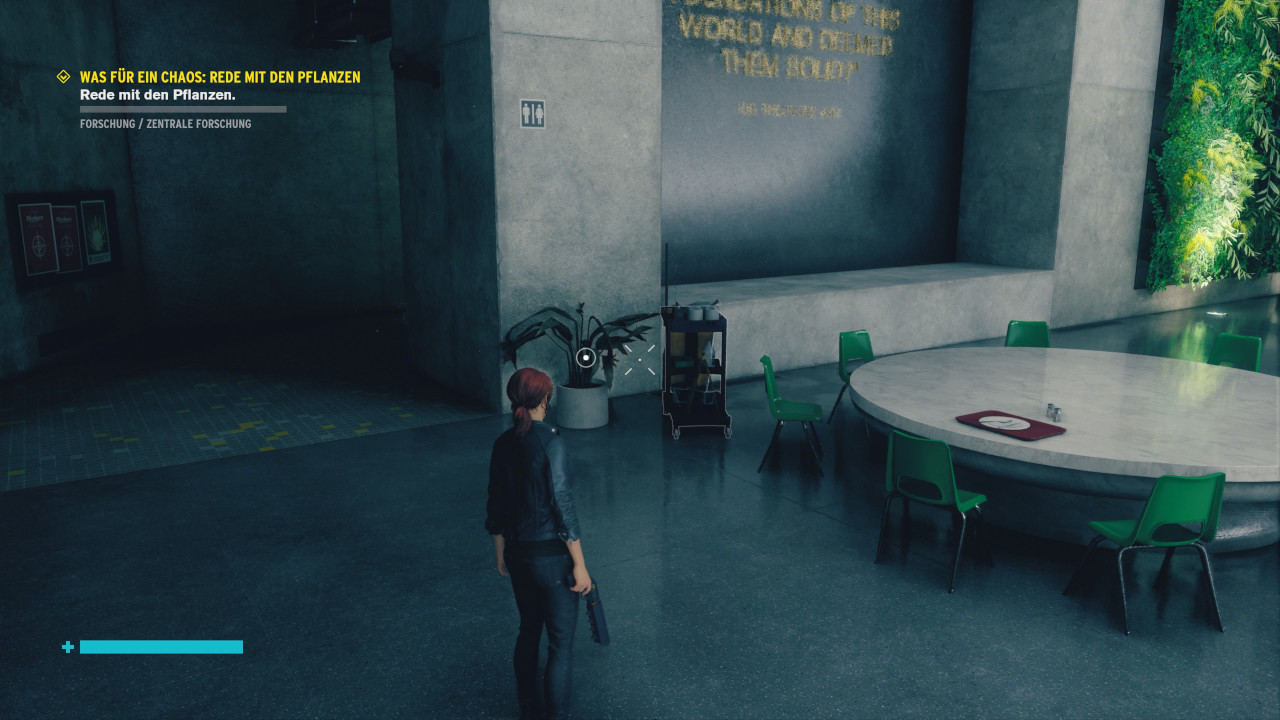
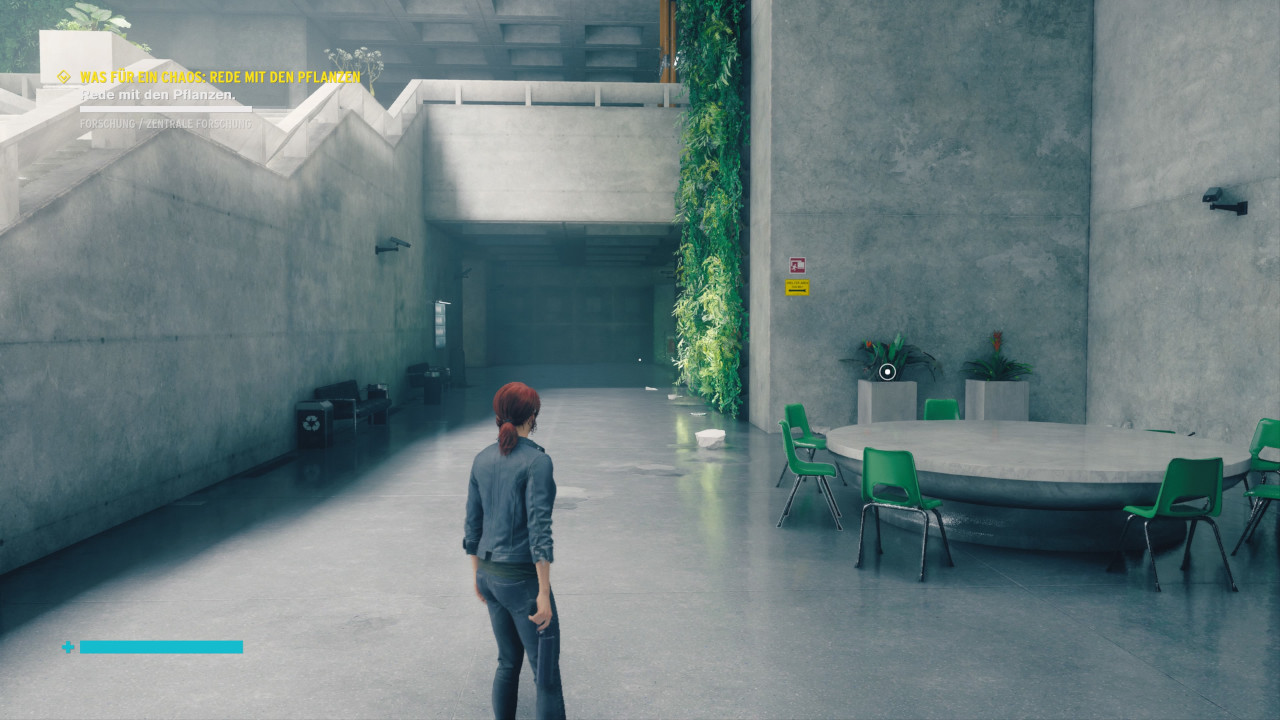
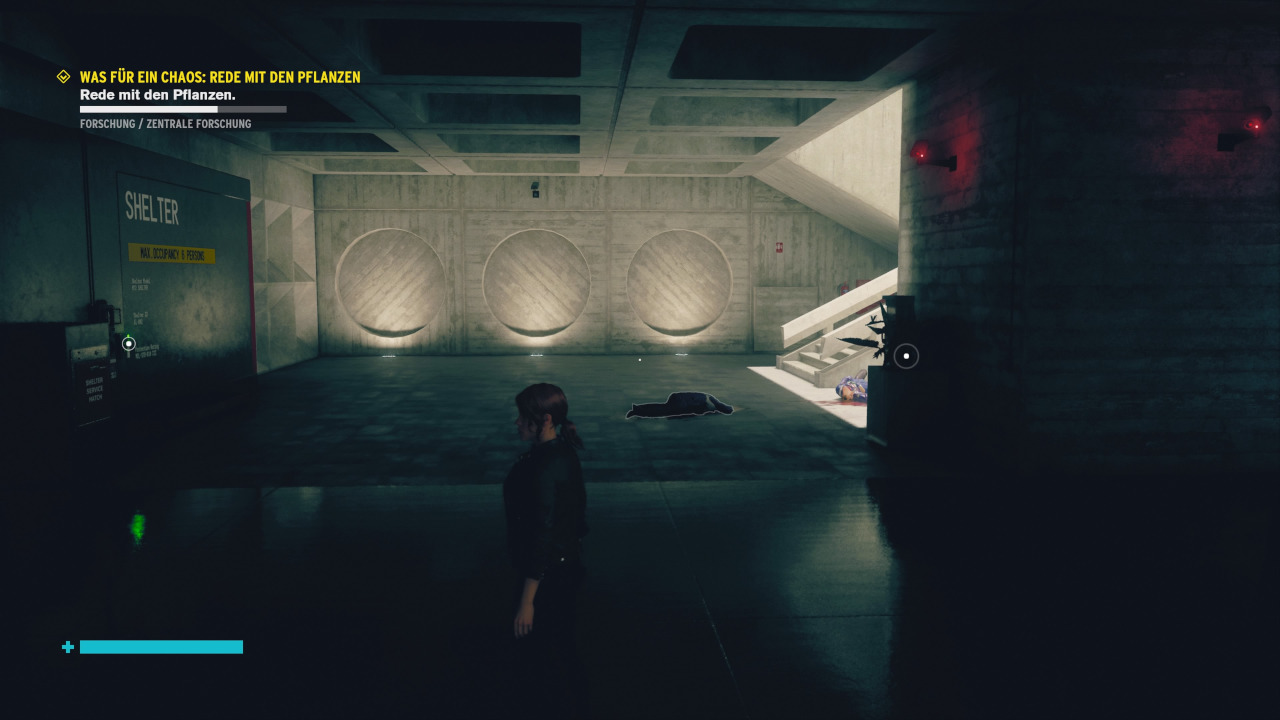
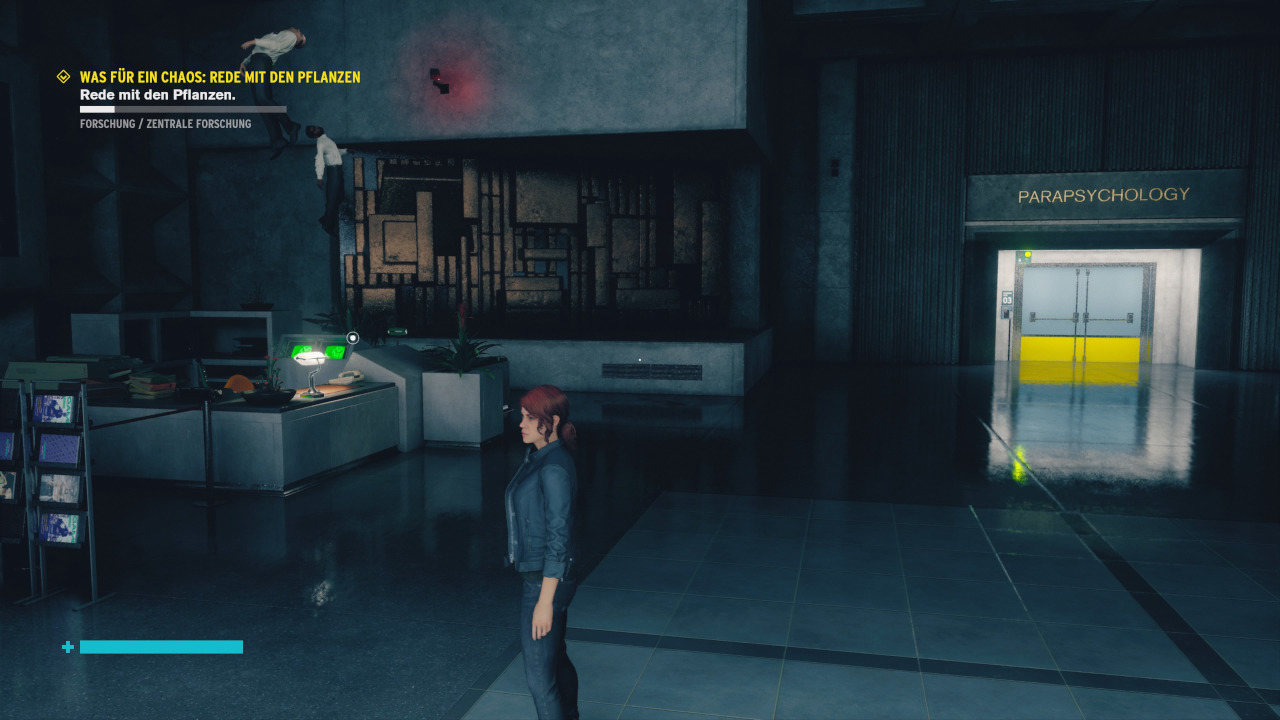
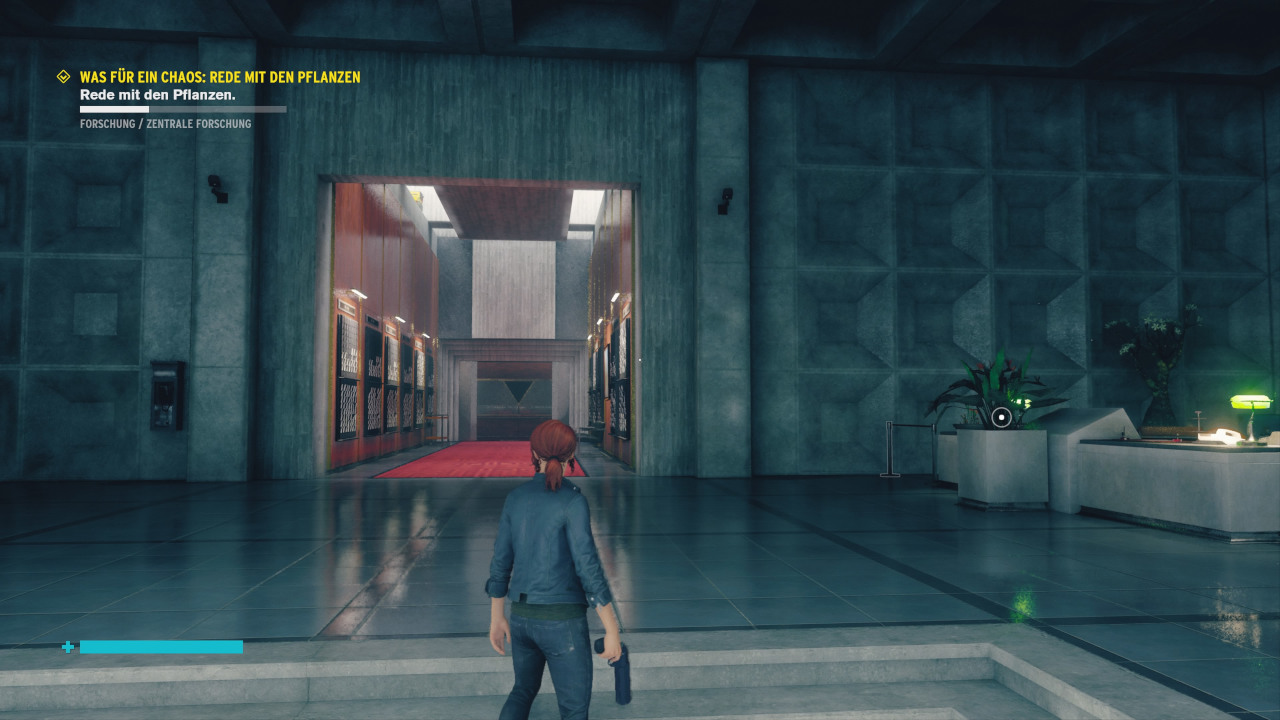
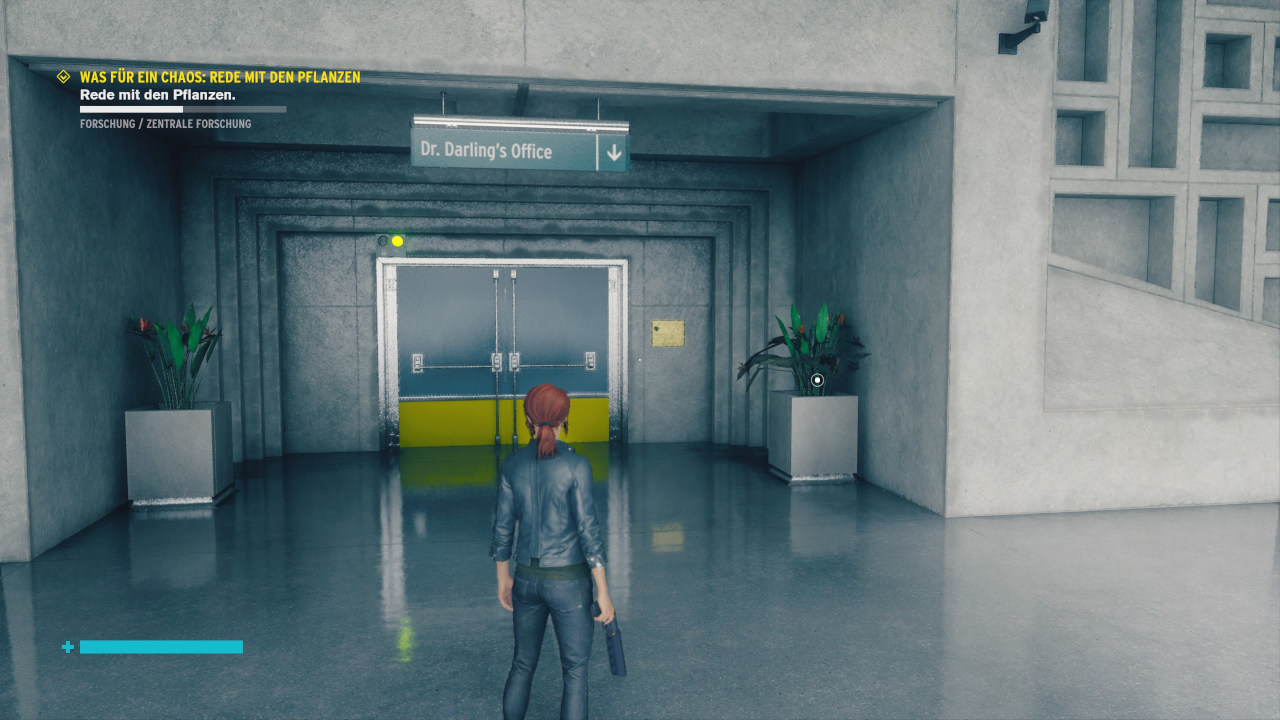
What a mess: Talk to the plants
Found in the side mission:
- In the janitor's office at the blackboard.
Talk to six plants in the large stairwell in Central Research. You can find all the plants' locations on our screenshots.
Reward:
- Four skill points, crafting materials, and a modification.
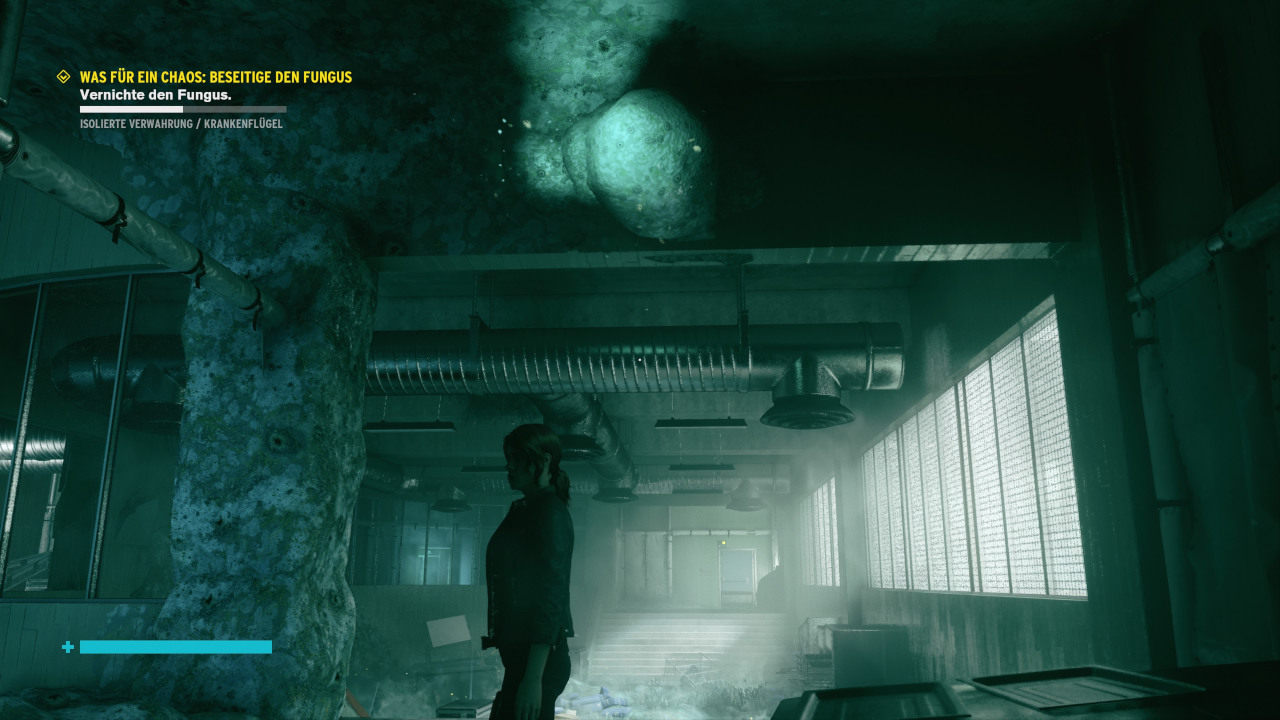
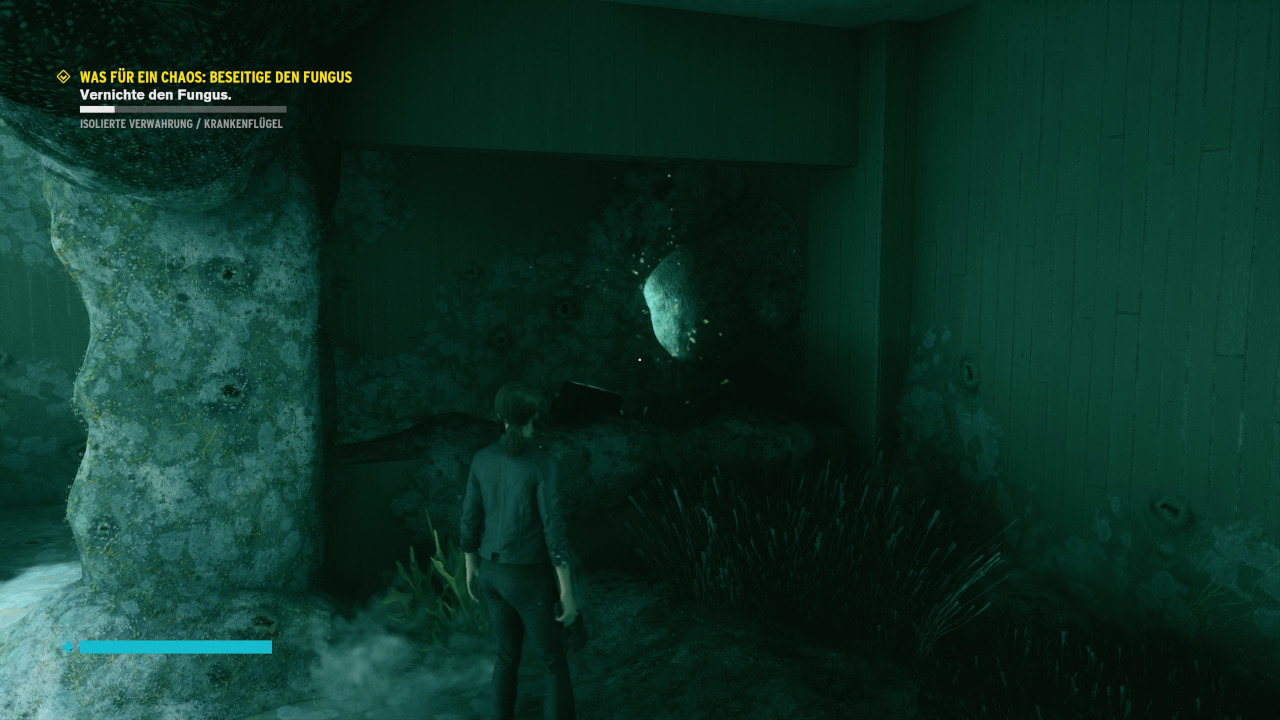
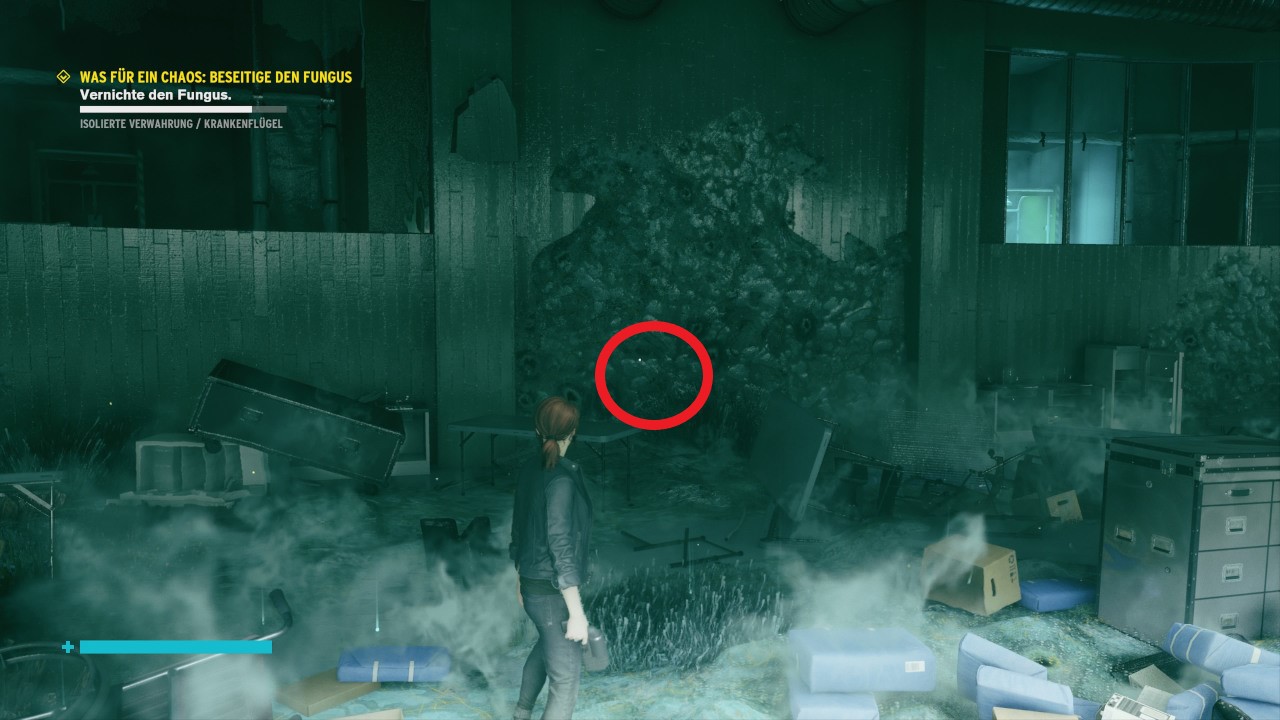
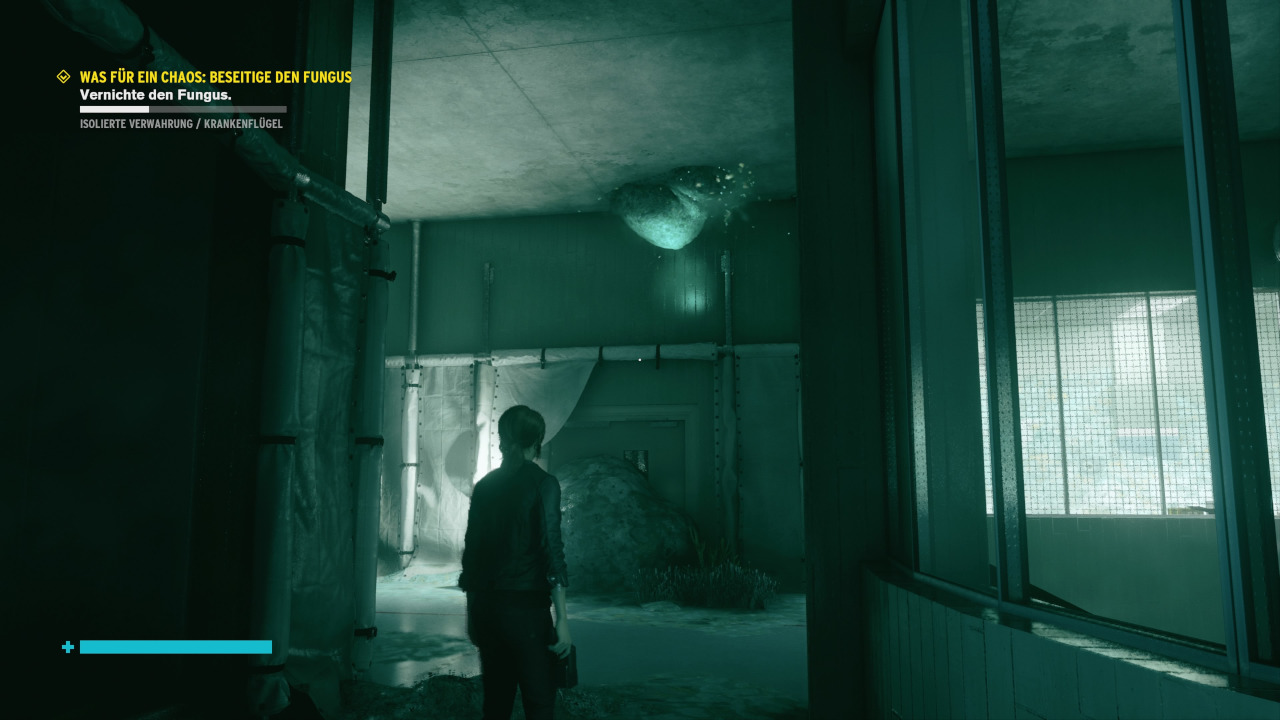
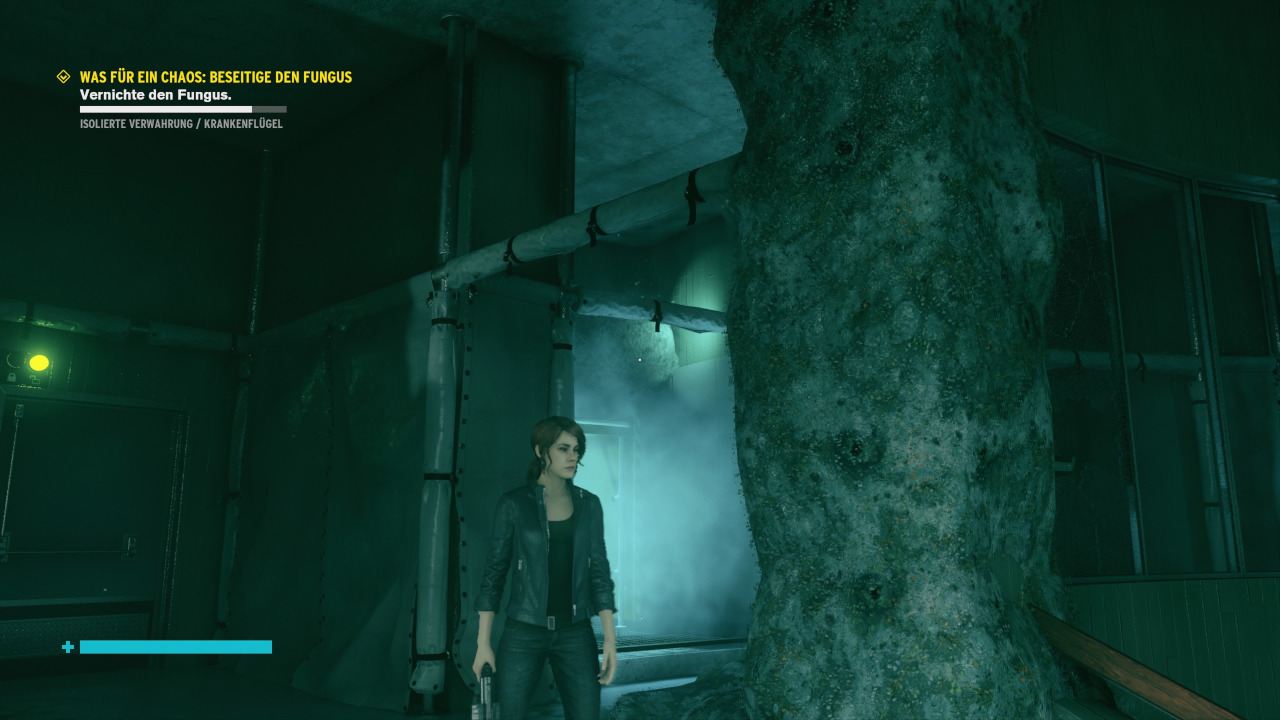
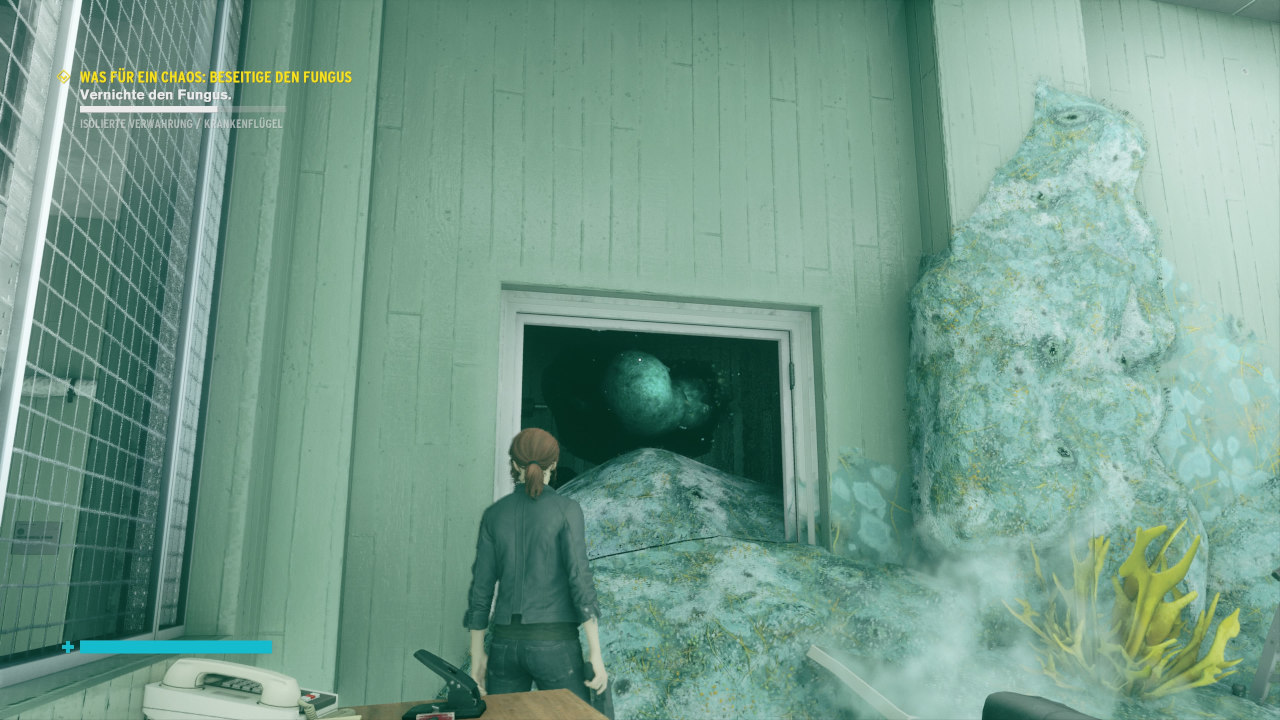
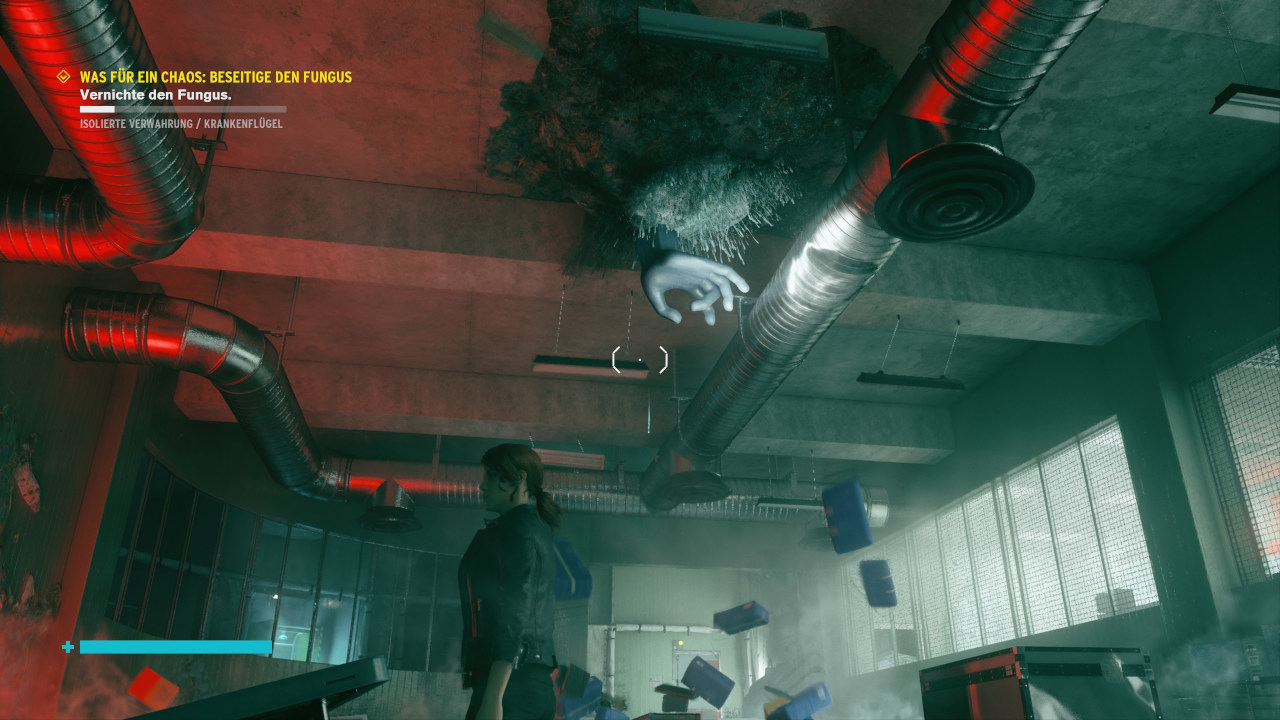
What a mess: Eliminate the fungus
Side Mission Location:
- In the janitor's office by the blackboard.
Travel to the Logistics checkpoint and go to the Hospital Wing. Eliminate the fungus spores on the walls.
Reward:
- Three skill points, crafting materials, and a modification.
What a mess: Eliminate the blockage
Side mission location:
- In the janitor's office by the blackboard.
Travel to the "NCS Cooling Pumps - Entrance" checkpoint. Go to the pump station and place the three electrical blocks in their holders. Then activate the pumps. Through the open door you will get downstairs, where you will kill several monsters clogging the pumps.
You will find the last electric block behind the door, which you will also open with a block.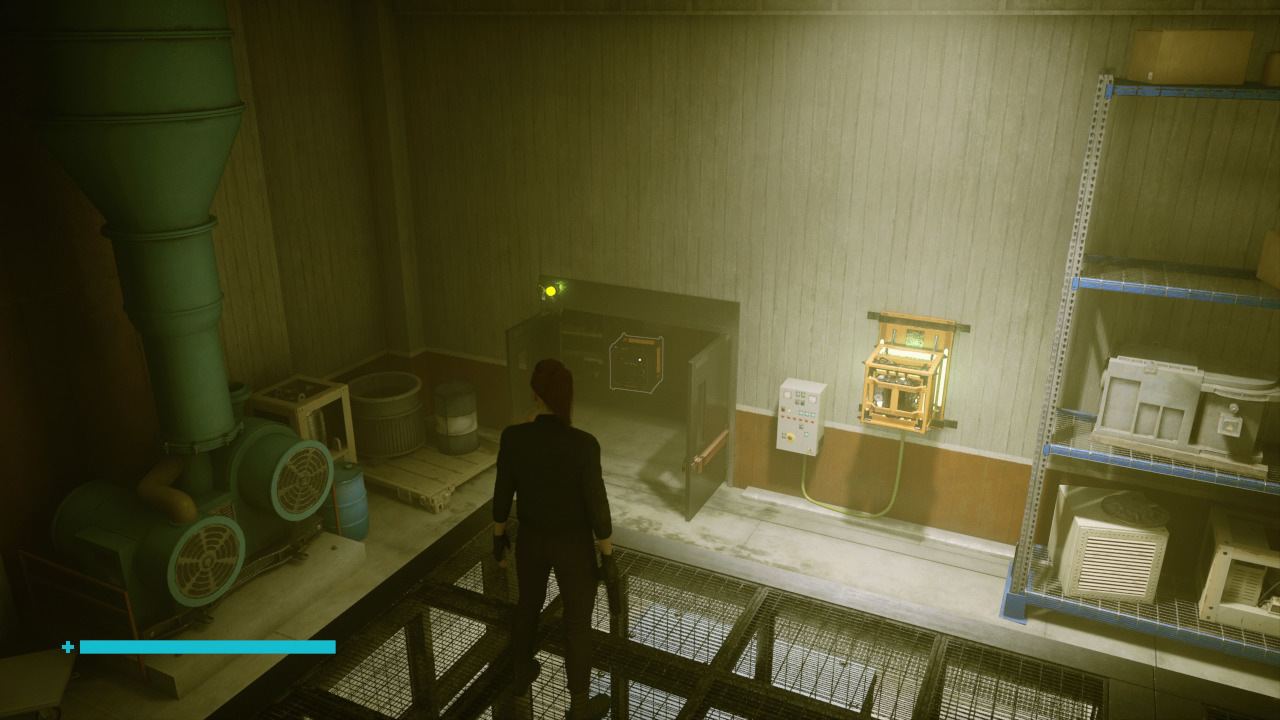
Reward:
- Three skill points and crafting materials.
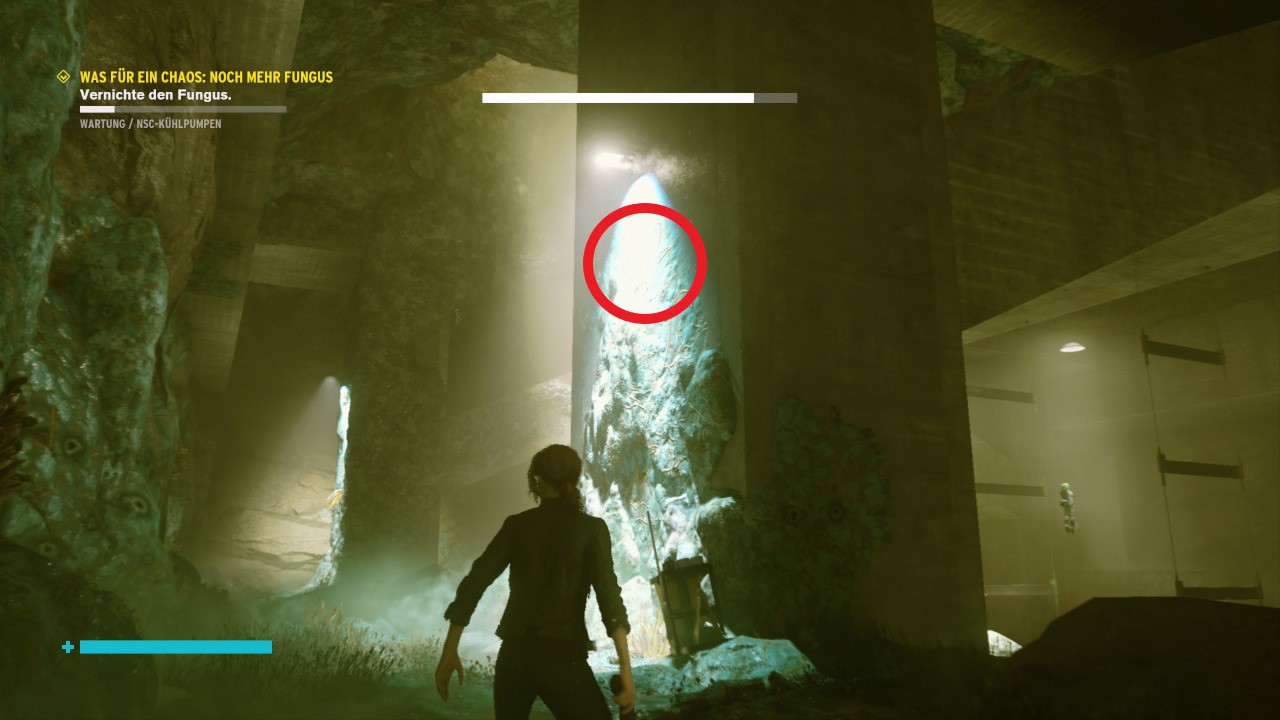
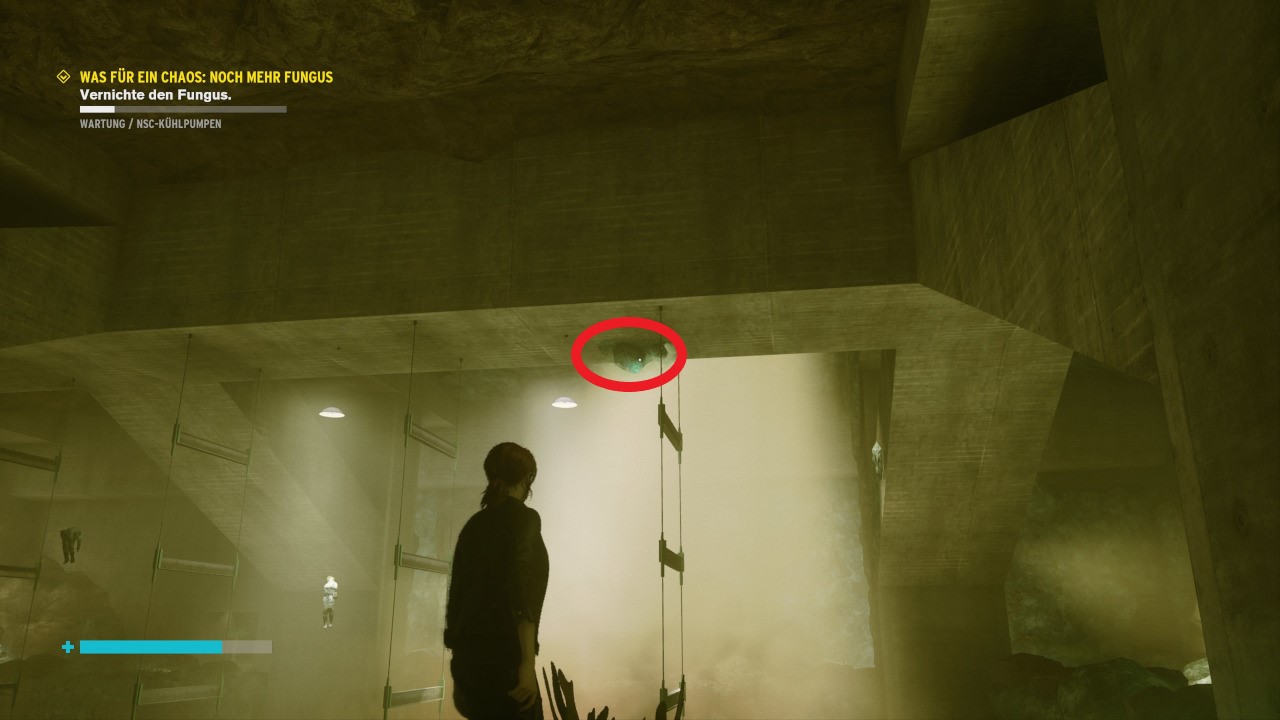
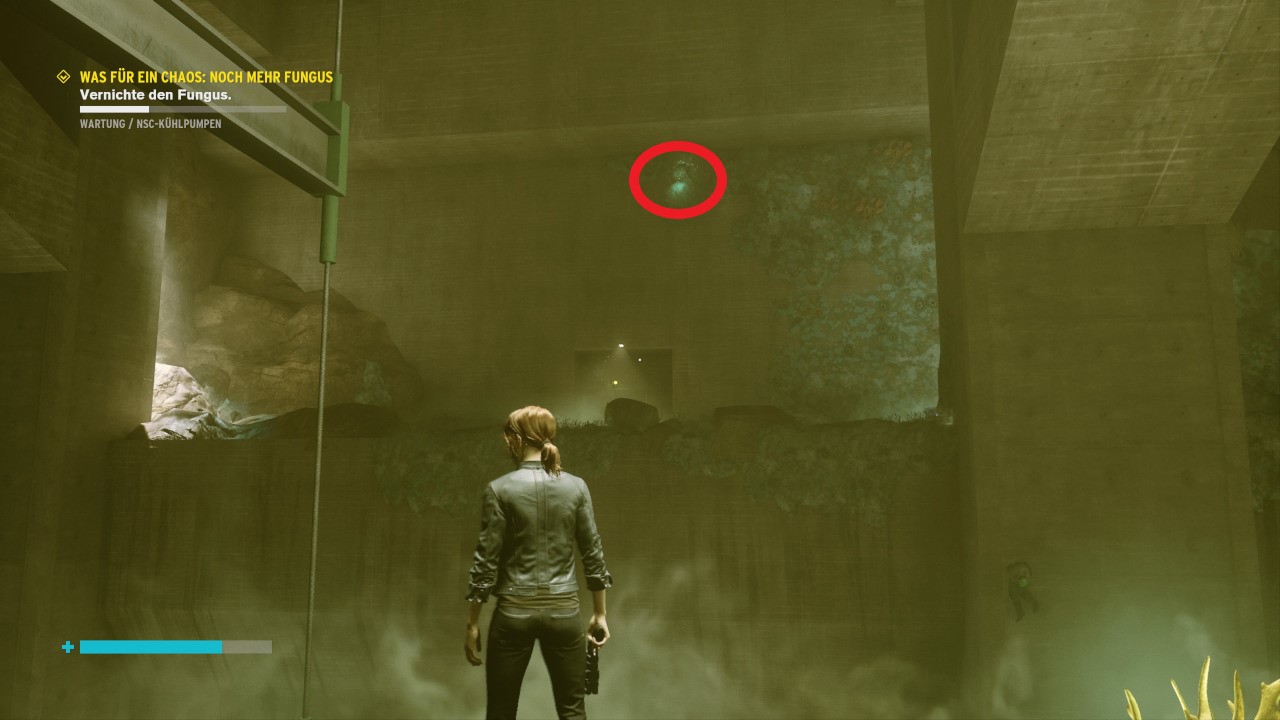
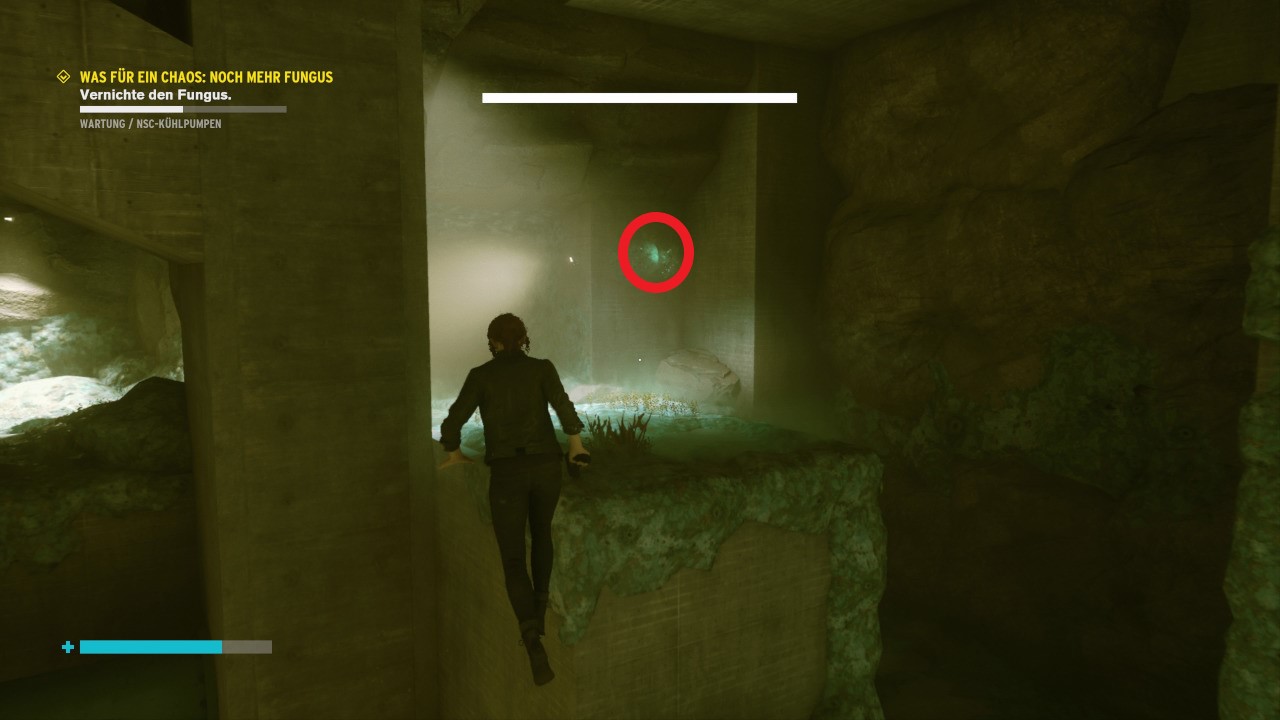
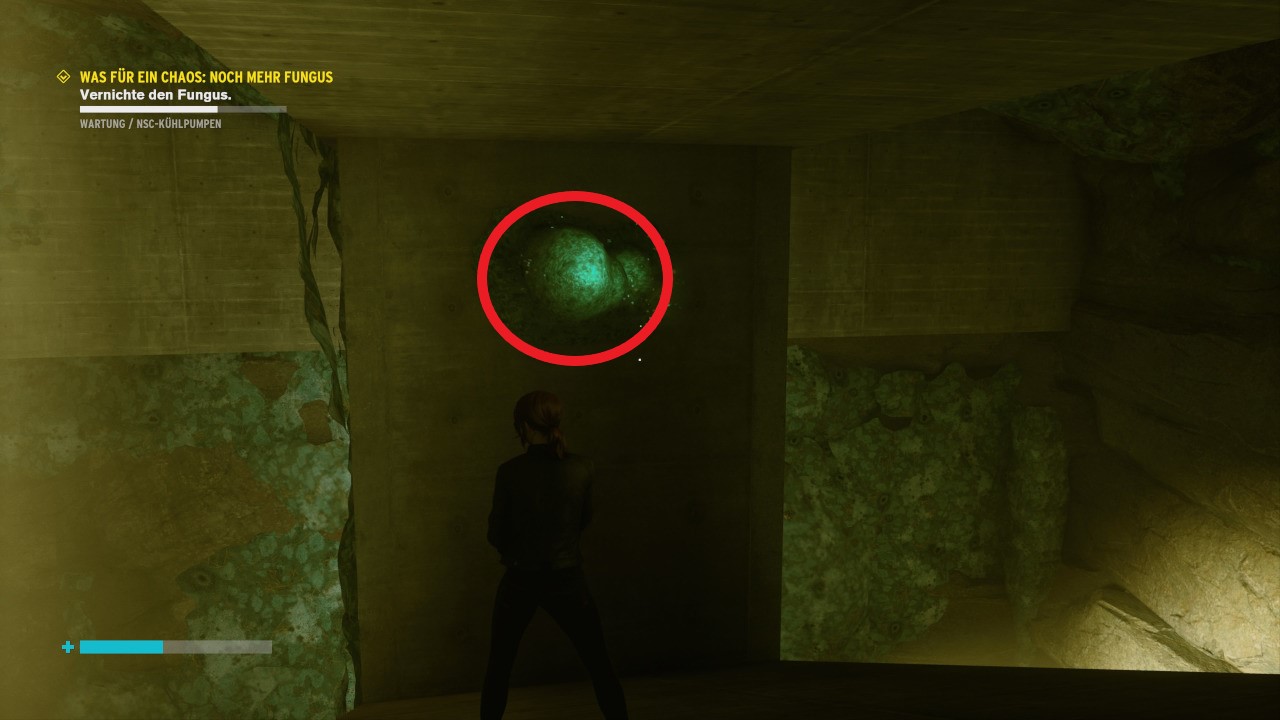
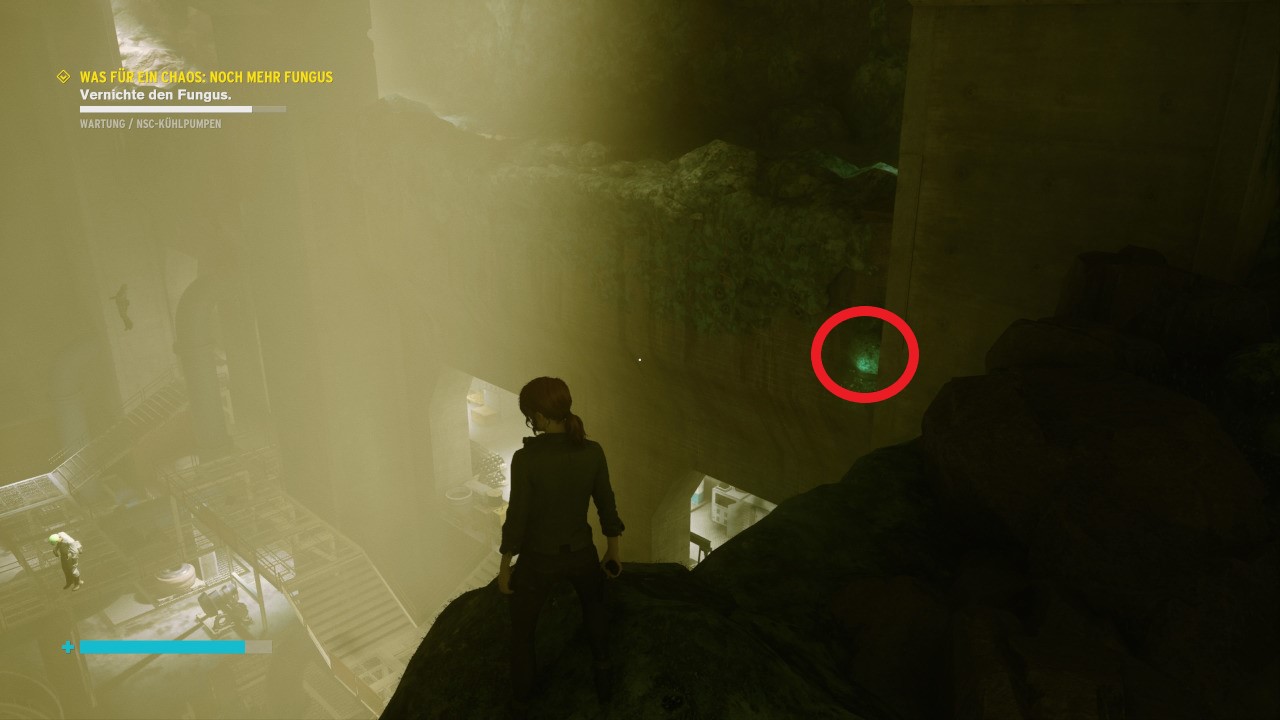
What a mess: More Fungus
Side mission location:
- In the janitor's office by the blackboard.
Go to the "NPC Cooling Pumps - Upper Maintenance" checkpoint and shoot the Fungus spores off the walls and ceilings.
Reward:
- Four skill points and crafting materials.
What a mess: Take a break
Side mission location:
- In the Janitor's Office after all other What a Mess missions have been completed.
Sit on the couch in the Janitor's Office and rest.
Reward:
- Four skill points and the "Janitor's Assistant" outfit.
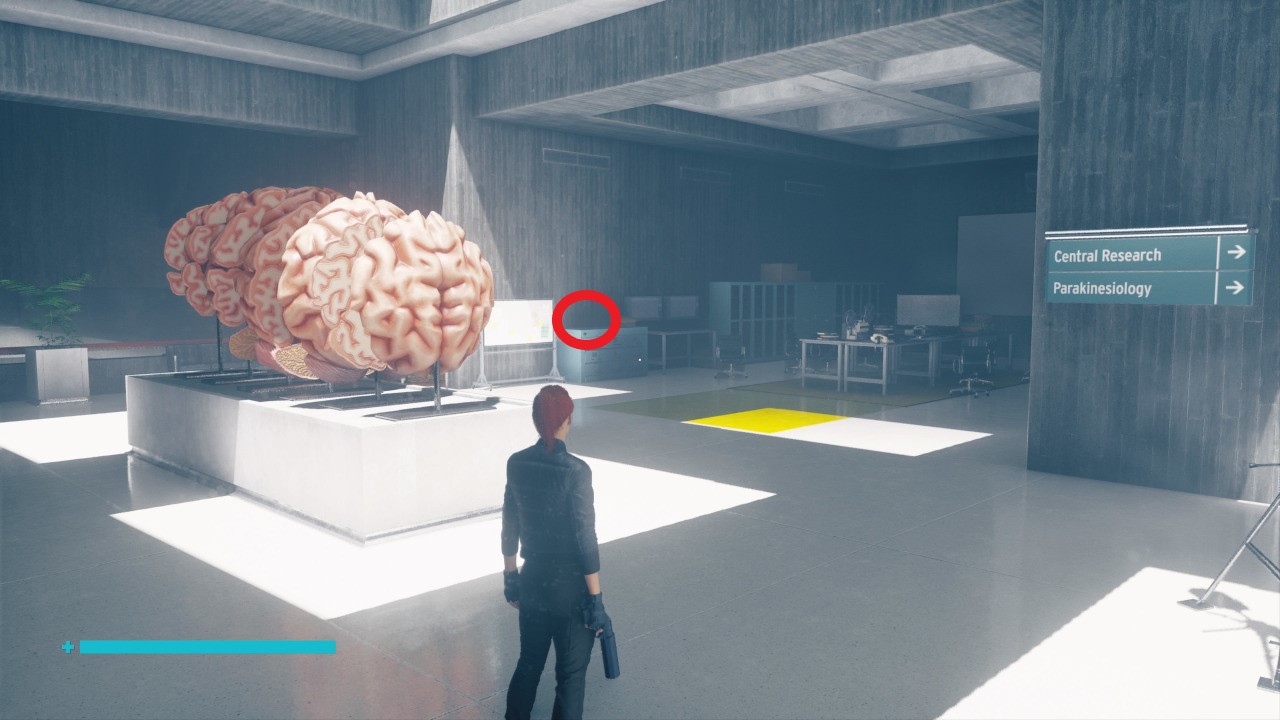
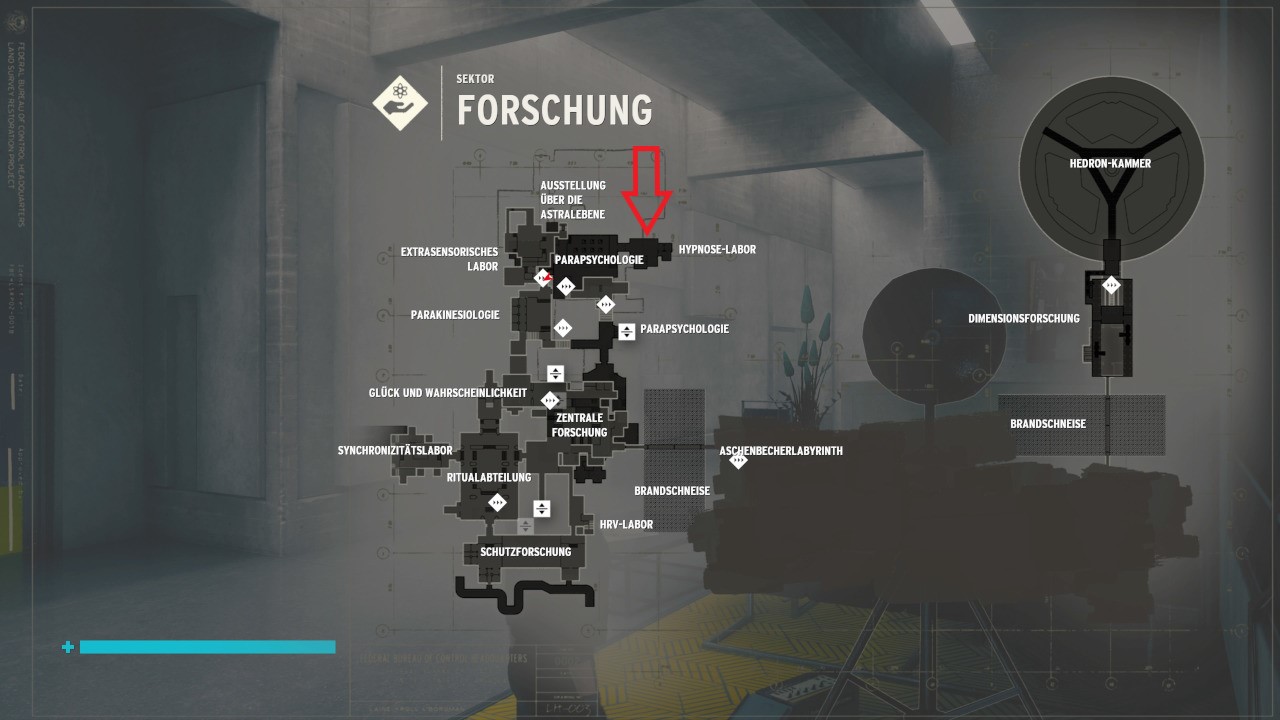
A captive audience
Side Mission Finding Spot:
- Collectible item in the research sector, right next to the parapsychology checkpoint. Pick up the note on the cabinet.
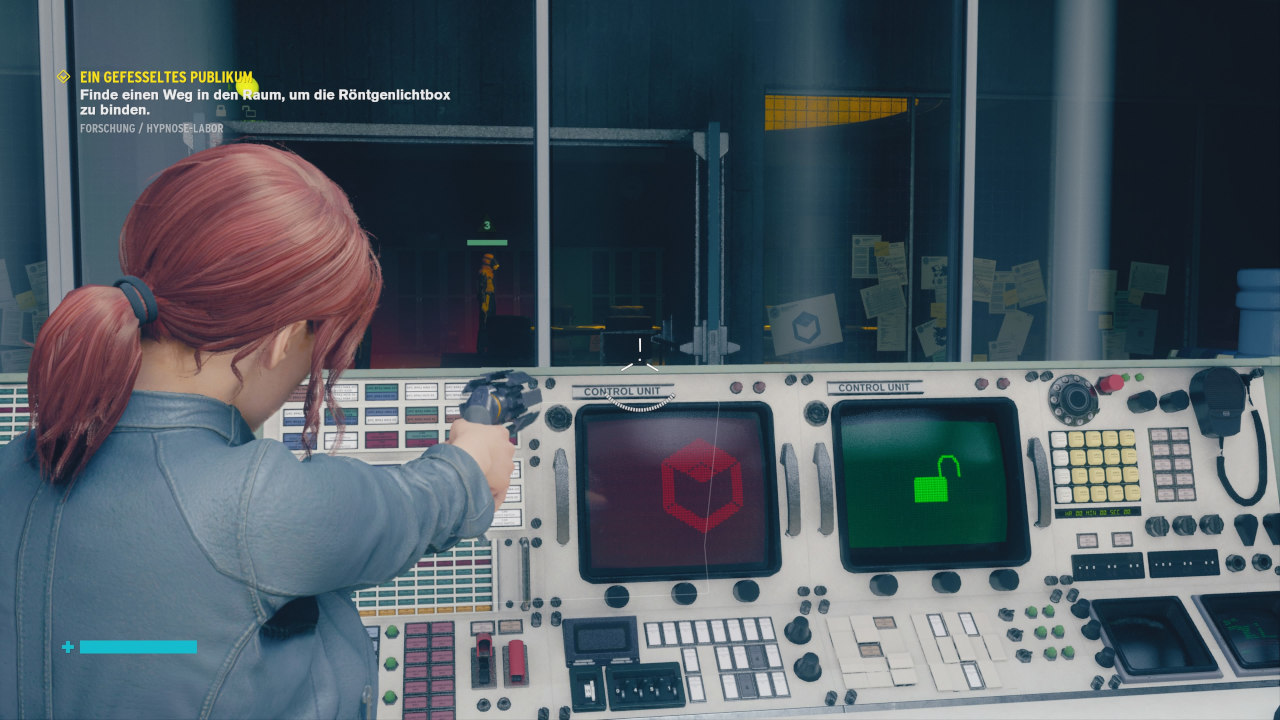
In the Hypnosis Lab, enter the password on the computer to open the door to the Object of Power. You will be teleported from the object to an astral plane and learn the ability "Take Over".
Reward:
- Take Over ability, three ability points, crafting materials, and a modification.
A good defense
Side mission location:
- In Central Maintenance, take the passage to the right from the elevator to the training area.
To open the passage, destroy the three red glowing stones in Central Maintenance. Use your Dodge ability to quickly get through the training course, at the end of which you will receive the Shield ability.
You can find the training area next to the elevator in Central Maintenance.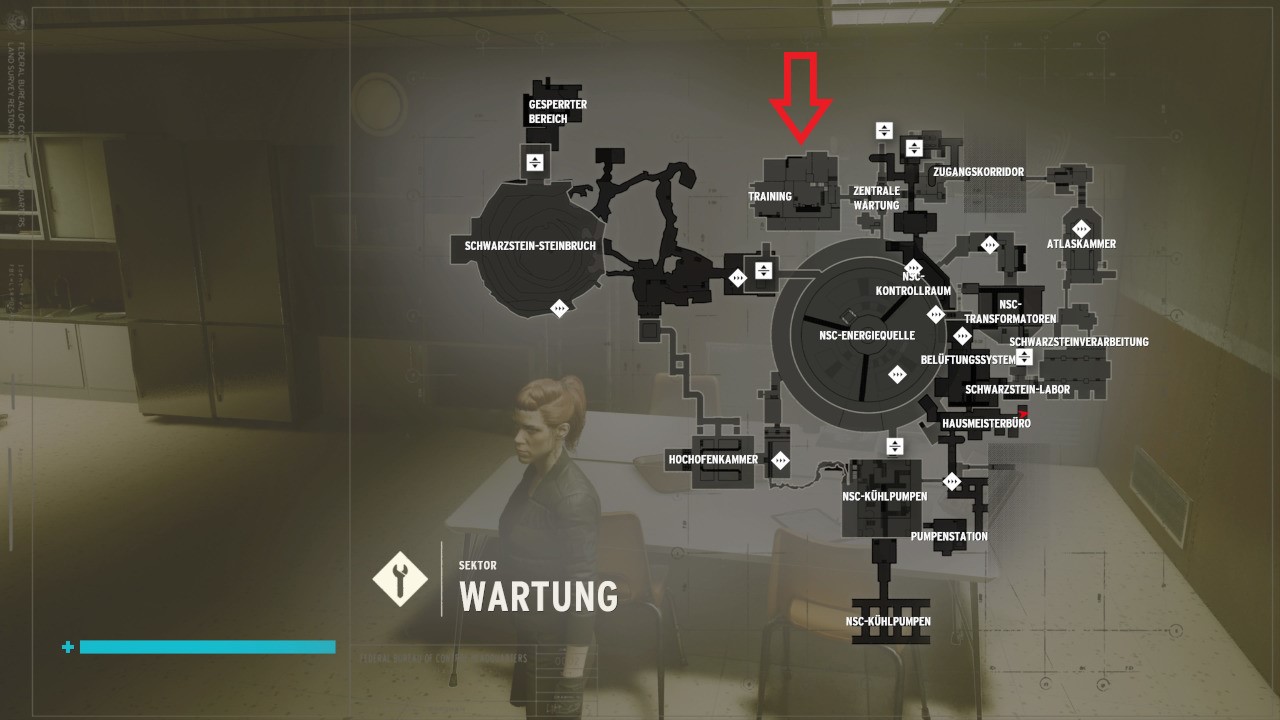
Reward:
- "Shield" ability, four ability points, crafting materials and a modification.
A matter of time
Finding place of the side mission:
- In the Isolation Sector, to the left of the Logistics checkpoint, find the injured Horowitz sitting in front of the Shelter.
Pull the switch three times to be teleported to the Oceanview Motel. At the reception you will see a clock. Set the three clocks in the rooms to the same time as the clock at the reception desk. Take the key from the reception counter, which will open the door with the upside-down pyramid.
In the Sealed Frontier you'll meet Horowitz's friend, who will open level 9 doors for you. Escort him through the enemy hordes. To open the locked grate door, climb into the ventilation shaft to the left of it. This will take you behind the door and open it for Horowitz's friend. Accompany him until you get back to Horowitz.
The side mission "A Matter of Time" offers probably the easiest boss fight in Control.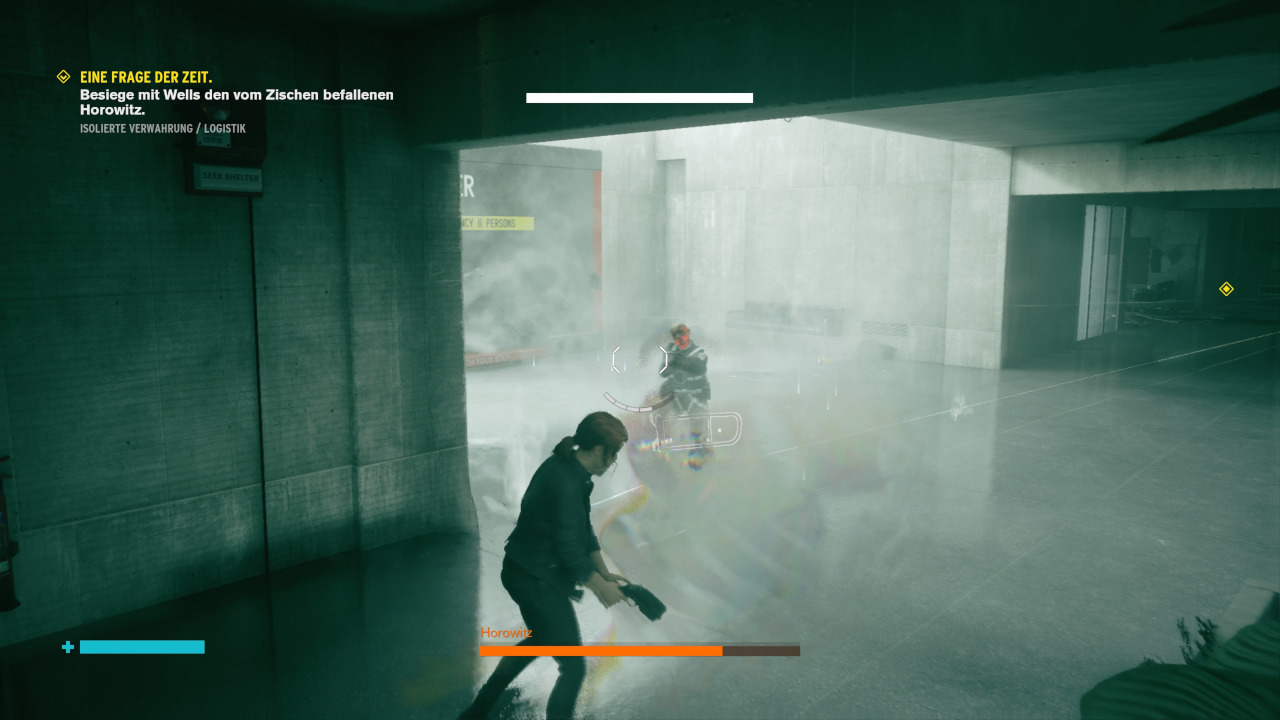
Unfortunately, you're too late, Horowitz has already mutated into a fizzler. A short and easy boss fight against Horowitz follows.
Reward:
- Two ability points, crafting materials and a modification.
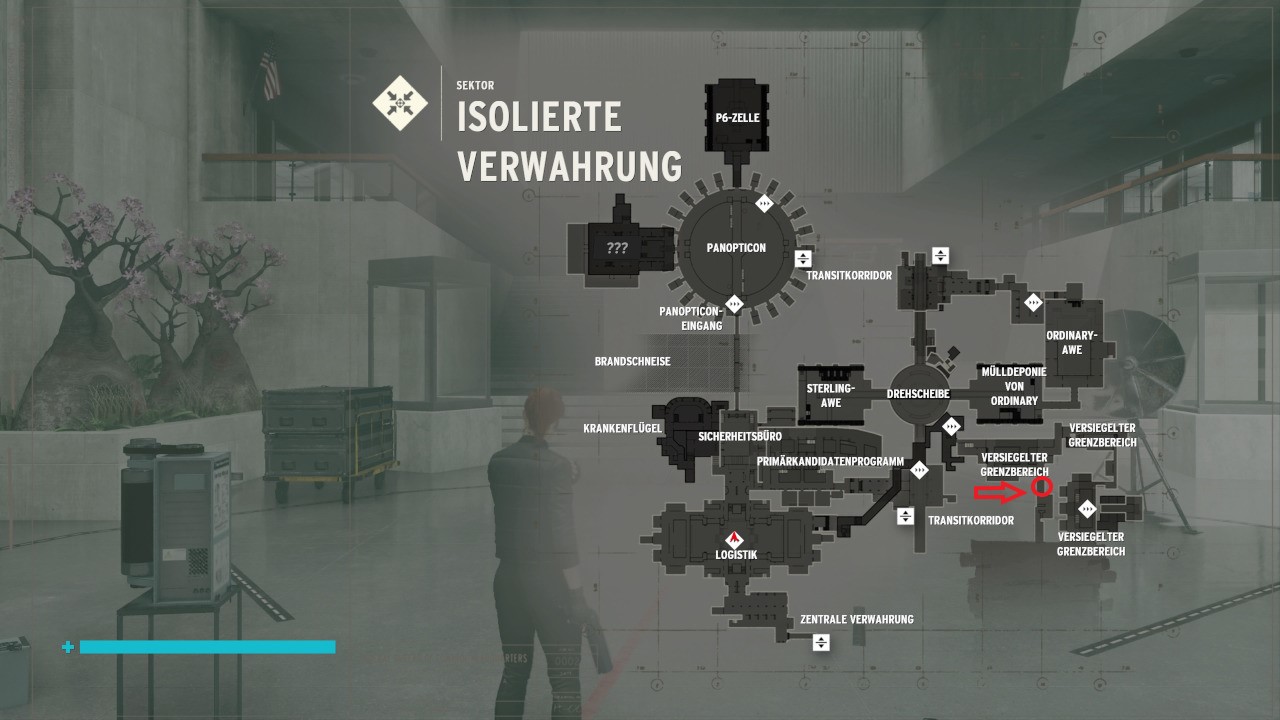
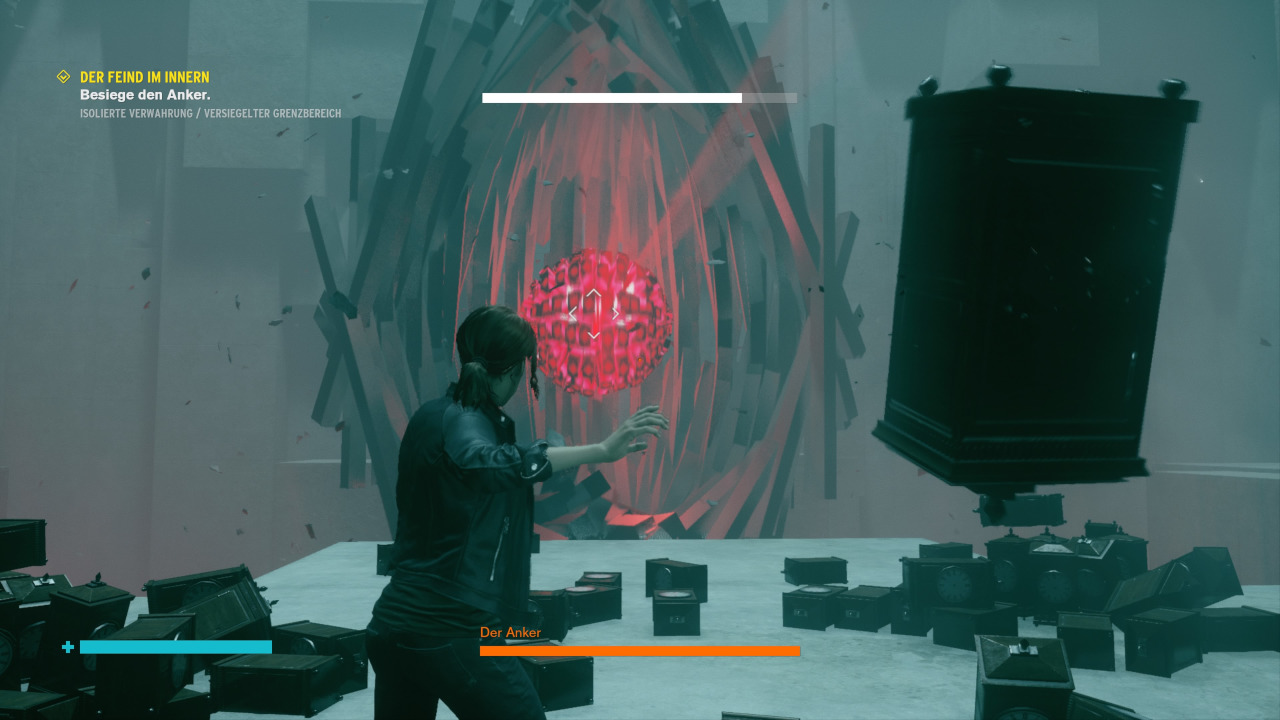
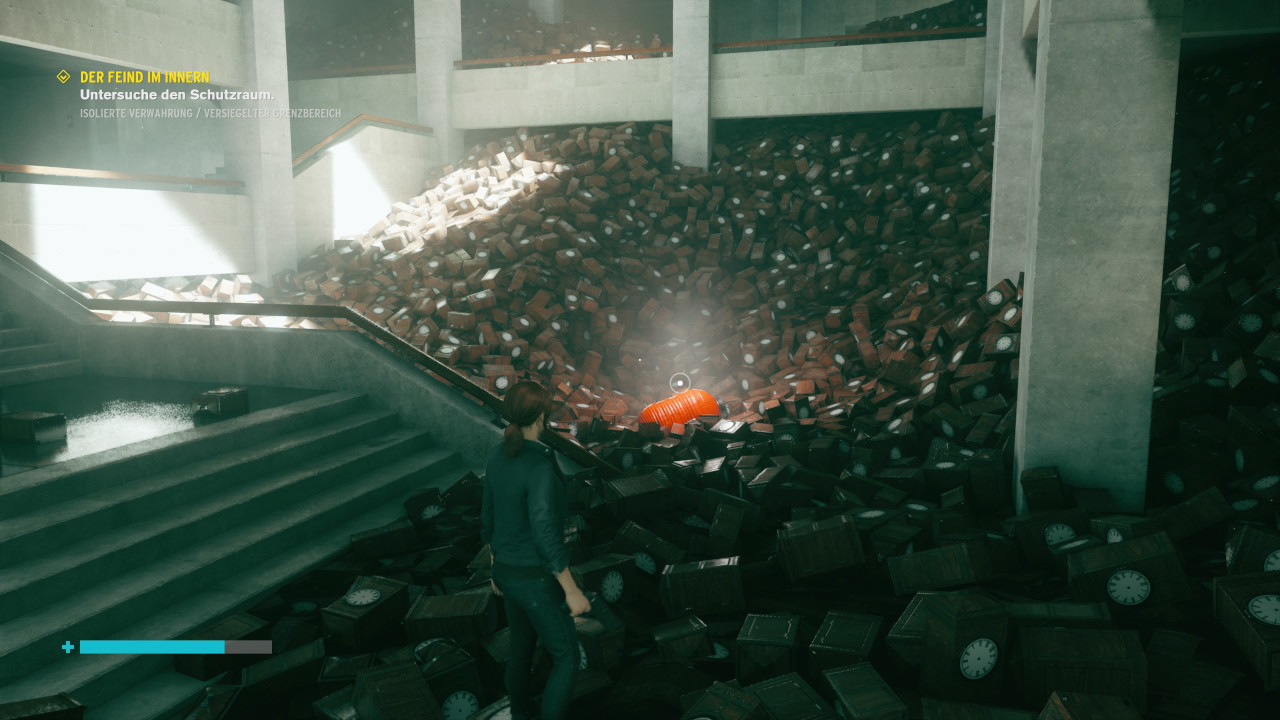
The Enemy Within
Side mission location:
- Obtained automatically when "A Matter of Time" is completed.
Return to the "Sealed Border Area" checkpoint and go to the shelter in the marked area (map). The Boss Anchor will stand in your way. You'll damage him by throwing items into his innards as soon as he opens up. Exploding hissers will also appear during the fight, which you should take care of quickly.
Reward:
- Three skill points and crafting materials.
Fridge Service
Side Mission Location:
- In the Isolation Sector, next to the Upper Panopticon checkpoint, there is a man sitting in a cell in front of the refrigerator.
When you first meet the overseer at the fridge, there is nothing you can do yet. Return there after the sixth main mission to continue the side quest. Then tell Langston about it, go back to the guard and through the open door to the fridge. Meanwhile, the overseer will be killed by the refrigerator.

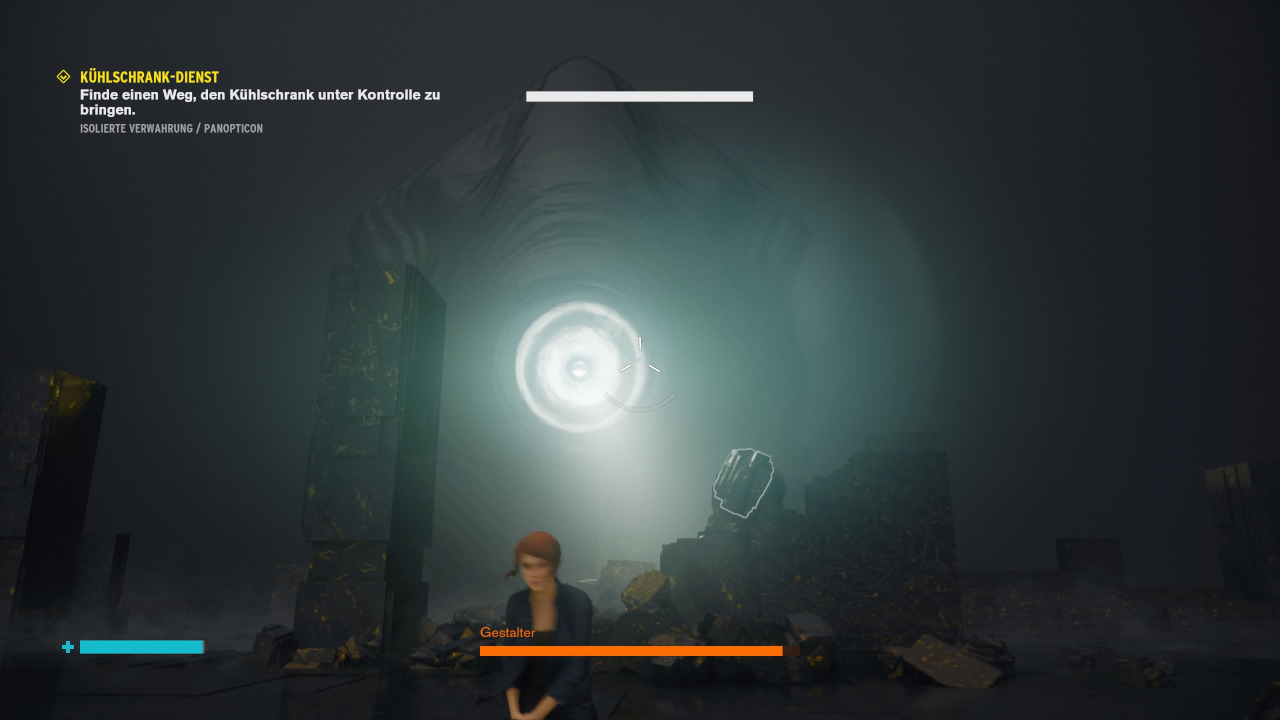
Interact with the refrigerator to start the boss fight with the shaper. Shoot him in the eye and dodge the projectiles or throw them back to him. In the second stage, dodge his legs. Defeat him as soon as possible, otherwise the Shaper will destroy more and more parts of the platform and you run the risk of falling down.
Reward:
- Three ability points and crafting materials.
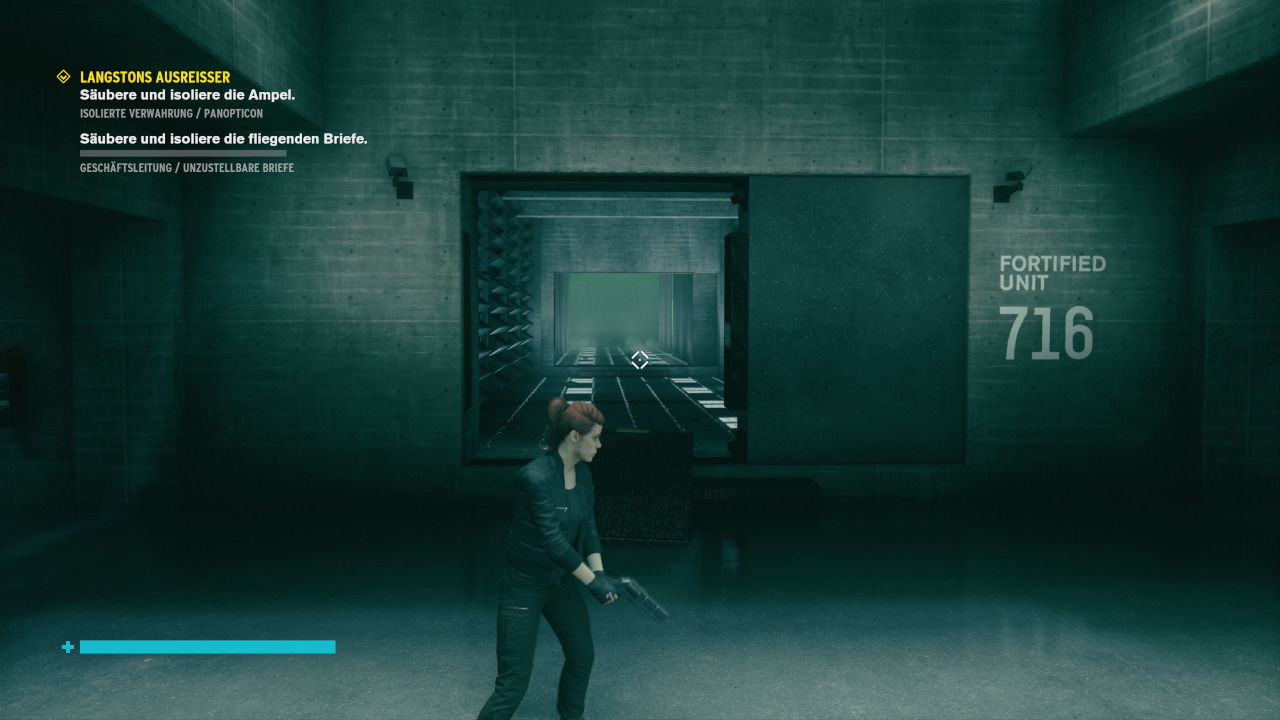
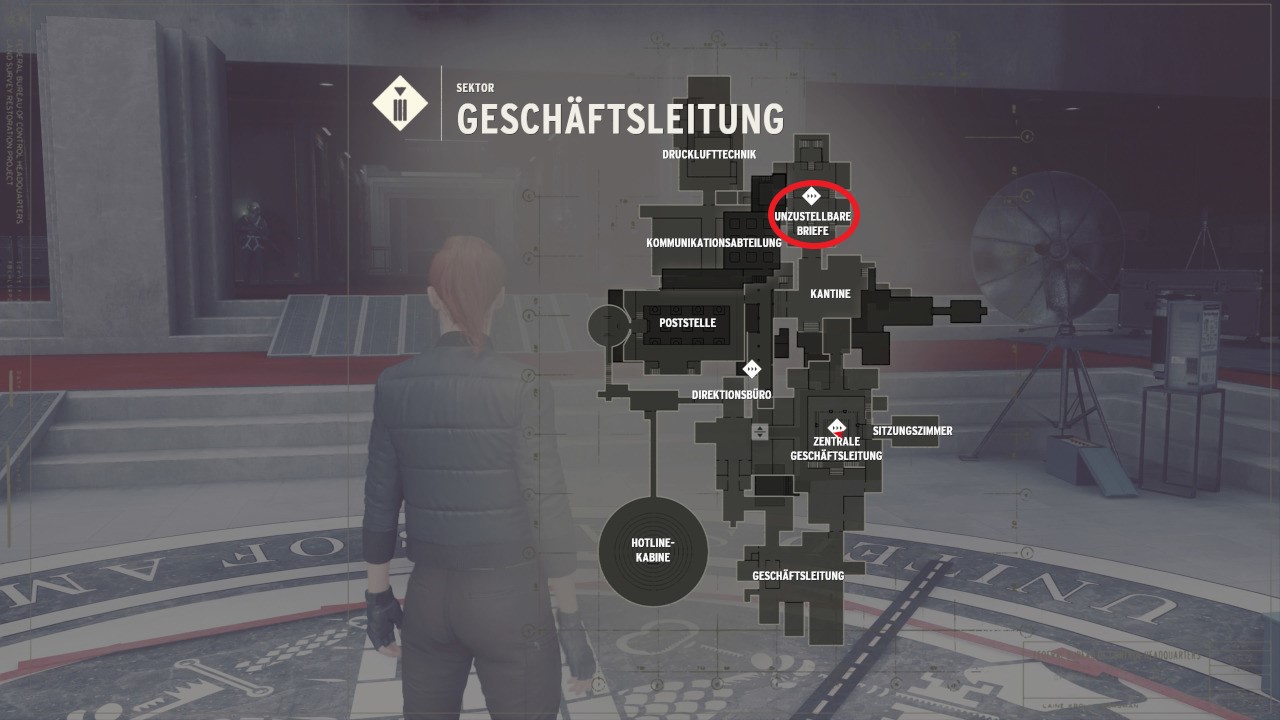
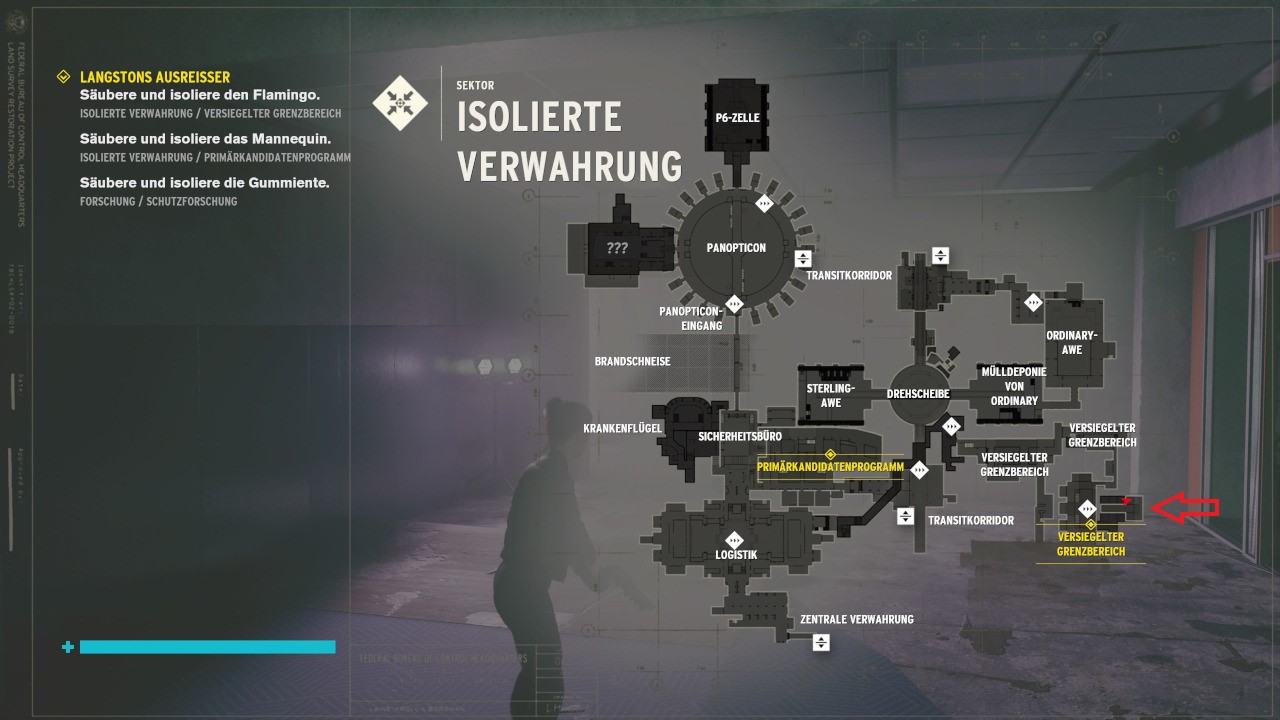
Langston's Runaway
The location of the side mission:
- Obtained automatically from Langston after completing "Fridge Duty".
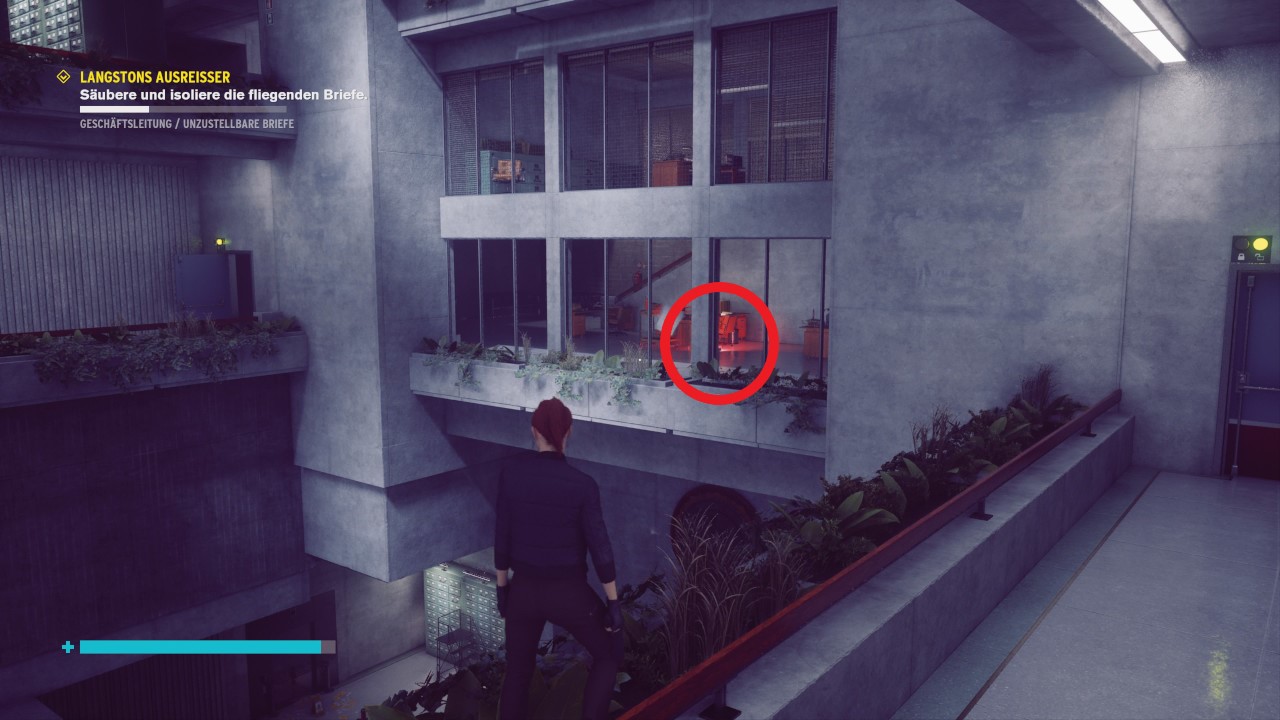
Your task is to capture four escaped transformed objects for Langston. We will tell you where to find them.


Then return to Langston, who wants you to find three more objects for him.
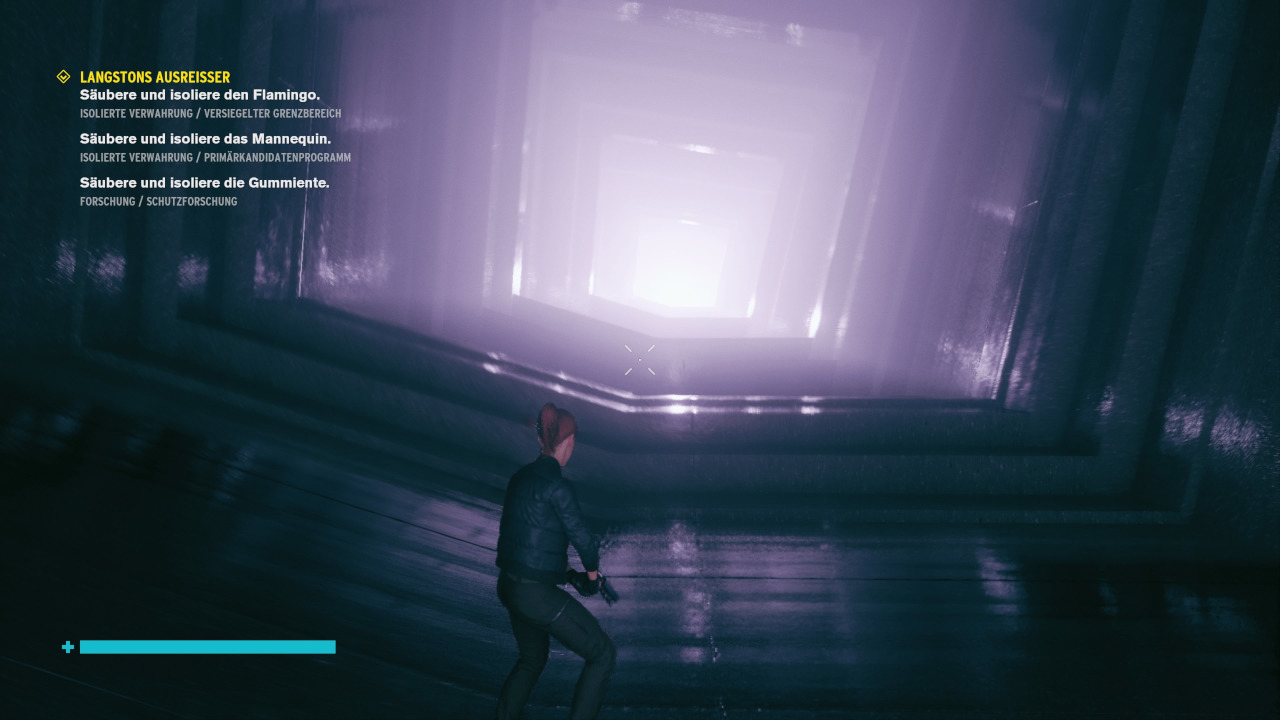
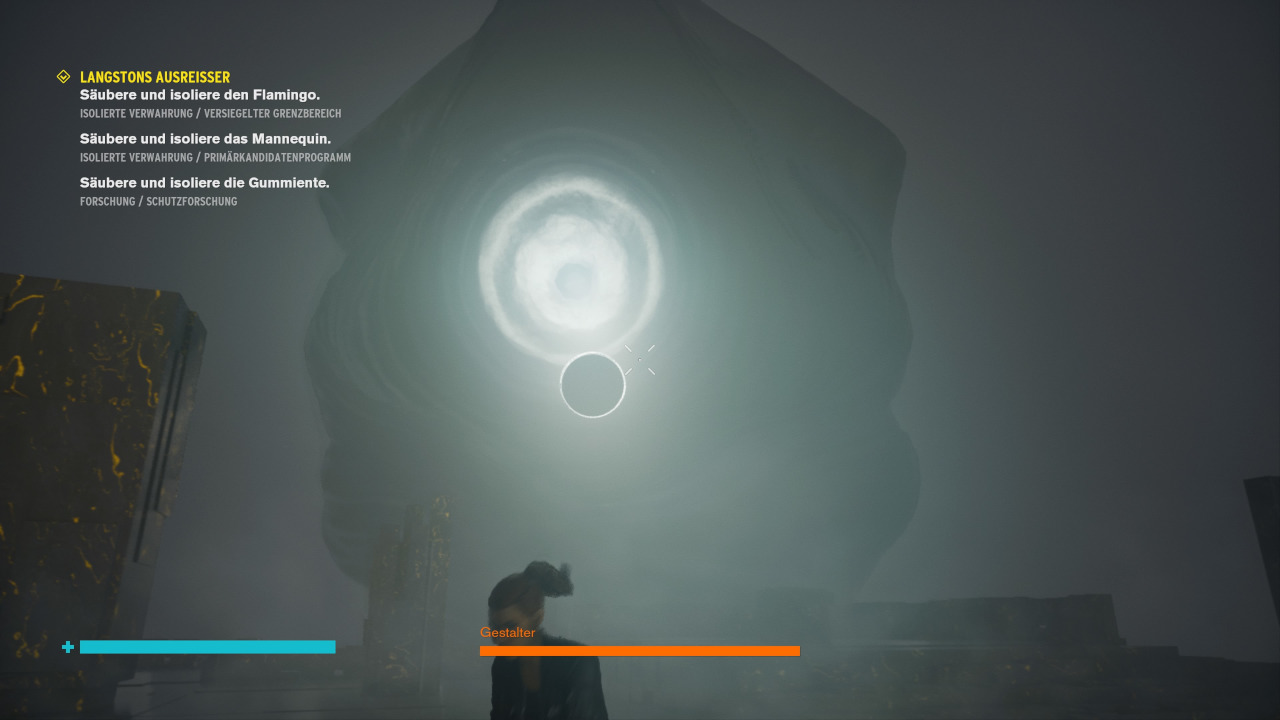
Flamingo
Travel to the sealed border area and go to the area to the right of the checkpoint. Follow the pink glow until you reach the flamingo. However, it will disappear before you can grab it. Now jump over the bumps coming your way, otherwise you will be reset to the beginning.
At the flamingo, the designer awaits you a second time. Fight him in the same way as in the side mission "Fridge Duty".
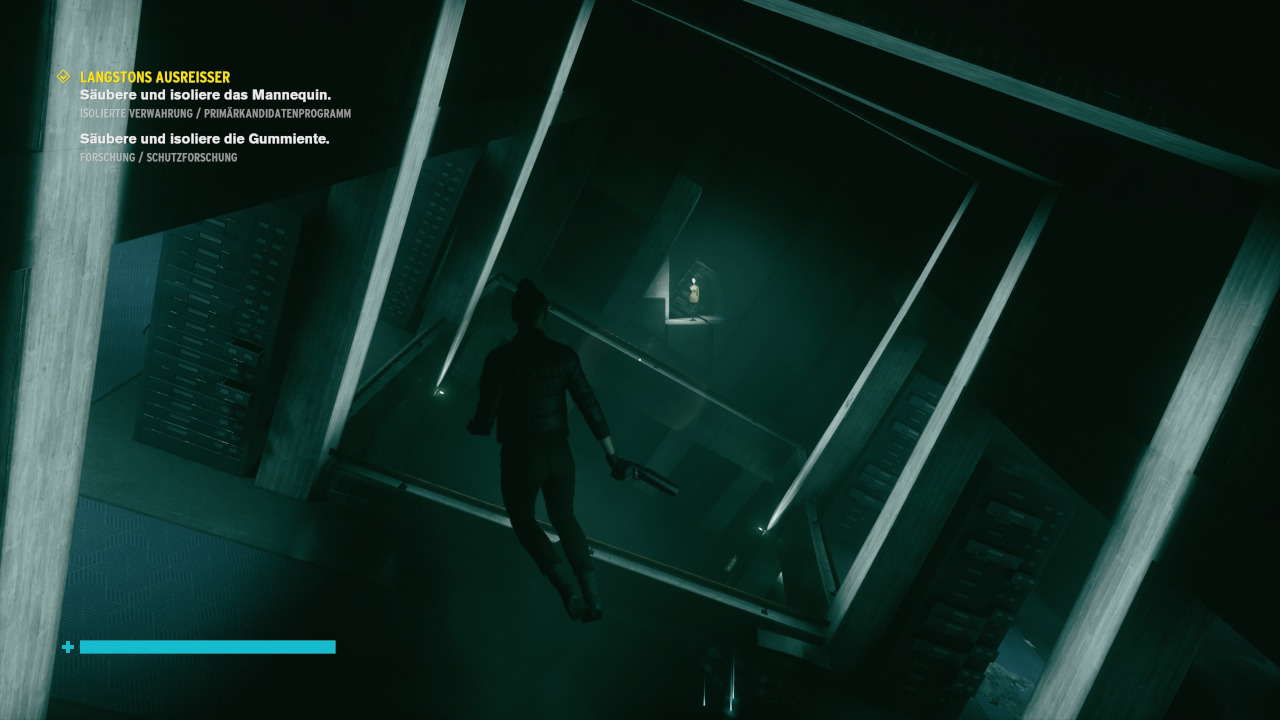
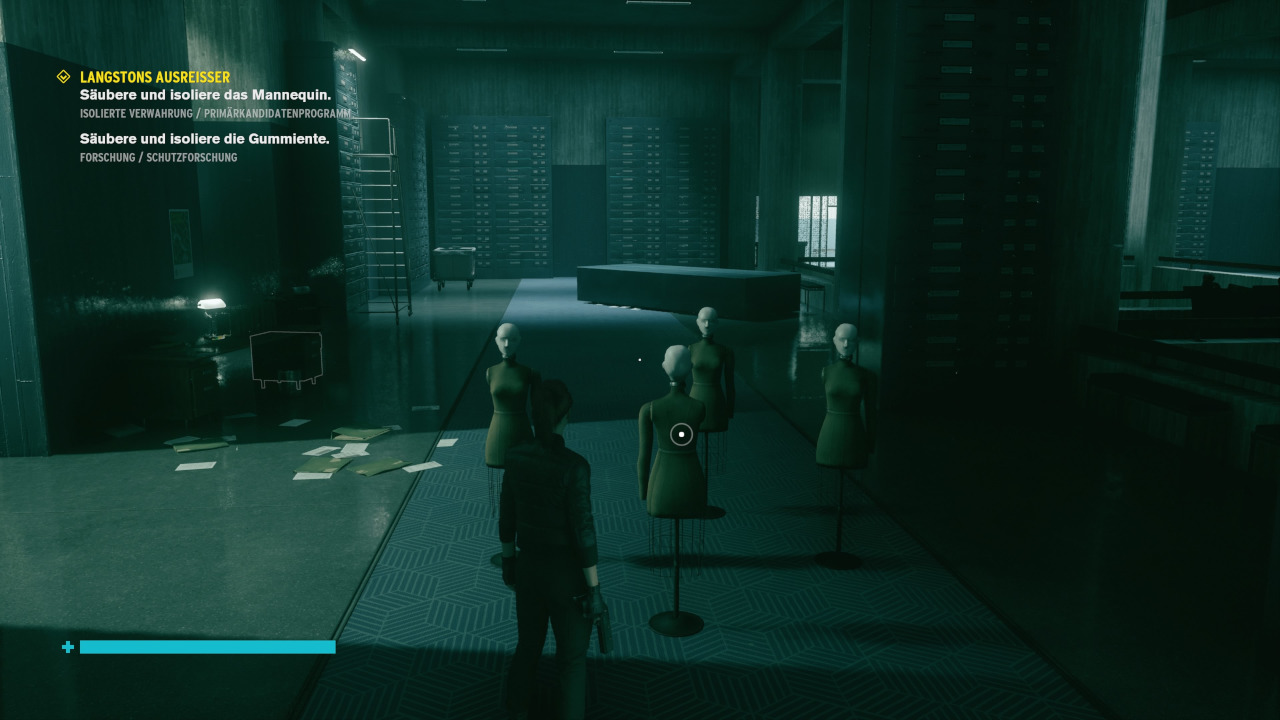
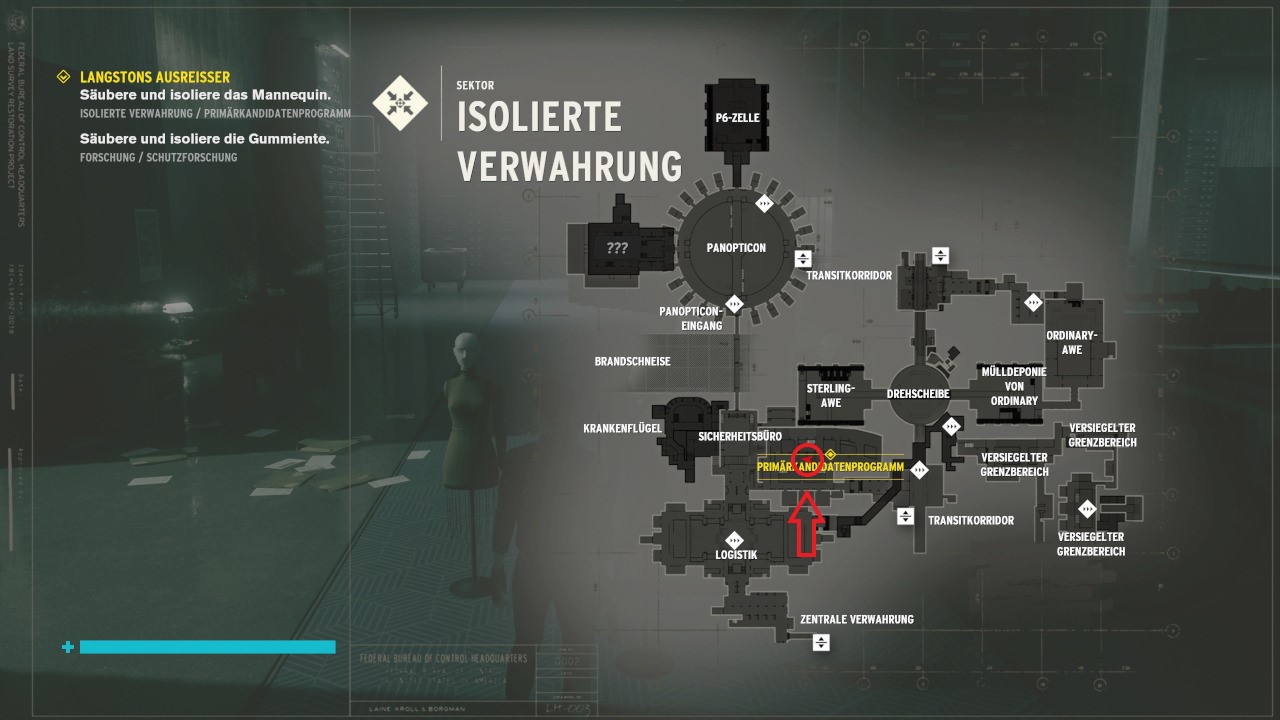
Mannequin
The mannequin is hidden at the very end of the room in the primary candidate program. If you touch it, mannequins will appear all over the room. On the screenshots we will show you where the right mannequin is hiding.
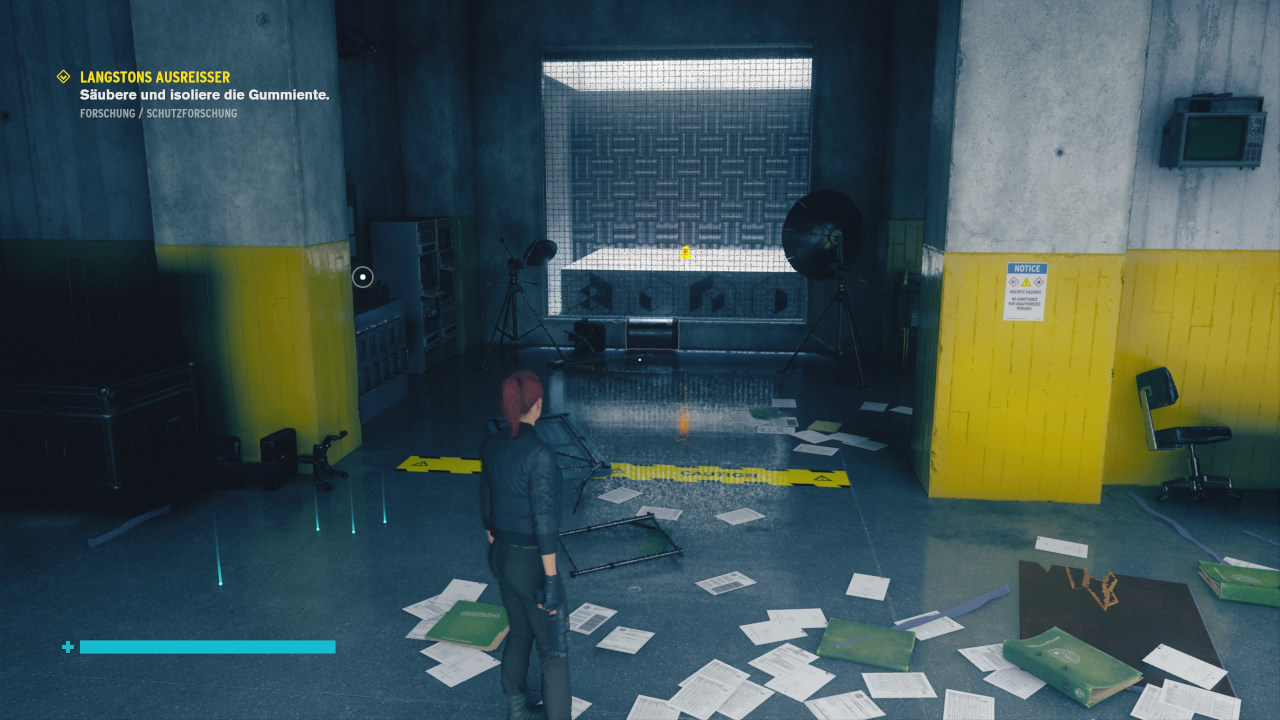
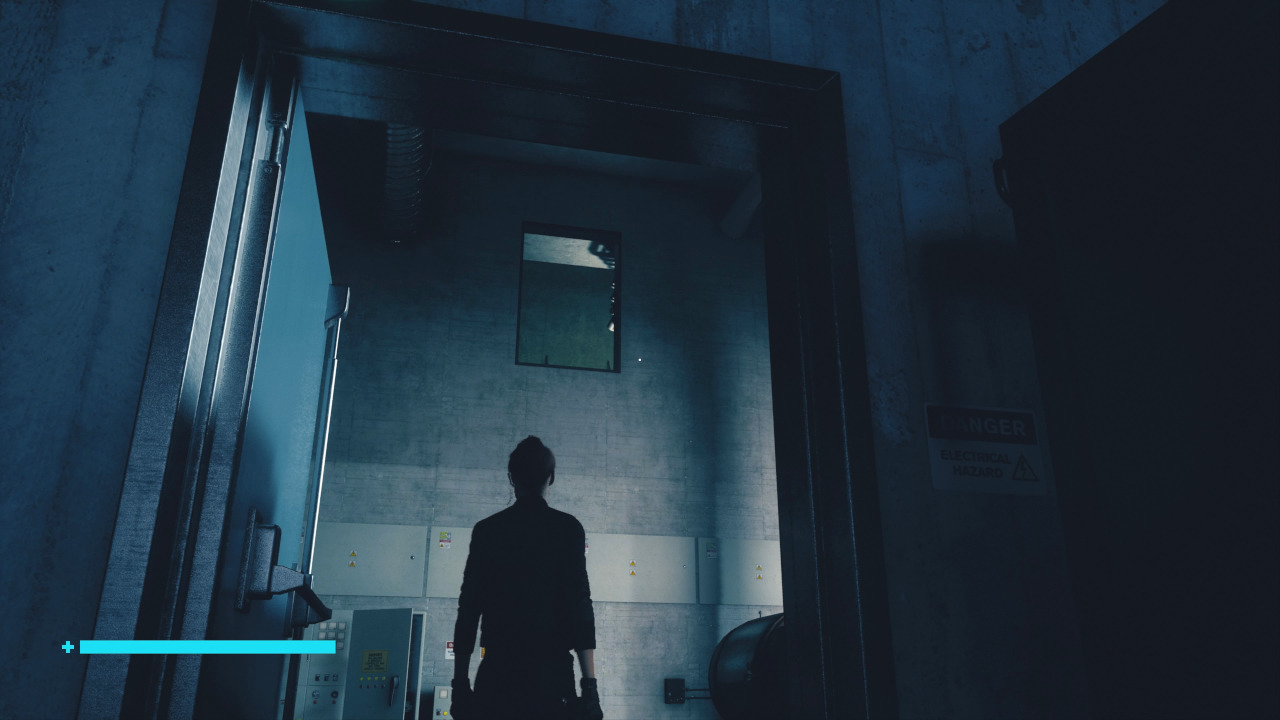
Rubber Duck
The rubber duck is in the security research in the research sector. To get behind the glass panel, continue down the corridor to the HRV Lab. Across from the entrance to the HRV lab is a maintenance room with a maintenance shaft entrance through which you can reach the rubber duck. But be careful: the duck will teleport across the room a few times before you can capture it.

Reward:
- Three skill points and crafting materials.
Old friends
Side mission location:
- Obtained in the Arish Central Management after the sixth main mission.
Defeat six former members of Arish's unit and recover their pouches. You will find them all in the Maintenance Sector. They will appear once you enter the following areas:
- Atlas Chamber
- Blackstone Processing
- Blackstone Quarry
- NSC Transformers
- NSC cooling pumps
- Ventilation system
Reward:
- Four skill points, crafting materials, and modifications.
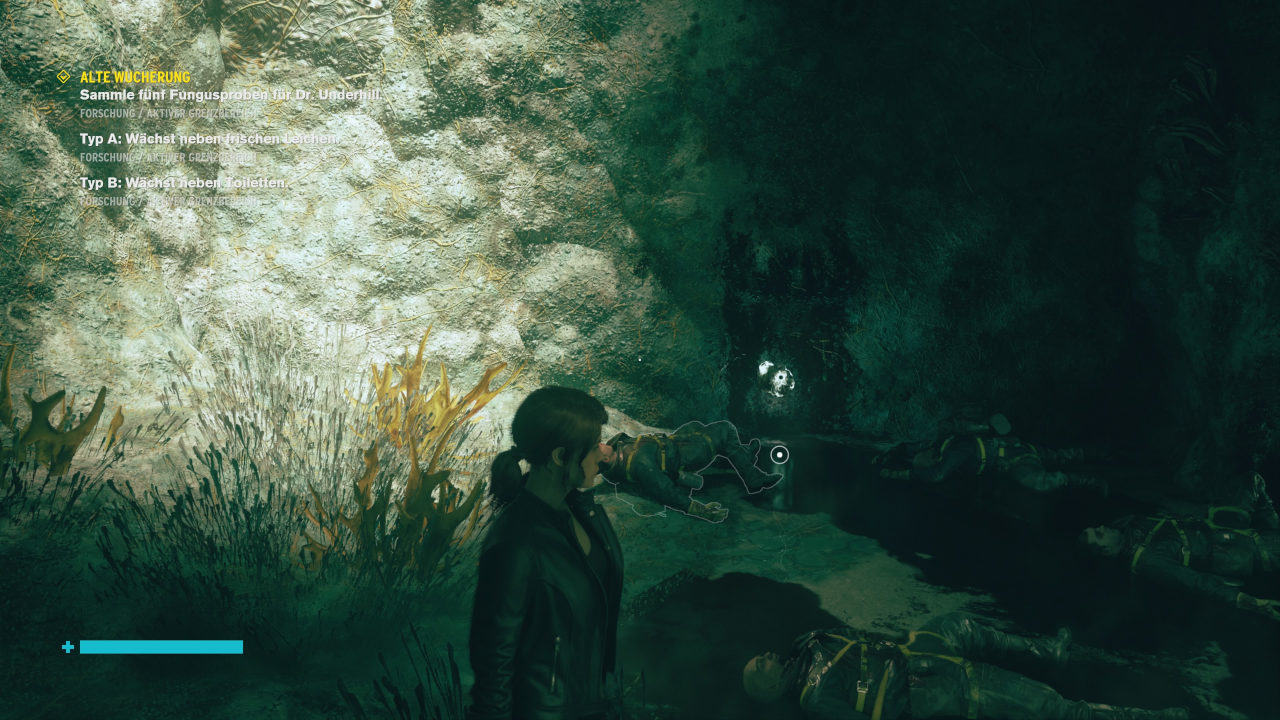
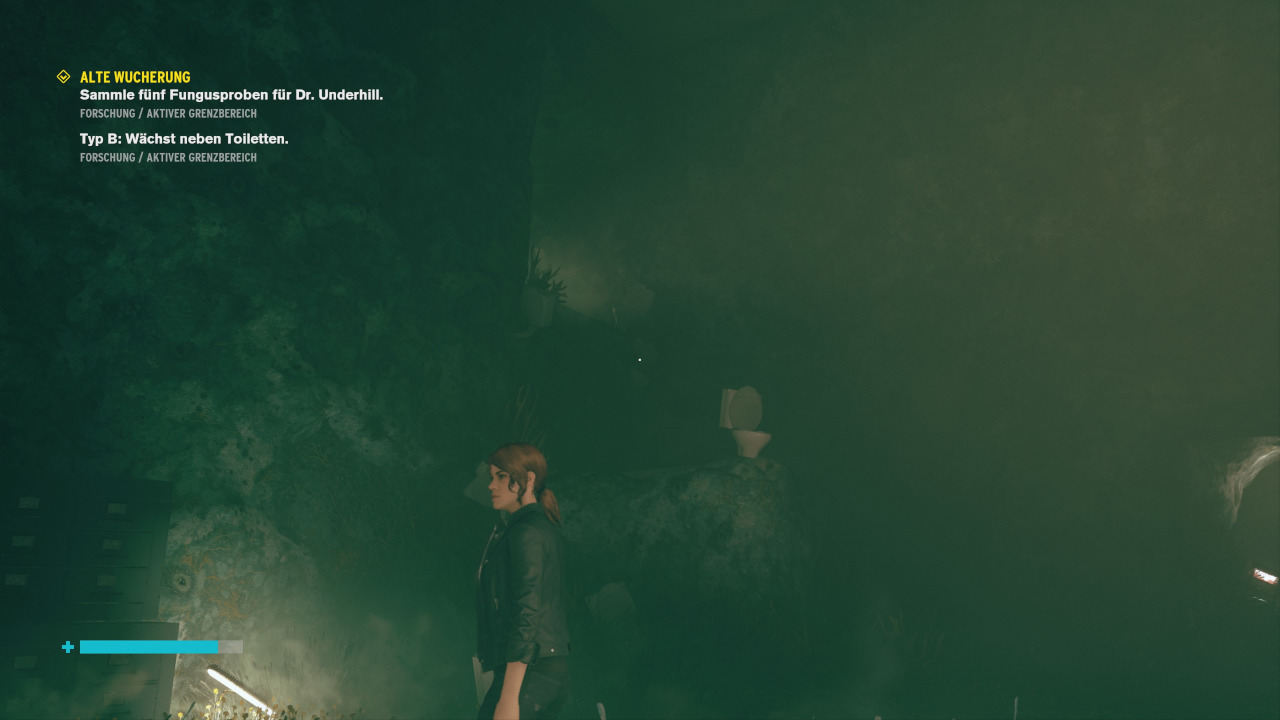
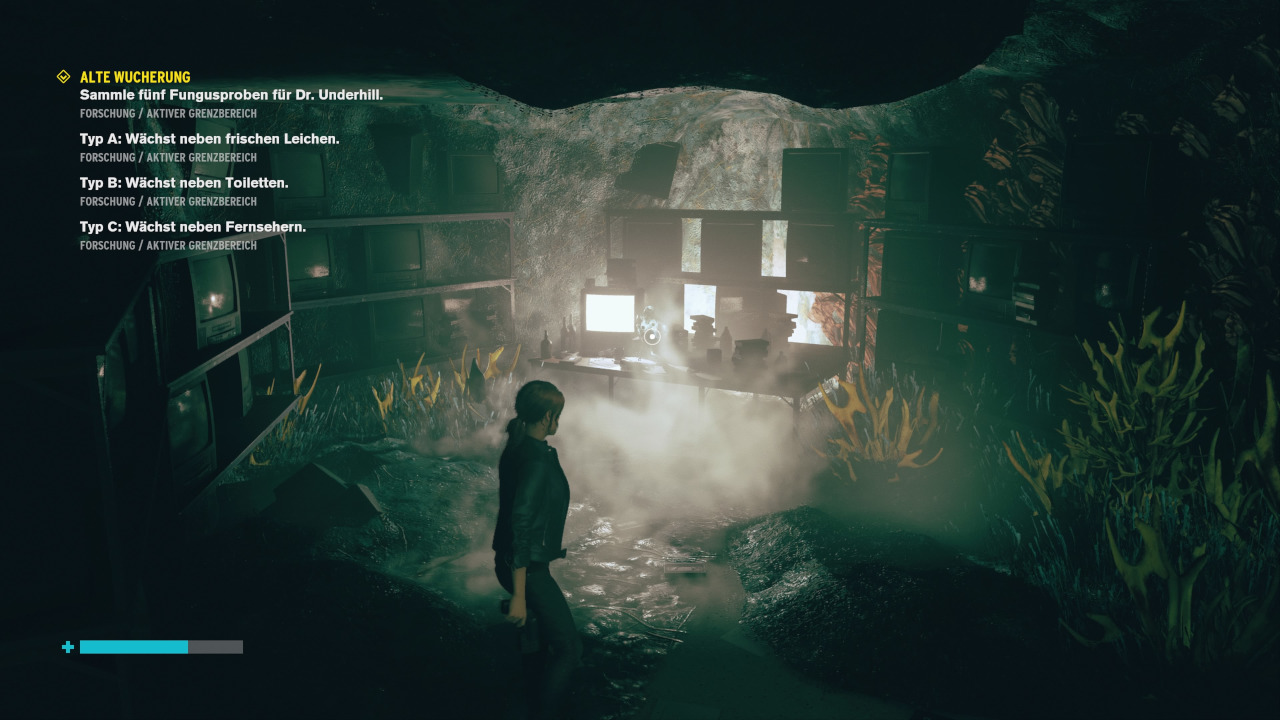
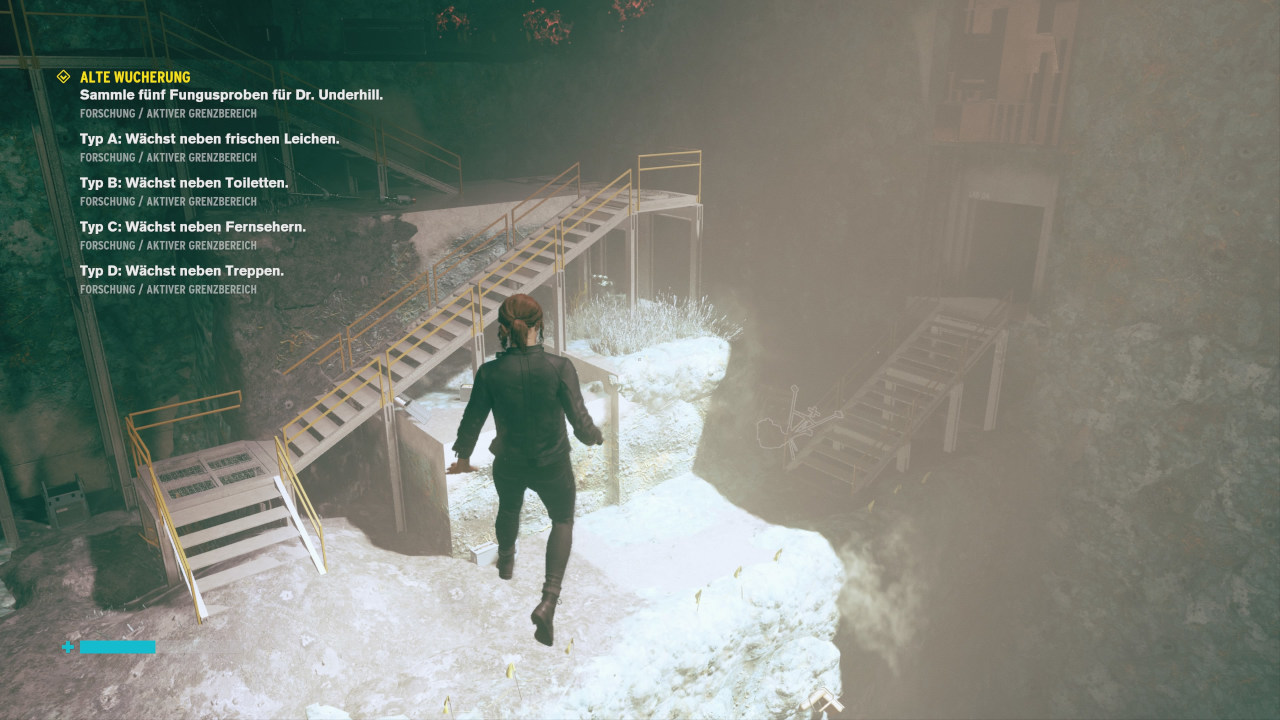
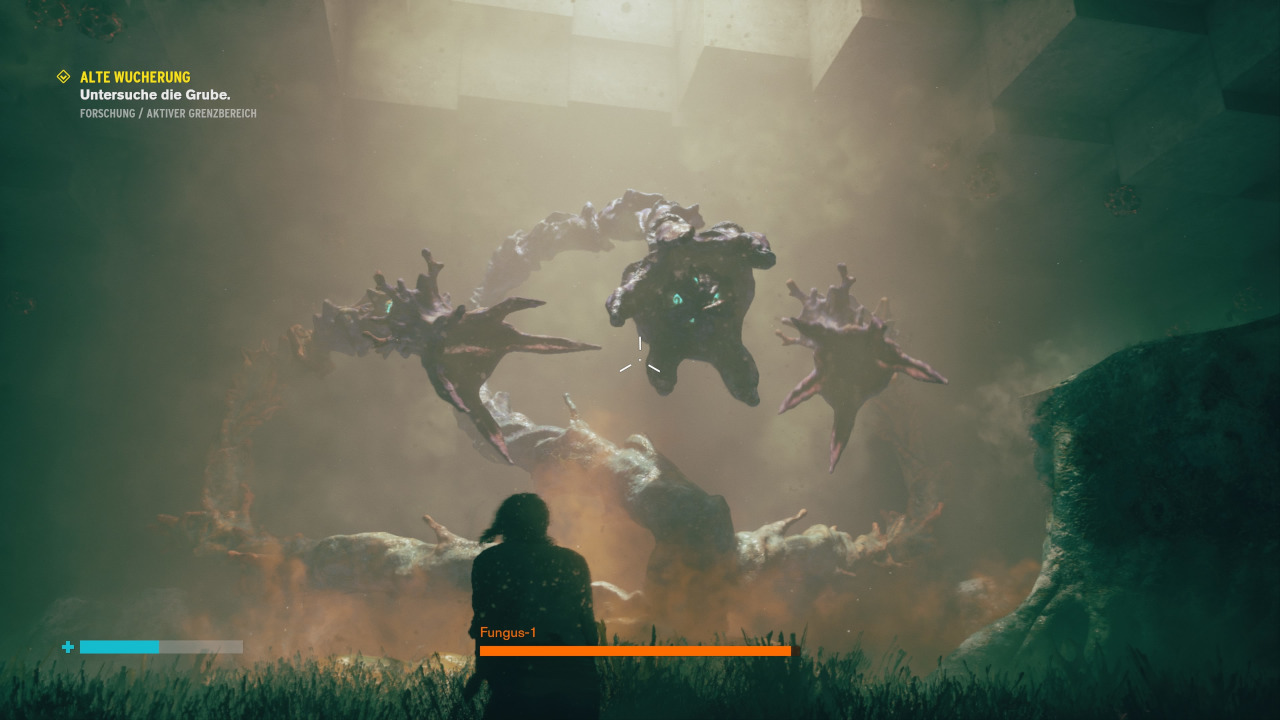
Ancient growth
Side Mission Find:
- Available in Emily 's Central Management after the sixth main mission.
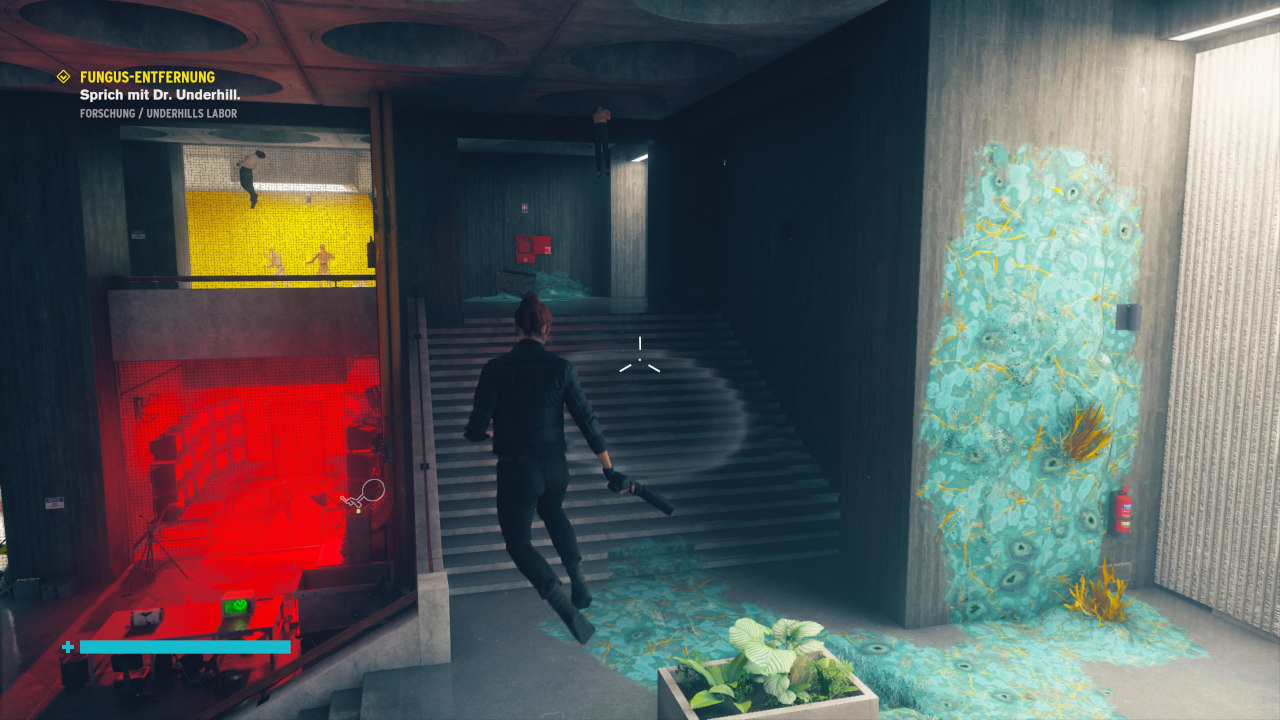
Underhill is at the very bottom of Central Research. To get there, drop down the elevator shaft and break your fall by hovering. In the lab you will meet Underhill, who will ask you to collect samples of the fungus.
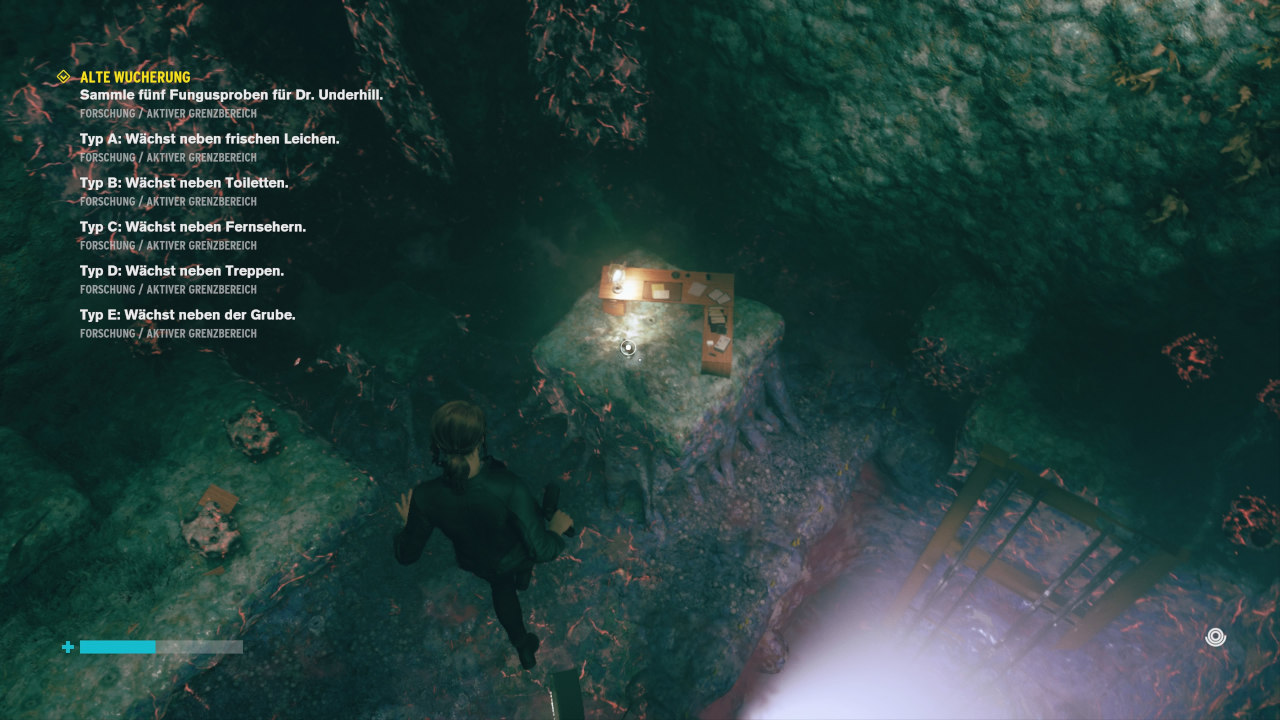
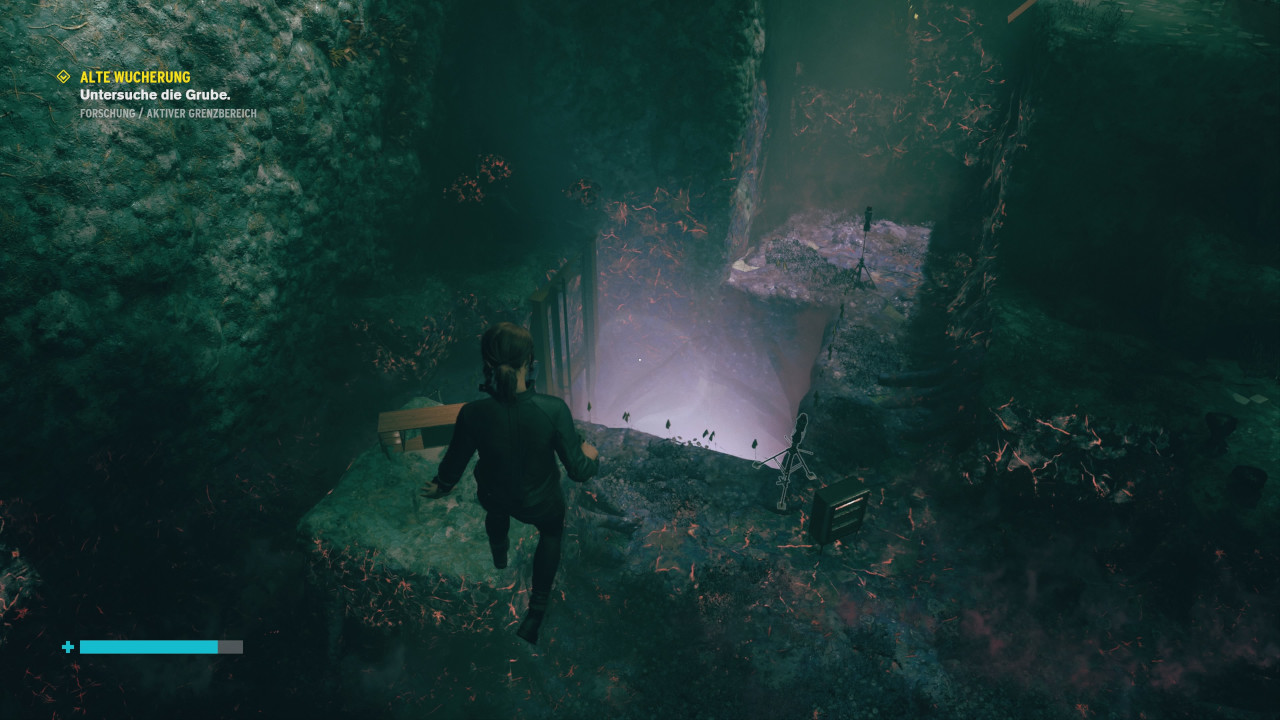
When you have all the samples, Underhill will give you a pill against the poison of the fungus. Go with it into the glowing pit. The boss fight against Fungus-1 is coming up. Throw the exploding stones hanging from the ceiling at him. In the final stage, he will poison the ground and you will have to go up the hills to avoid taking damage.
After the fight, return to Underhill and take the next side mission .
Reward:
- Four skill points and crafting materials.
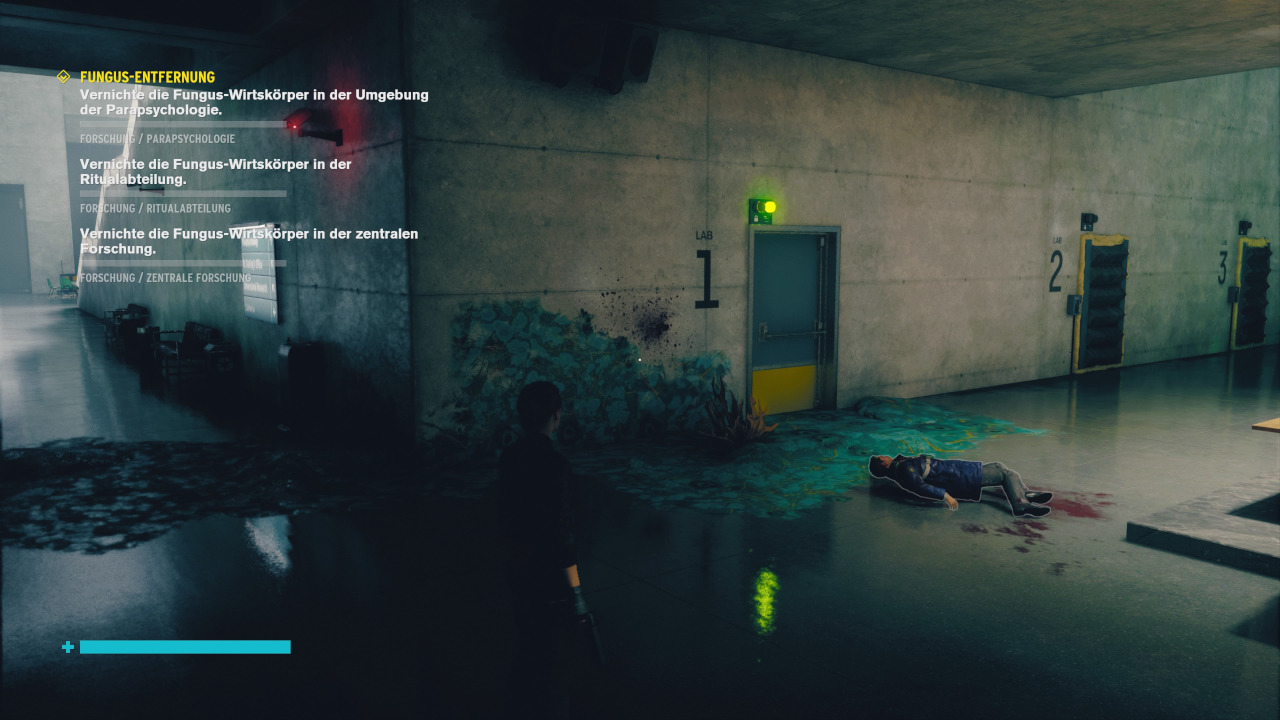
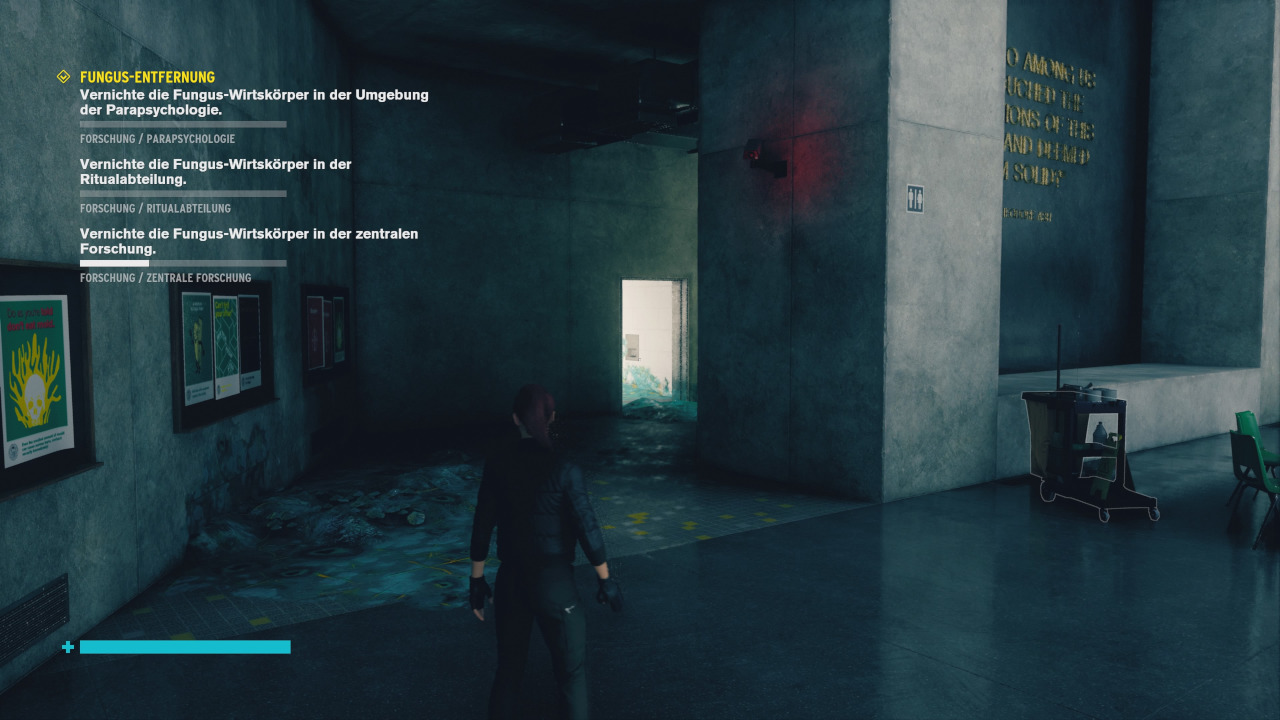
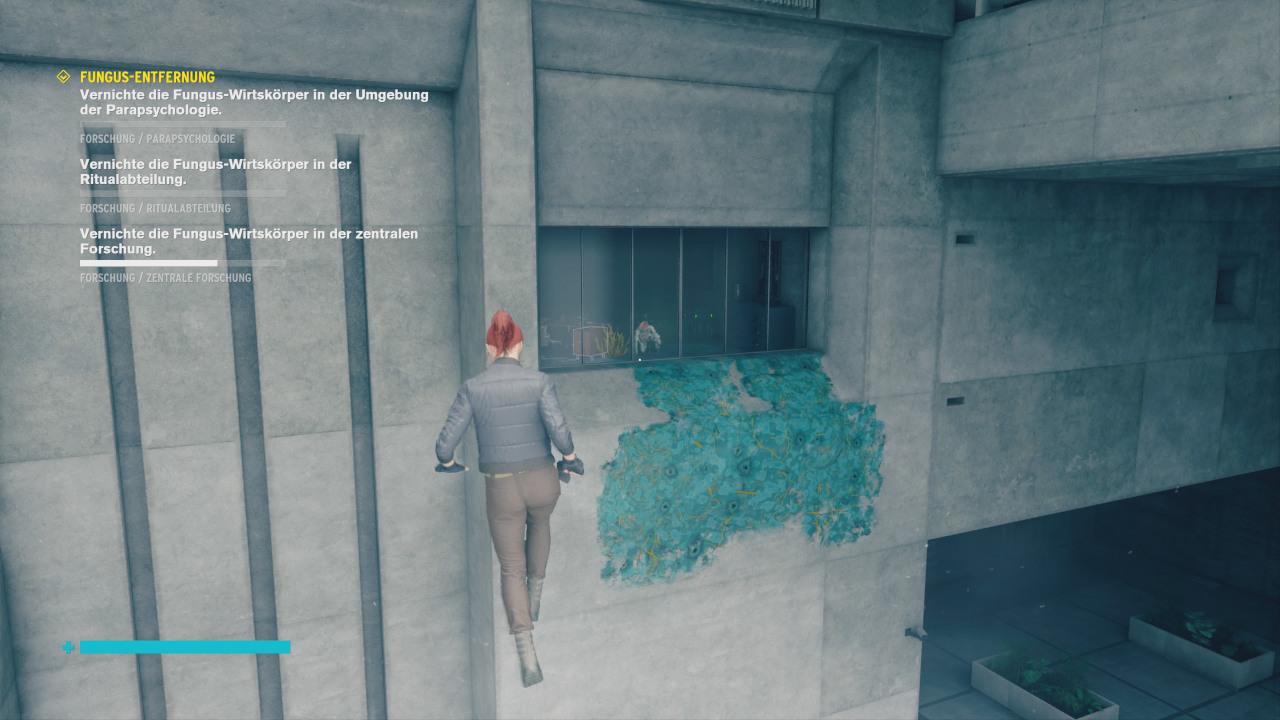
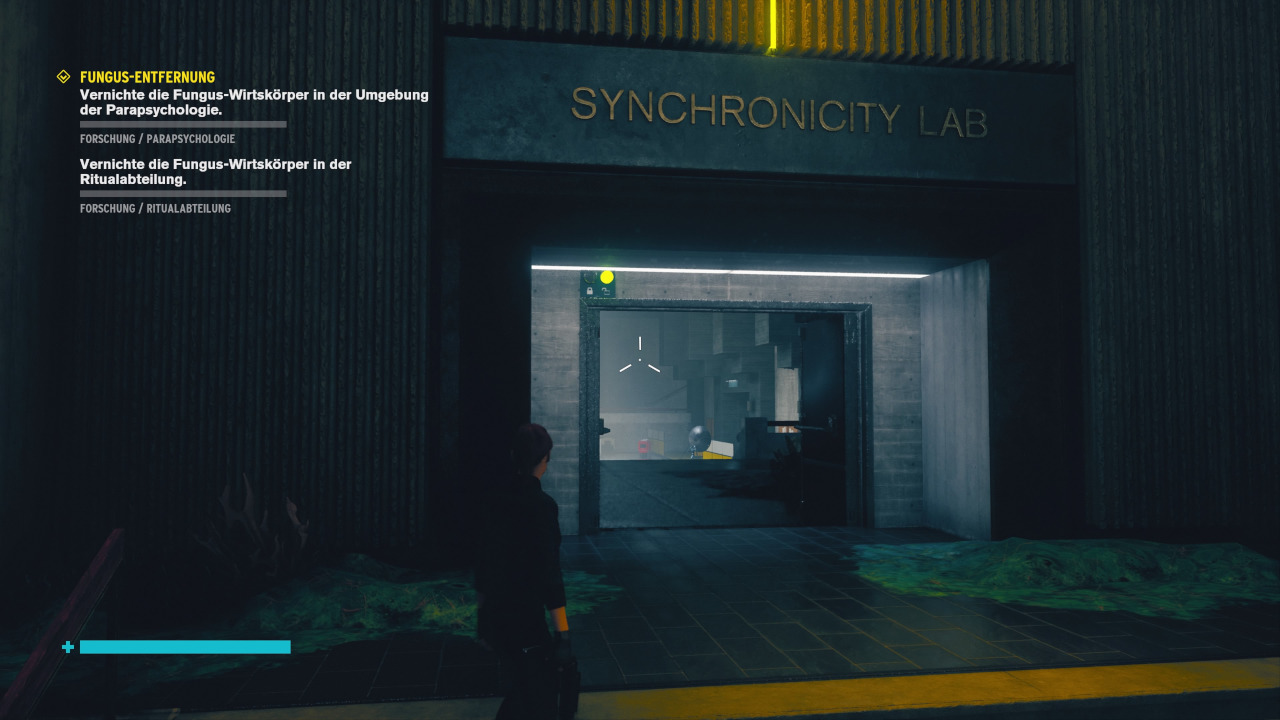
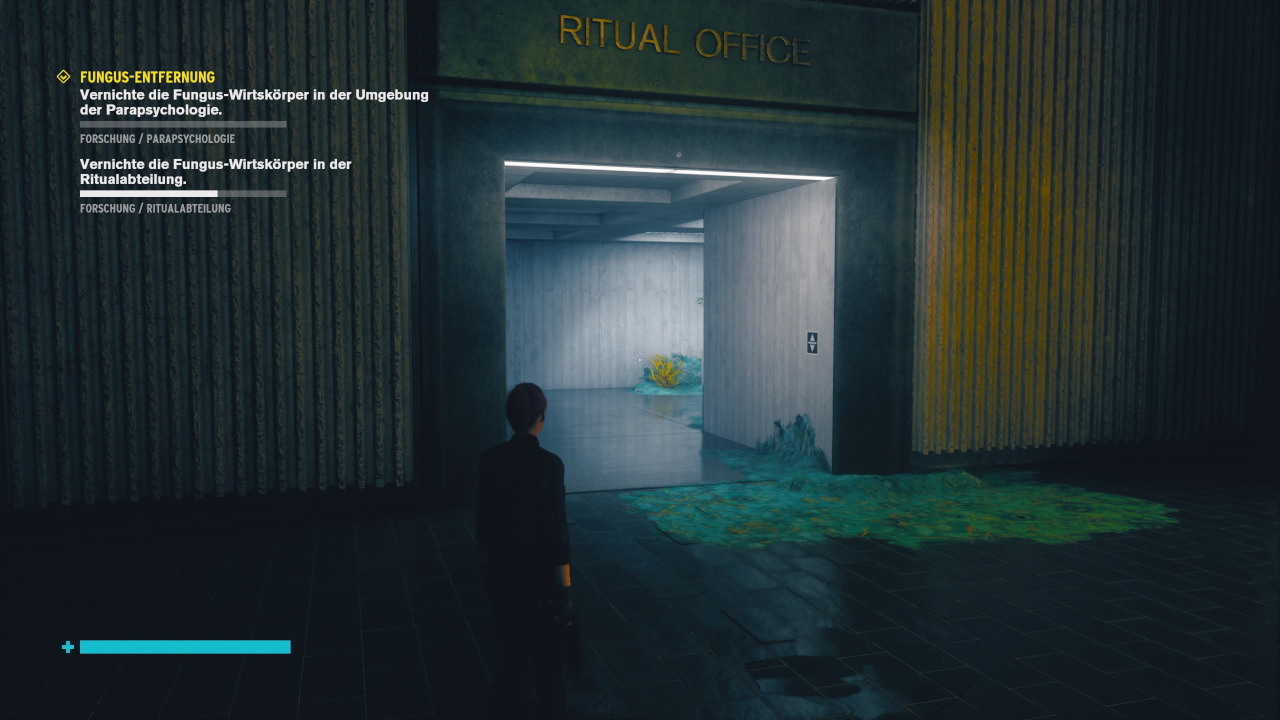
Fungus Removal
Side quest location:
- Obtained from Underhill after completing the Ancient Proliferation side quest.
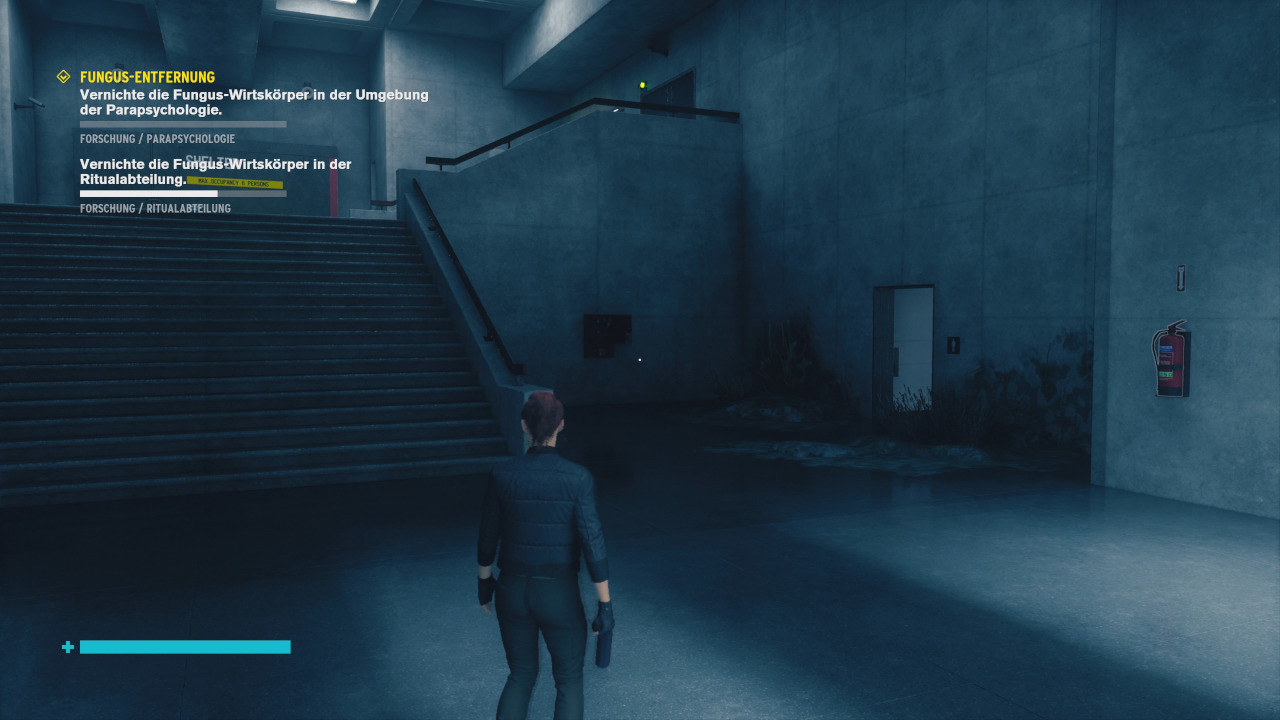
In the Research Sector, you will need to kill nine of the Fungus Infected. We will tell you where to find all the infected.


Reward:
- Two skill points and crafting materials.
Self-Reflection
Side Mission Find:
- Unlocked by a collectible in the Isolation Sector Security Office during Mission 7.
The document to start the side mission can be found on the way from the Security Office to the Primary Candidate Program.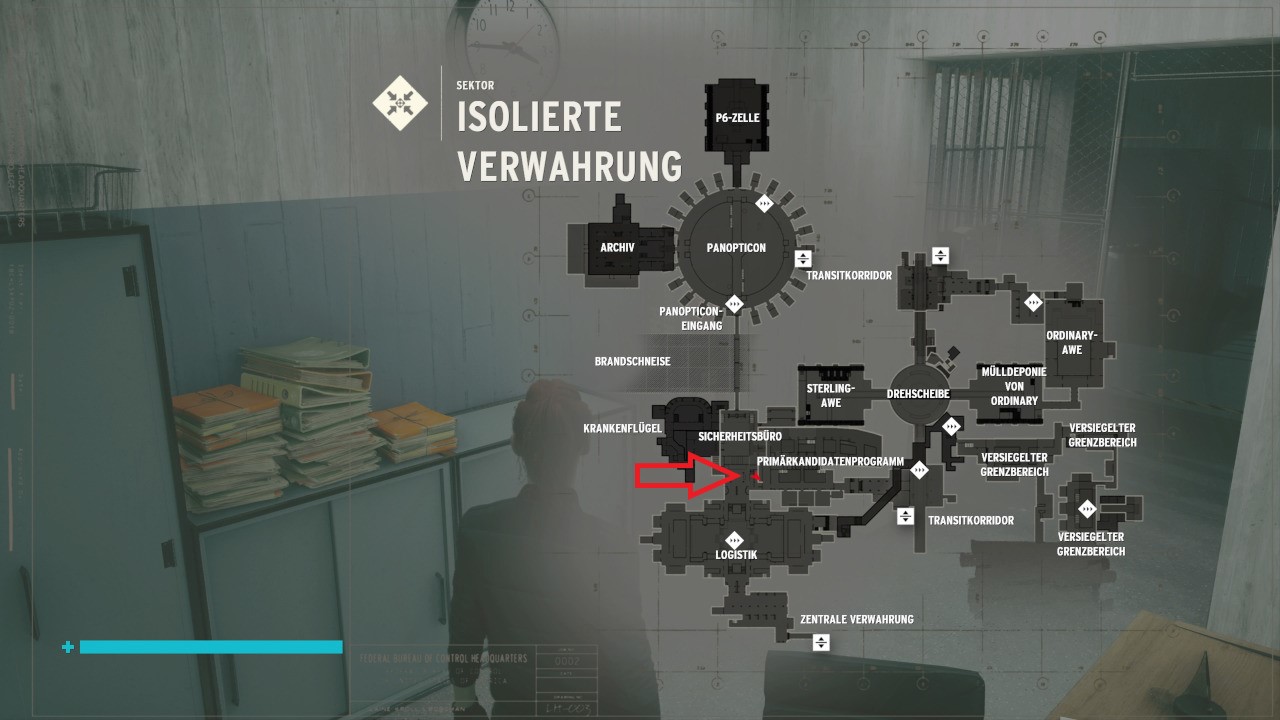
Go from the Ritual Section to the Synchronicity Lab. In the lab, correctly arrange three windows on the left and right sides to open the door to the mirror in the middle.
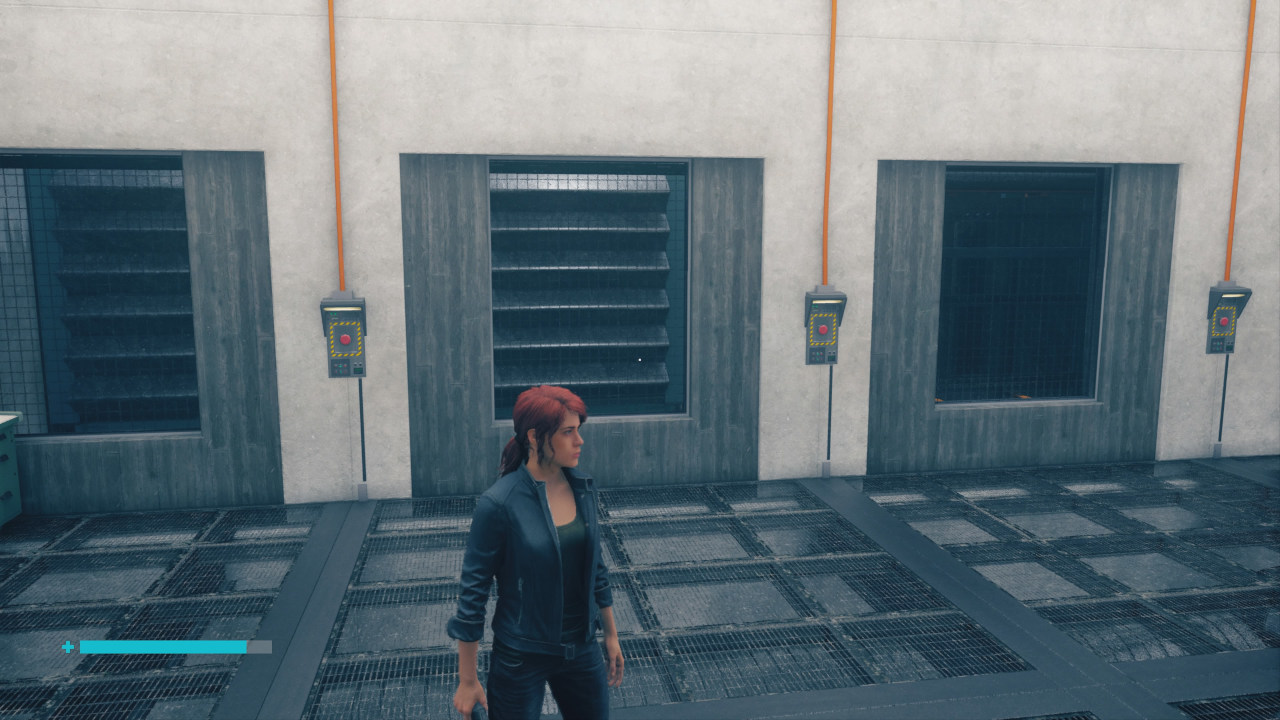
On the left side from the left: Open window, open window, close window.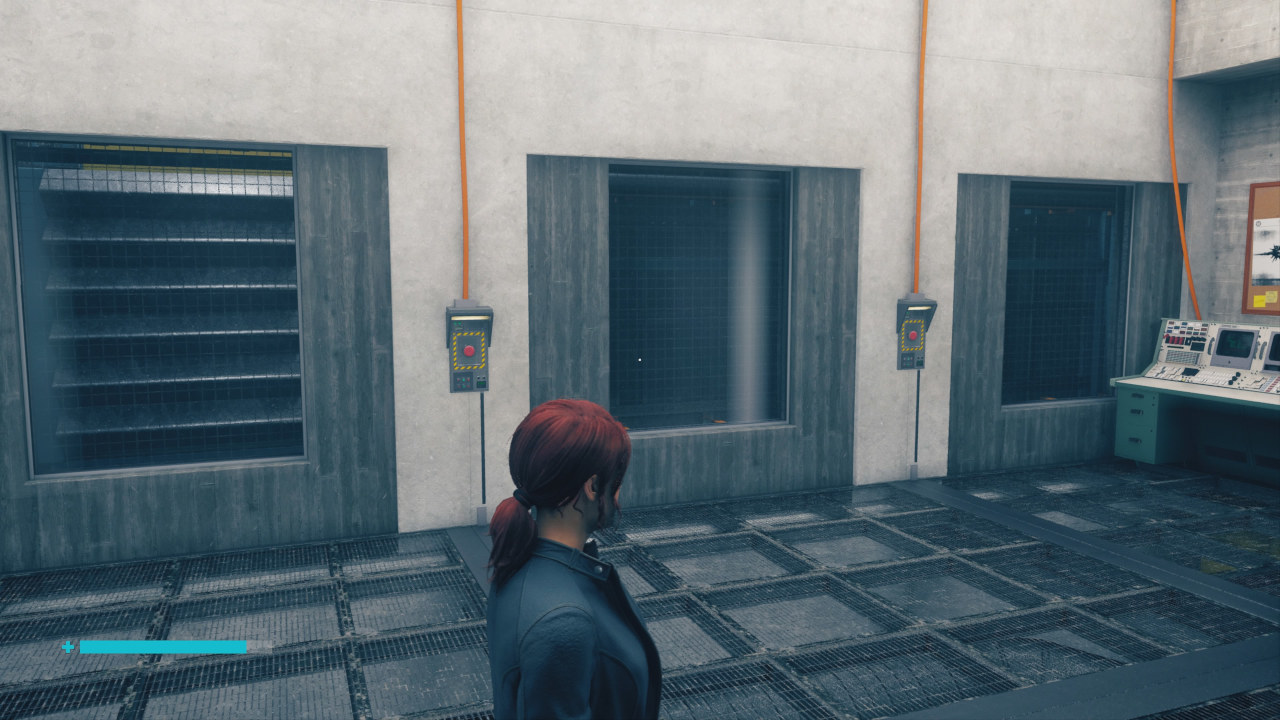
On the right side from the right: window closed, window closed, window open.
Interact with three shop windows on the other side of the mirror in the lab. Then the boss fight against esseJ begins. The fight has three phases. In the first phase, esseJ just runs around on the floor and shoots you with her gun. In the second phase, she uses "slingshots" to throw missiles at you. In the third phase, she hovers and throws missiles at you. Use the pillars on the upper floor as cover from the missiles.
Reward:
- Four skill points.
Mr. Tommasi
Side mission location:
- Obtainable from Emily in the Central Management.
Take cover behind the rocks when Tommasi throws sharp rocks at you.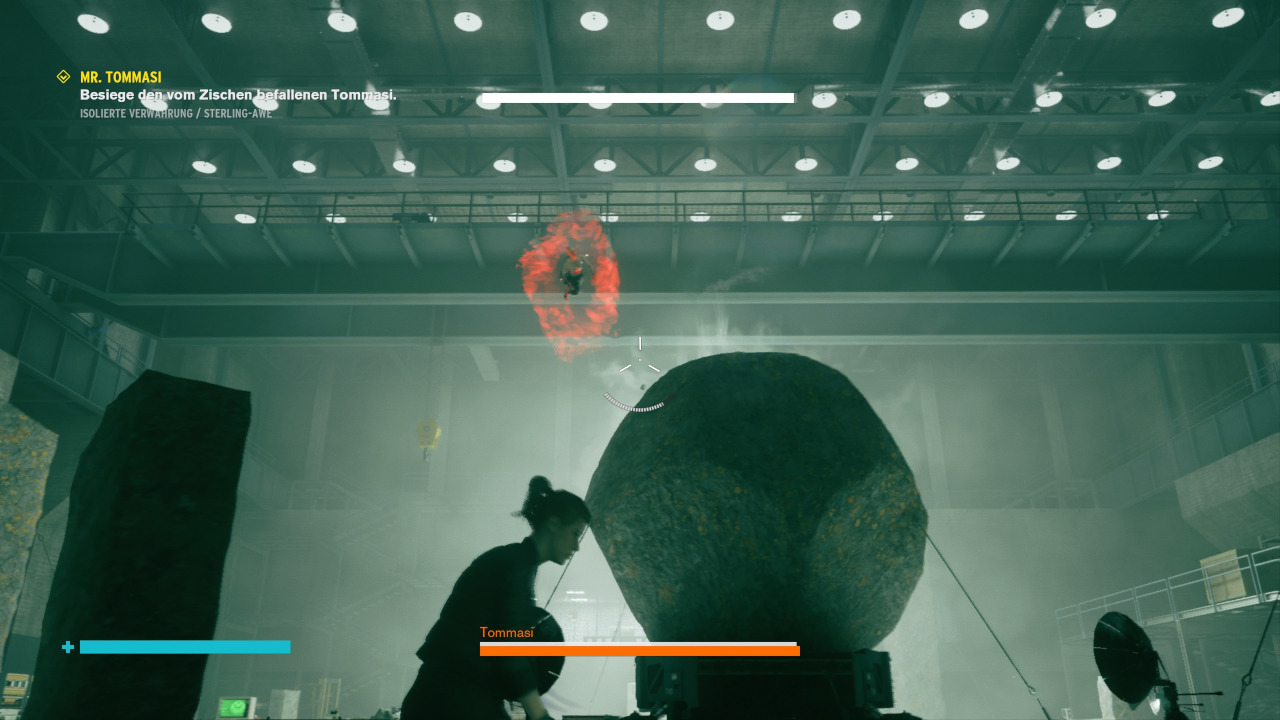
Travel to the "Transit Corridor" checkpoint in the Isolation Sector. At the hub the left gate is now open, behind which Mr. Tommasi is waiting for you. Shoot him or use "Slingshots" to penetrate his shield. However, he dodges most of the objects you throw at him. Therefore, hurl several objects at him in quick succession.
When Tommasi has only half his life left, he spawns Explosion Hiss and an invisible hisser that keeps attacking you. Either dodge him and focus on Tommasi or kill him quickly, and then you'll only have to fight Tommasi.
Reward:
- Three skill points and crafting materials.
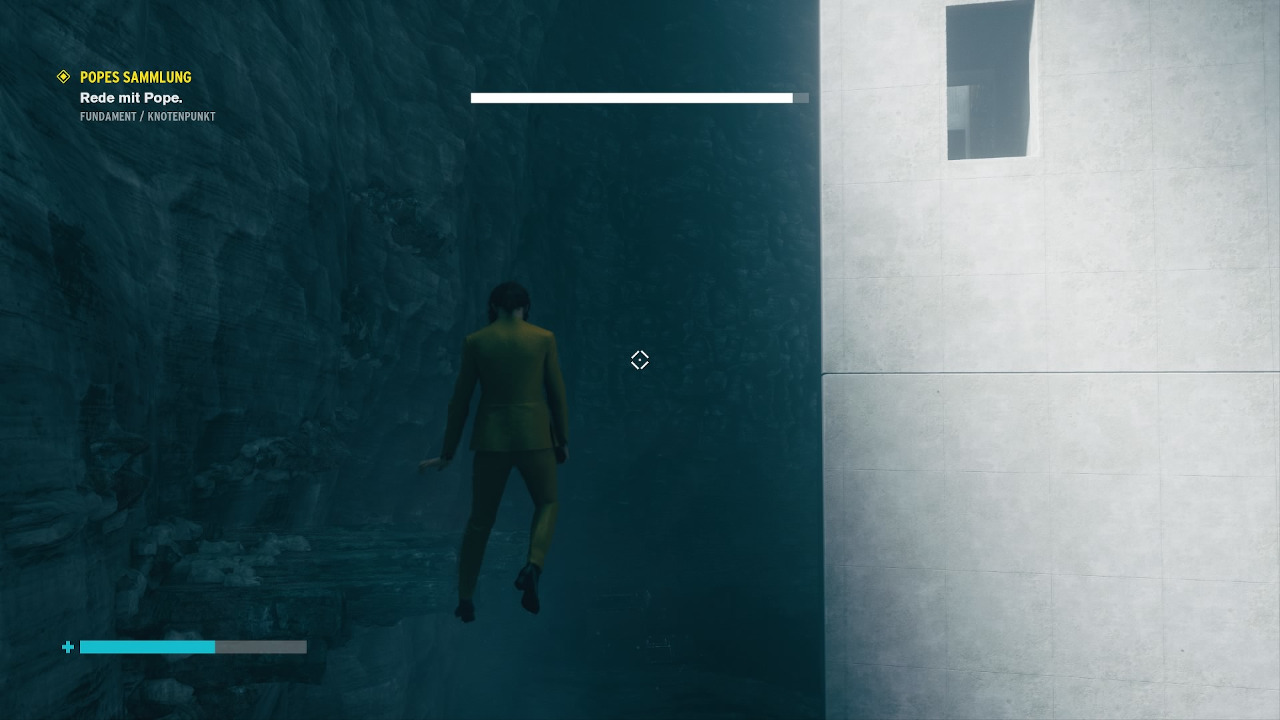
The Foundation Side Mission: Pope's Collection
Side mission location:
- Collection item in the right yellow building in the "Warehouse" area.
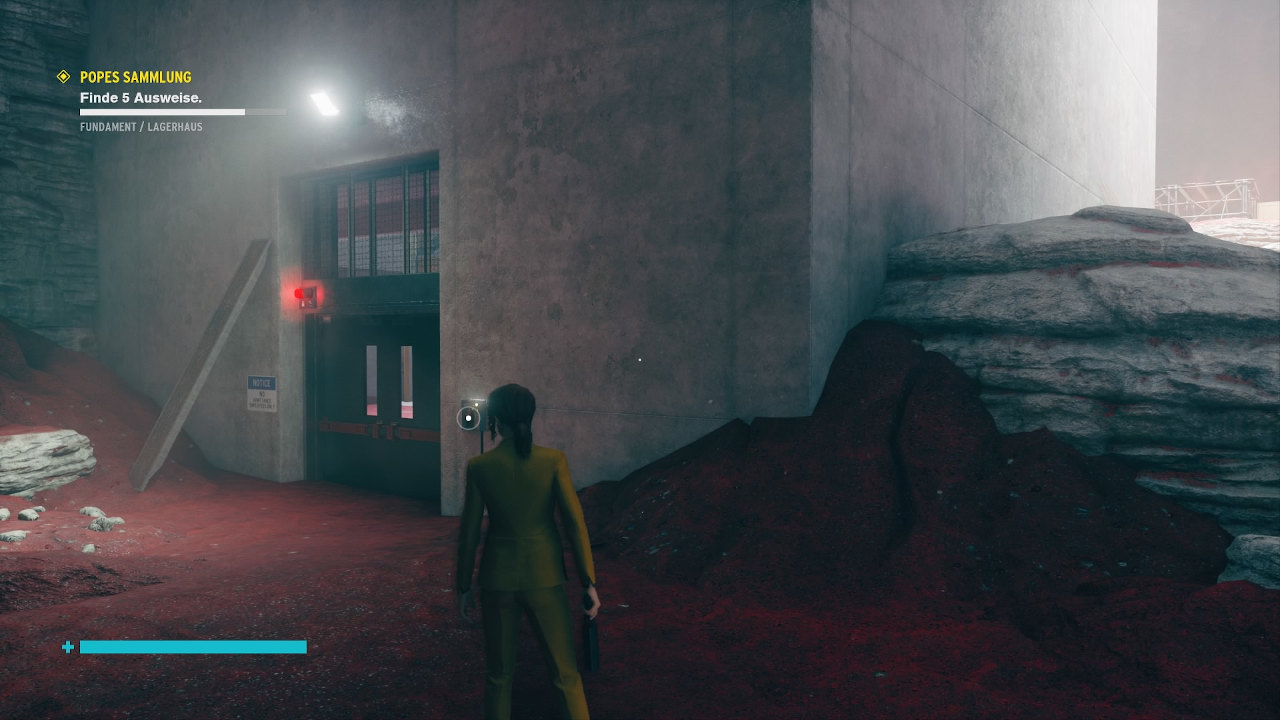
Once you accept the mission, go to Emily Pope, who will give you a key to a secret lab under the warehouse. Use the key to open the door behind the tower in the warehouse.
In the right building you will find the collectible to start the mission "Pope's Collection".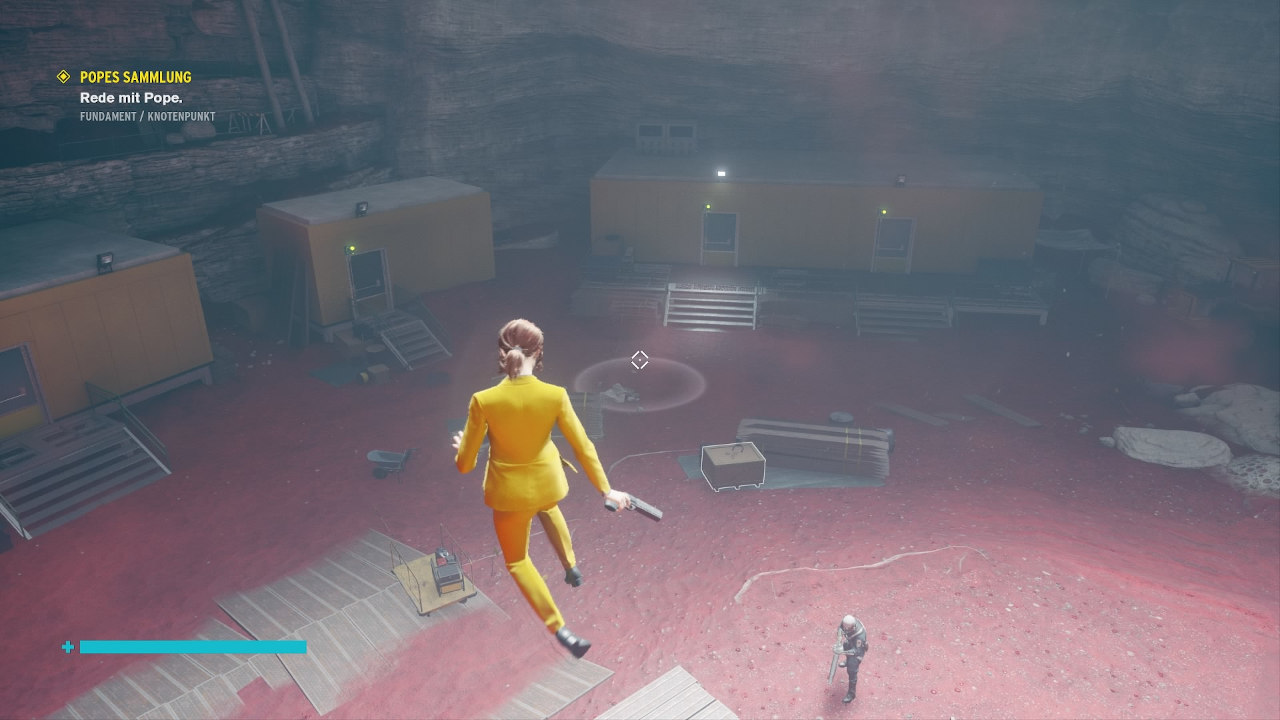
- ID: Right behind the door that you open with Emily's key.
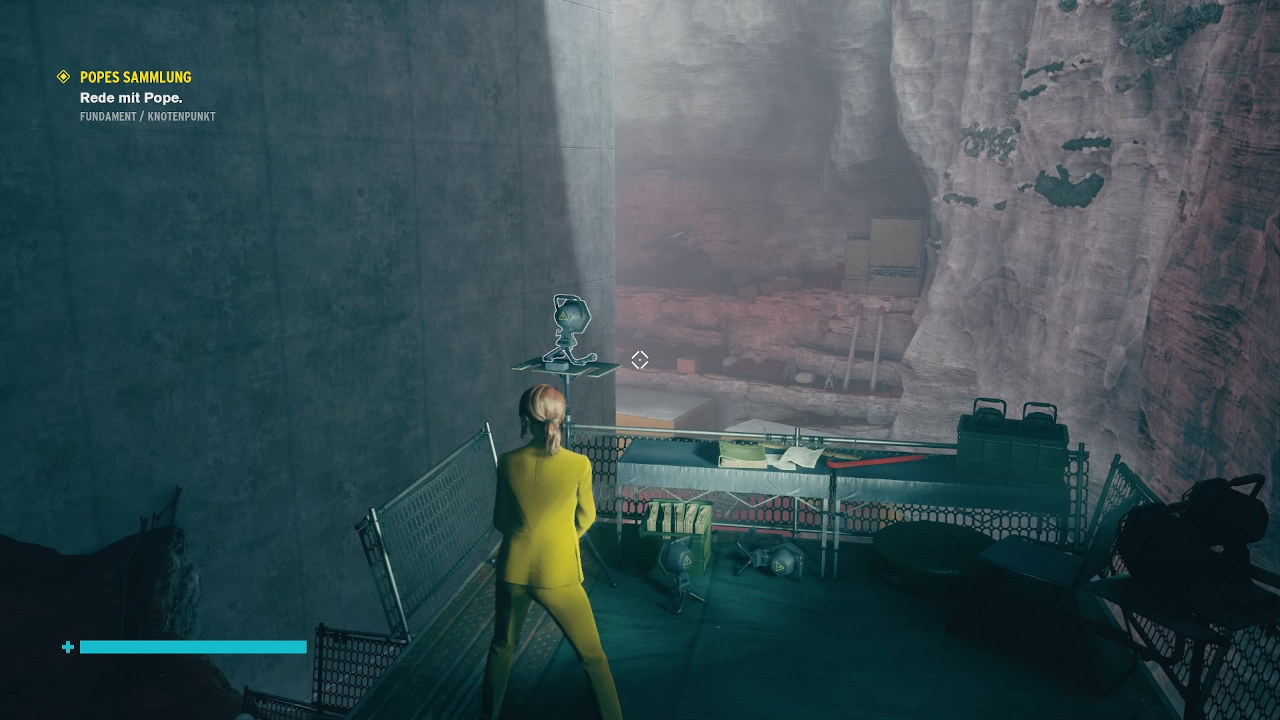
- ID Card: Climb up the wall next to the door, on top of the scaffolding is the second ID card.
- ID: On a table in one of the yellow buildings in the warehouse.
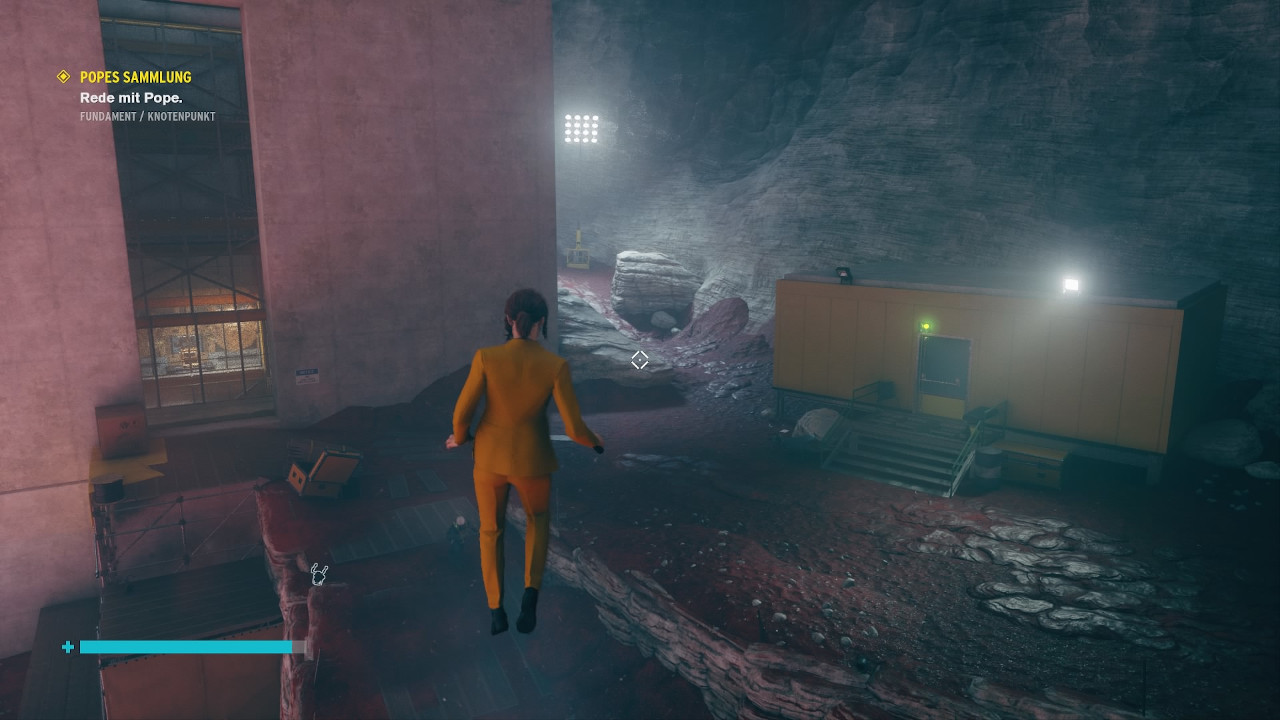
- ID: At the edge of the cave, above the yellow buildings, you can make crystals grow out of the walls. Climbing up there will take you to another floor of the tower, where you will find the fourth badge.
- Badge: After the checkpoint "Warehouse Staircase" you can enter the tower again through an opening and collect the last badge.
At the bottom of the tower, where you collected the first badge, you have to match the badges to the right terminals.
- Chief Excavation Engineer: The first terminal to the right of the door, next to the table is a wheelbarrow.
- Senior Cartographer: The terminal to the left of the first one, there are all kinds of drawings on the table.
- Security Chief: In the left, back corner of the room, there are weapons on the table.
- Lead Physicist: To the left of the "Security Chief" terminal, there is a first aid kit hanging next to the table.
- Head of Research: To the left of the entrance, above the desk hangs a photo of the members of the department.
Then take the elevator to the basement lab, where you'll face a short boss fight against the designer for Procedure Gibbs. Use the pillars and elevator as cover when Gibbs shoots at you with the beam. Use "Slingshot" and the loader to end the fight quickly. Then pick up the notes from Ash and bring them to Emily.
Reward:
- Three ability points & modifications (Personal Modification & Weapon Modification)
The Foundation Side Mission: Stunning Footage
Side Mission Location:
- At the "Cave System" checkpoint, grow a crystal on the left wall to get onto the bridge. Then follow the sign towards Chasm.
Using the crystals at the "Cave System" checkpoint will take you to the "Stunning Shots" mission.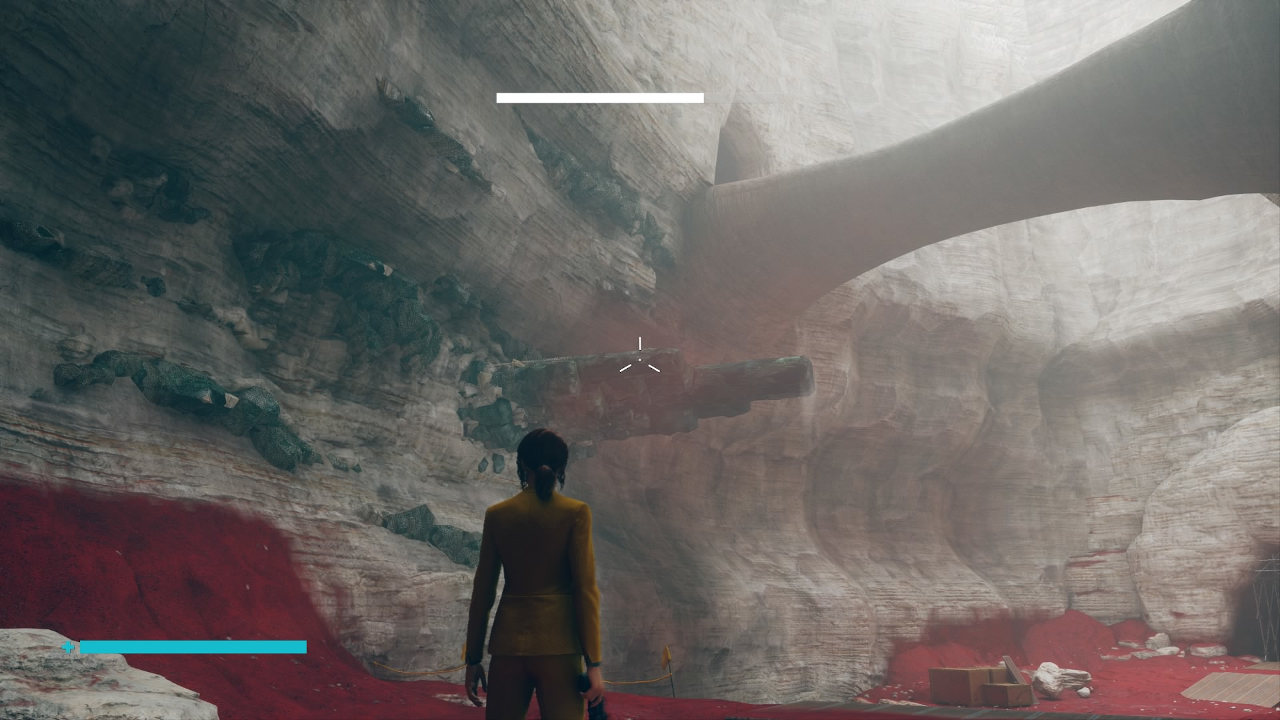
Put the yellow block in its holder, destroy the crystals next to it and drop down the chasm. Pick up the tube TV at the bottom and escape from the cave with it.
Again and again you have to set the TV down briefly to bring yellow blocks into their holders. You simply ignore the enemies, because the TV hypnotizes them and makes them unable to fight.
Reward:
- Three skill points & modifications
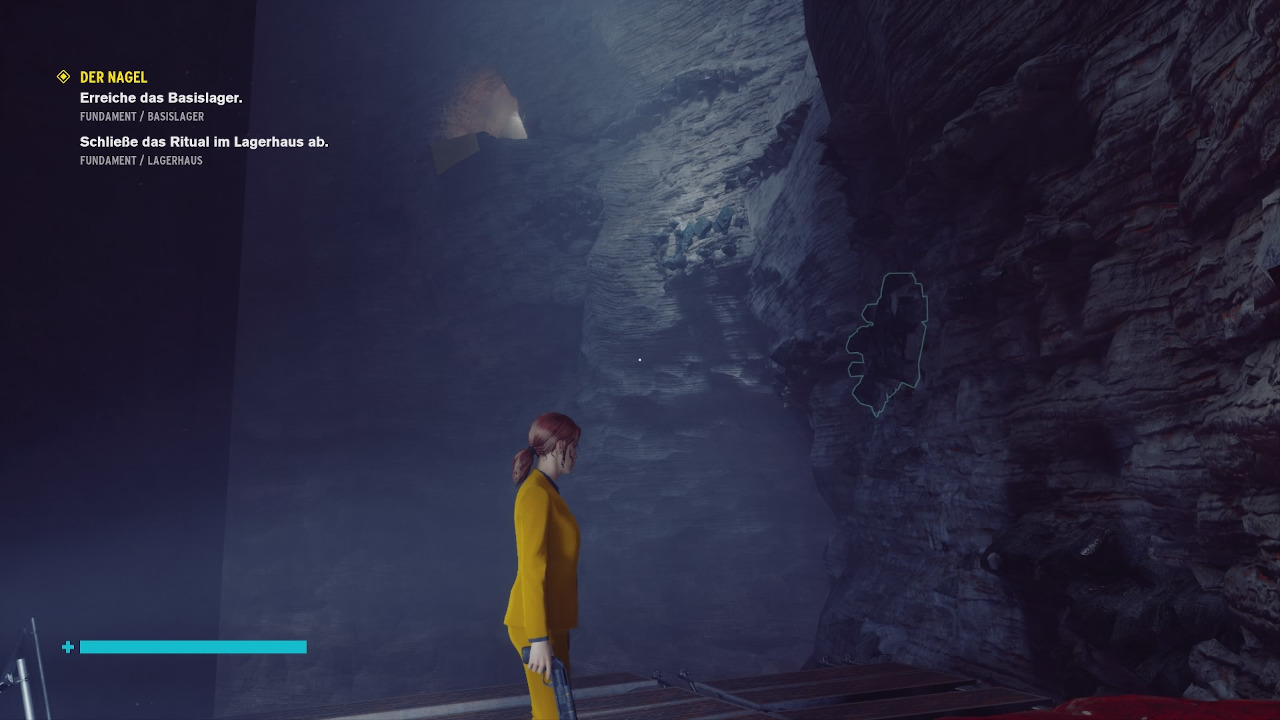
The foundation side mission - Jesse Faden in: "Swift Platform"
Finding the side mission:
- During the main mission "The Nail" - our walkthrough to Control will tell you at which point you will find the mission.
Interact with the camera in the Transit Corridor to start the mission. You'll ride one track on rails and have to avoid obstacles by hovering and swerving to the other track.
Jesse Faden in: "Swift Platform" is one of the coolest side missions in the entire game.
The best way to defeat the swishers while on the move is to use "Slingshot". Against the hisser with the machine gun just use your shield, he will be finished after a short time by an obstacle on the roadway.
The last hovering hisser is a tough nut to crack, as he mostly dodges your projectiles and takes a lot. Once he forms crystals around him, throw slingshots at him so that he can stop his attack.
Reward:
- Three skill points & a modification
AWE Side Missions - More Chaos
Side Mission Locations:
- The first three side miss ions in the second Control DLC AWE can be found during the story on a pinboard in the Operations Center with the large USA map on the wall.
The pinboard is where you'll find the first three AWE side missions.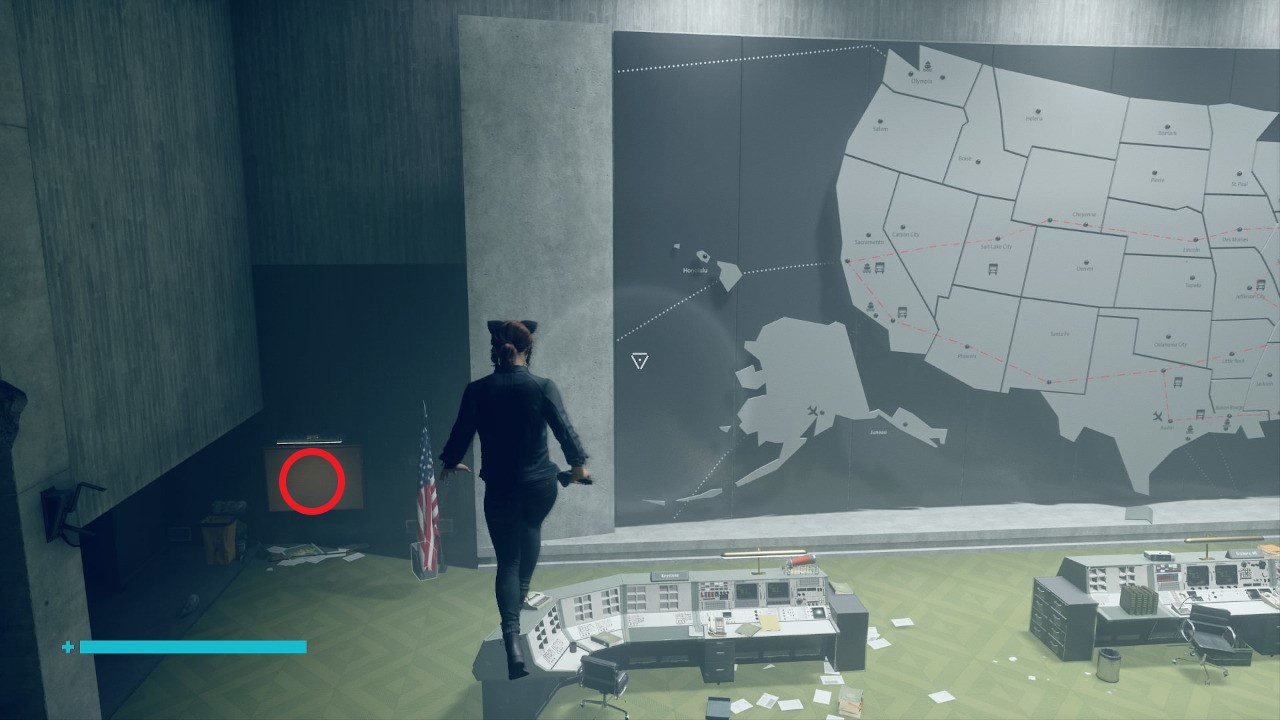
More Mayhem: Searing the Darkness
In "Sink the Darkness," you must destroy darkness three times in each of three locations.
We have marked all the darknesses on the map.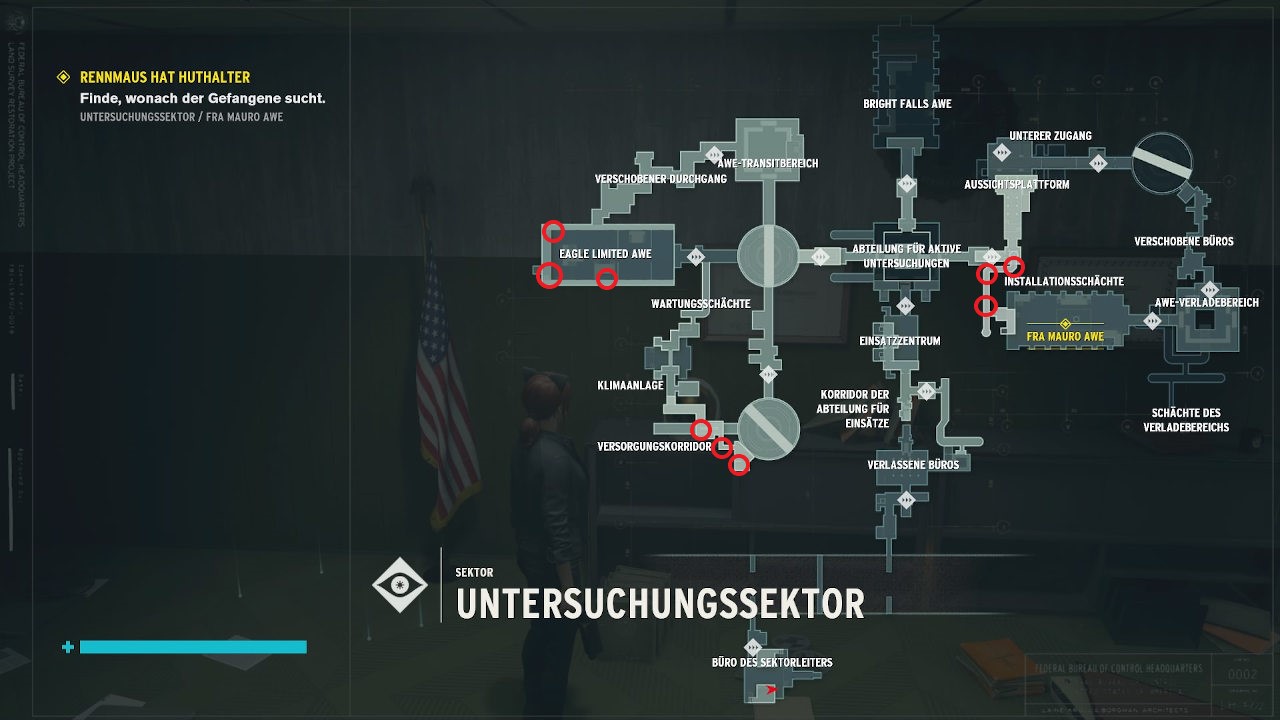
Installation shafts
After you expel Hartman in the Fran Mauro AWE, you will find a lamp in the room after the switch. Take it into the shafts and use it to destroy the three spots with darkness.
Eagle Limited AWE
Float to the very end of the room and onto the scaffolding above the control room. There is a lamp in the left corner as well as a darkness. The second darkness is in the right corner. The third darkness is above the yellow "Mobile Lab 2".
Supply Corridor
From the "Turntable" checkpoint, go to the bridge of the turntable and float from the yellow mat through the discs above. Pick up the lamp on your left.
- The first darkness is in the same room to the left in the corner.
- The second darkness is down the hallway straight ahead.
- The third darkness is at the end of the hallway in the top left corner.
Reward:
- Material
More Chaos: Eliminate the Fungus
A tip up front: use the loader weapon form to destroy the fungus. The explosions will also take care of bubbles you might have missed.
The three locations of the mission "Eliminate the Fungus".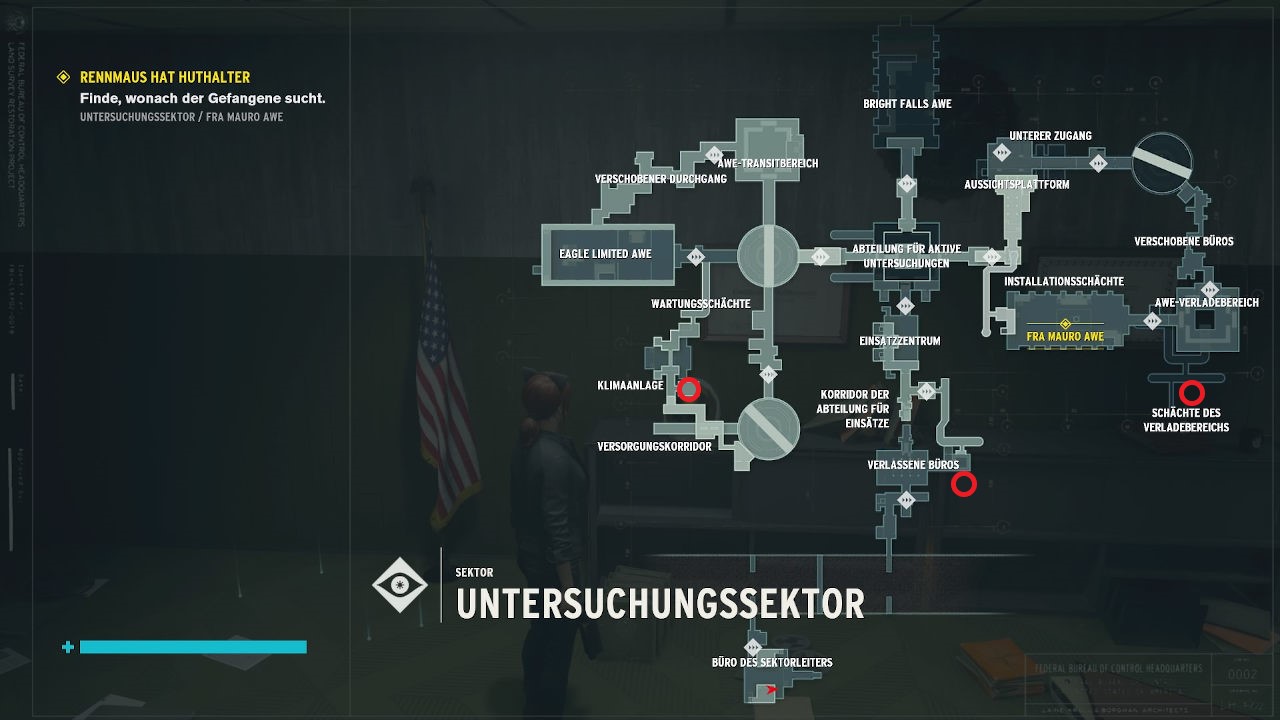
Abandoned offices
After burning the darkness in the Abandoned Offices for the first time, you need to fly up in the next room. Stop on the floor by the yellow mat, go into the locked room and destroy all the turquoise Fungus bubbles on the walls there.
Shafts of the loading area
Travel to the checkpoint "AWE Loading Area" and go through the tunnel entrance into the shafts of the loading area. Immediately take the first turn on the left and dismantle the grate blocking the way. Behind it is another room with several fungus bubbles.
Air conditioner
You will pass the air conditioner during the main mission. Destroy the last Fungus bubbles to complete the mission.
Reward:
- Weapon modification
More chaos: take care of the plants
You have to revive three plants in each of three sections by shining light on them for a while - just like the darkness.
We have marked the locations of all the plants on the map for you.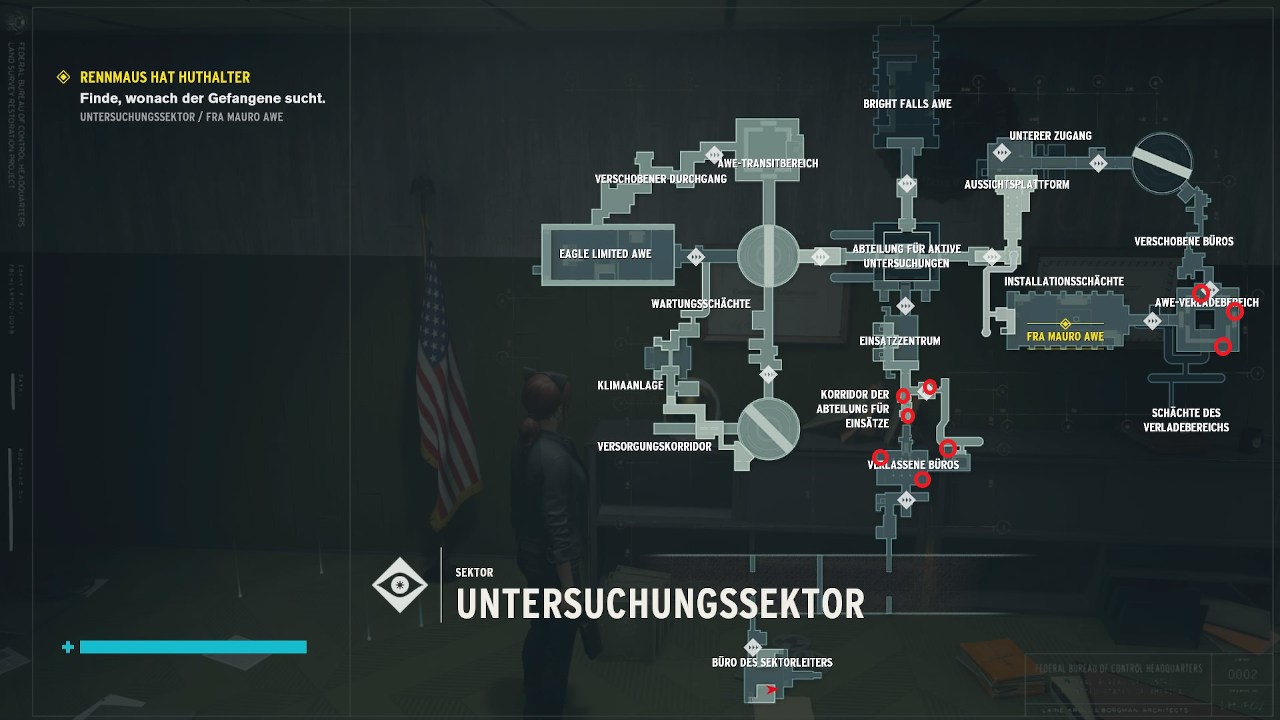
Corridor of the Operations Department
Take the lamp located next to the checkpoint "Corridor of the Department of Operations", go through the door and shine the light on the three plant pots. Look at our map markers, the plants are hard to miss here.
AWE loading area
One plant is in the control room, right next to the checkpoint. The other two can be found in each corner of the room - see screenshot.
Abandoned offices
The first plant is in the small room next to the door that was closed with darkness. Conveniently, there is a lamp in the room right now. The second plant is in a corner of the office. The third plant is behind the destructible wall in an outer office on the far left.
Reward:
- Modification
AWE side mission: Shüm
Side mission location:
- Collectible near the observation deck
The location of the side mission "Shüm".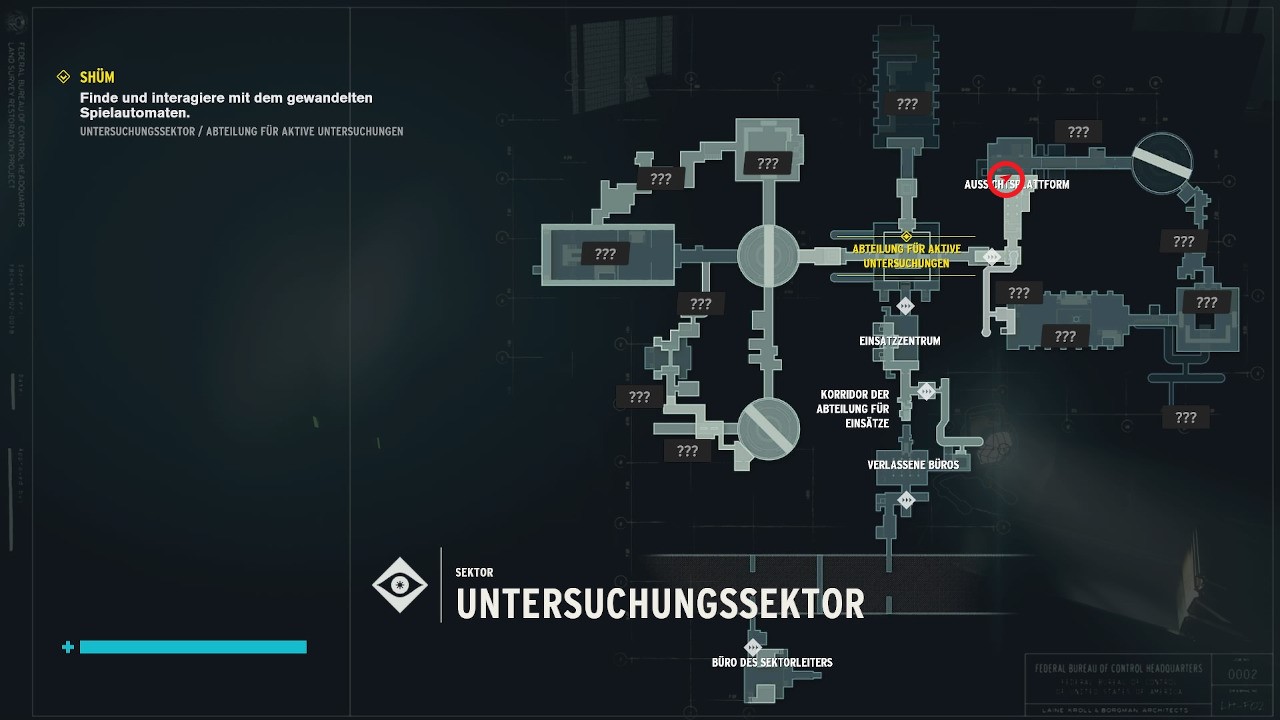
From the "Active Investigation Department" checkpoint, go to the room with the big elevator. In the office to the left of the door there are two slot machines. Play one of the two games to complete the mission.
The slot machines are located at the "Department of Active Investigations" checkpoint.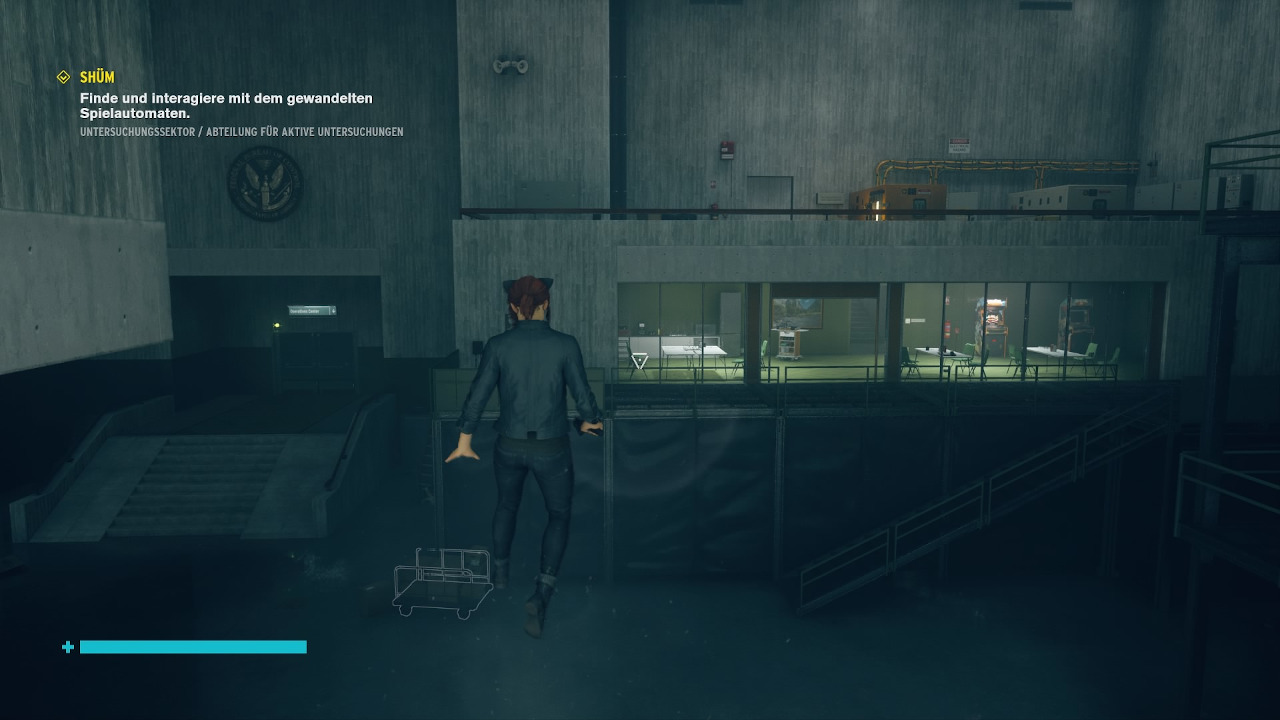
Reward:
- Modifications and materials
AWE Side Mission: Return to Sender
Finding location of the side mission:
- Collectible at the post office in "Shifted Offices", just before the checkpoint "AWE Loading Area"
Travel to the "Active Investigations Department" check point and go back to the Operations Center. Opposite the big USA map there is a copier where you copy the letter three times. Now you just have to distribute the letters.
The three locations of the postal stations of the side mission "Return to Sender".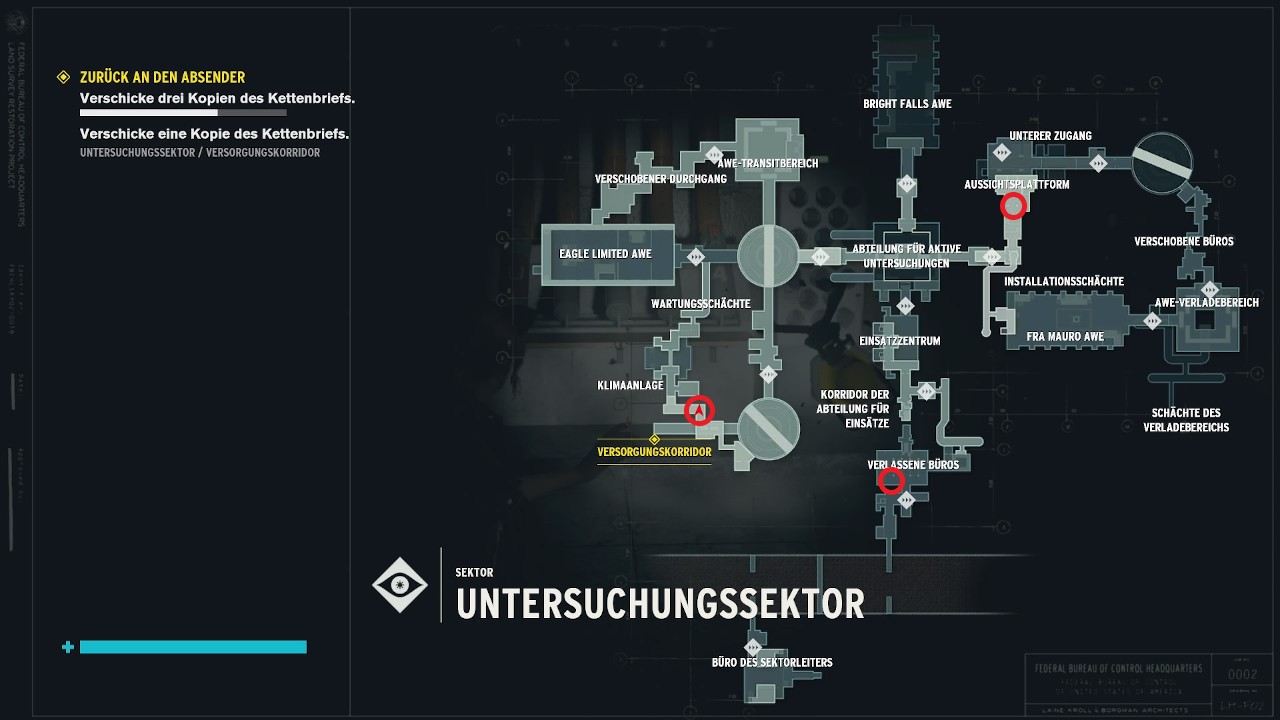
Abandoned Offices
When you enter the offices, just around the corner to the left are the postal stations to send the letter.
Viewing platform
Travel to the "Transit Terminal" checkpoint and float up the elevator shaft to the observation deck. The distribution machines are in the middle of the room.
Supply Corridor
From the "Hub" check point, go to the marked point on the map in the screenshot and send the last letter.
Back to the moved offices, clean the transformed object that is in a passage in the wall, right next to the "AWE loading area" check point.
Reward:
- Weapon modification
AWE side mission: Racing mouse has hat holder
Side Mission Find:
- Obtained automatically after you evict Hartman in the Fra Mauro AWE
Use the intercom outside the Shelter in Fra Mauro AWE and get all the items from the two yellow mobile labs in the hall.
Grab the helmet at the beginning of the investigation sector and return it to the person.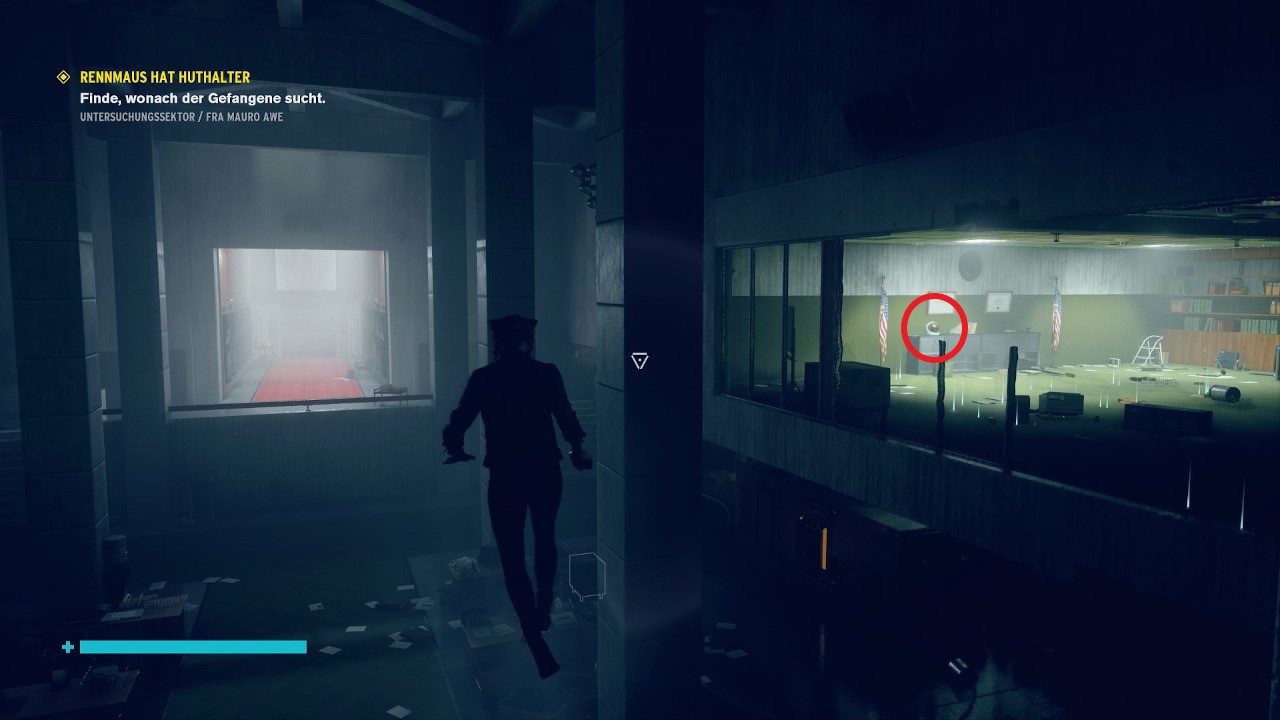
Grab the helmet at the beginning of the investigation sector and bring it back to the person
However, the person rejects all of the objects. Travel back to the beginning of the investigation sector, the sector leader's office, and head towards the elevator. There is now an astronaut helmet in one of the upper offices, bring it to the person to complete the quest.
Reward:
- Weapon modification and material
AWE Side Mission: Derailed
Found location:
- Interact with the train at the end of the Eagle Limited AWE
Activate the objects in the correct order.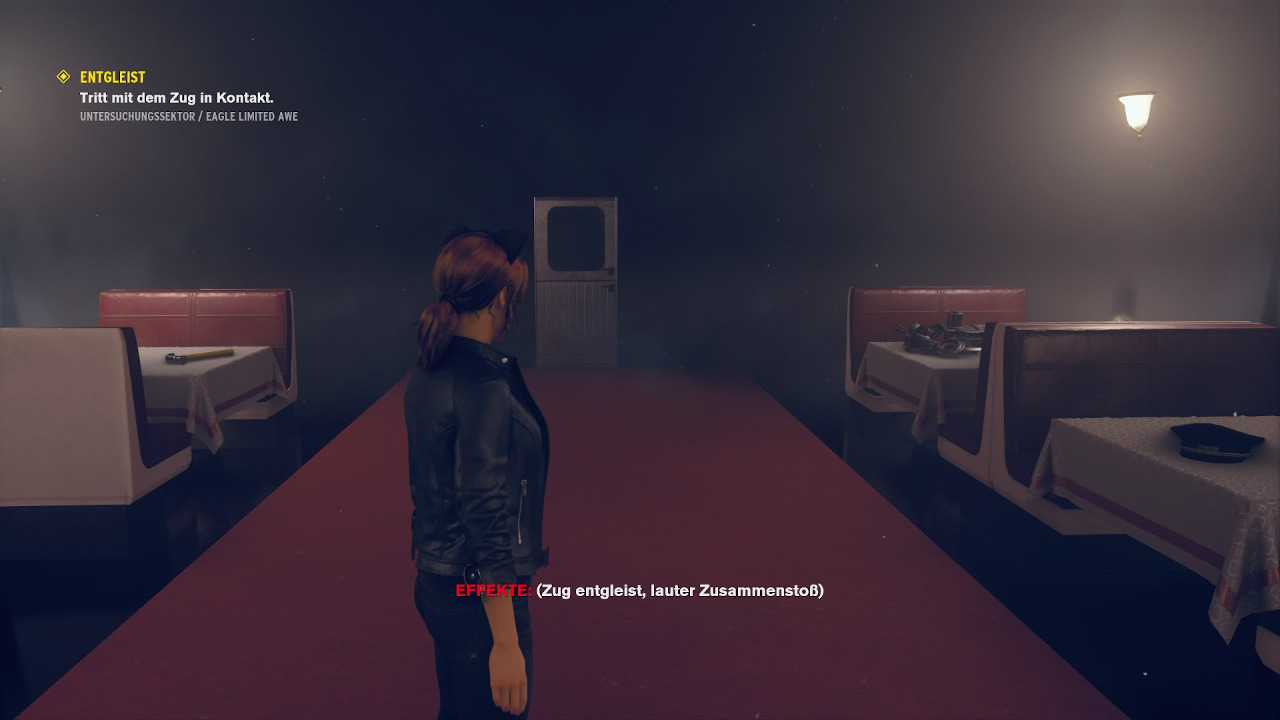
In the train you have to activate six different objects in the right order:
- Leather bag on the left
- Conductor's cap on the right
- Violin on the right
- Plate with food on the left
- Hammer on the left
- Mechanical parts on the right
Reward:
- Weapon modification & material
More Control Guides on GameZ
- Control Solution: The ultimate guide through the game
- Control Trophies: How to get all trophies & 1000 gamerscore
Visit us on Facebook and Instagram to discuss your favorite games!