Bleeding Edge Arena Guide: How to win on all maps
In this guide to Bleeding Edge () by Ninja Theory, you'll learn:
- how to incorporate each map's traps and interactive environmental objects into your strategy
- where the green health dispensers are located
- which map positions are advantageous for ranged fighters
Inspired by Overwatch (), Bleeding Edge for PC and Xbox One () features two game modes, eleven fighters, and five different arenas. This guide outlines what you need to know about the latter.
Table of Contents
Bleeding Edge - Map: Aqueducts
This symmetrically laid out arena is located in an underground aqueduct and has two special features. One is six different energy barriers along the small watercourse in the outer ring of the map that cannot be turned off. While you can run through these barriers, you'll usually lose more than half of your life energy as a result.
In some game situations, however, it can still make sense to slip through one of the barriers. For example, if you still have full life energy and a bunch of enemies is on your heels. Especially already wounded pursuers can be easily shaken off with this tactic. Or at least force them to use the adjacent ramps or jumppads, which in turn slows them down.
Two of the three energy cell drop zones on Aqueducts move along the ground.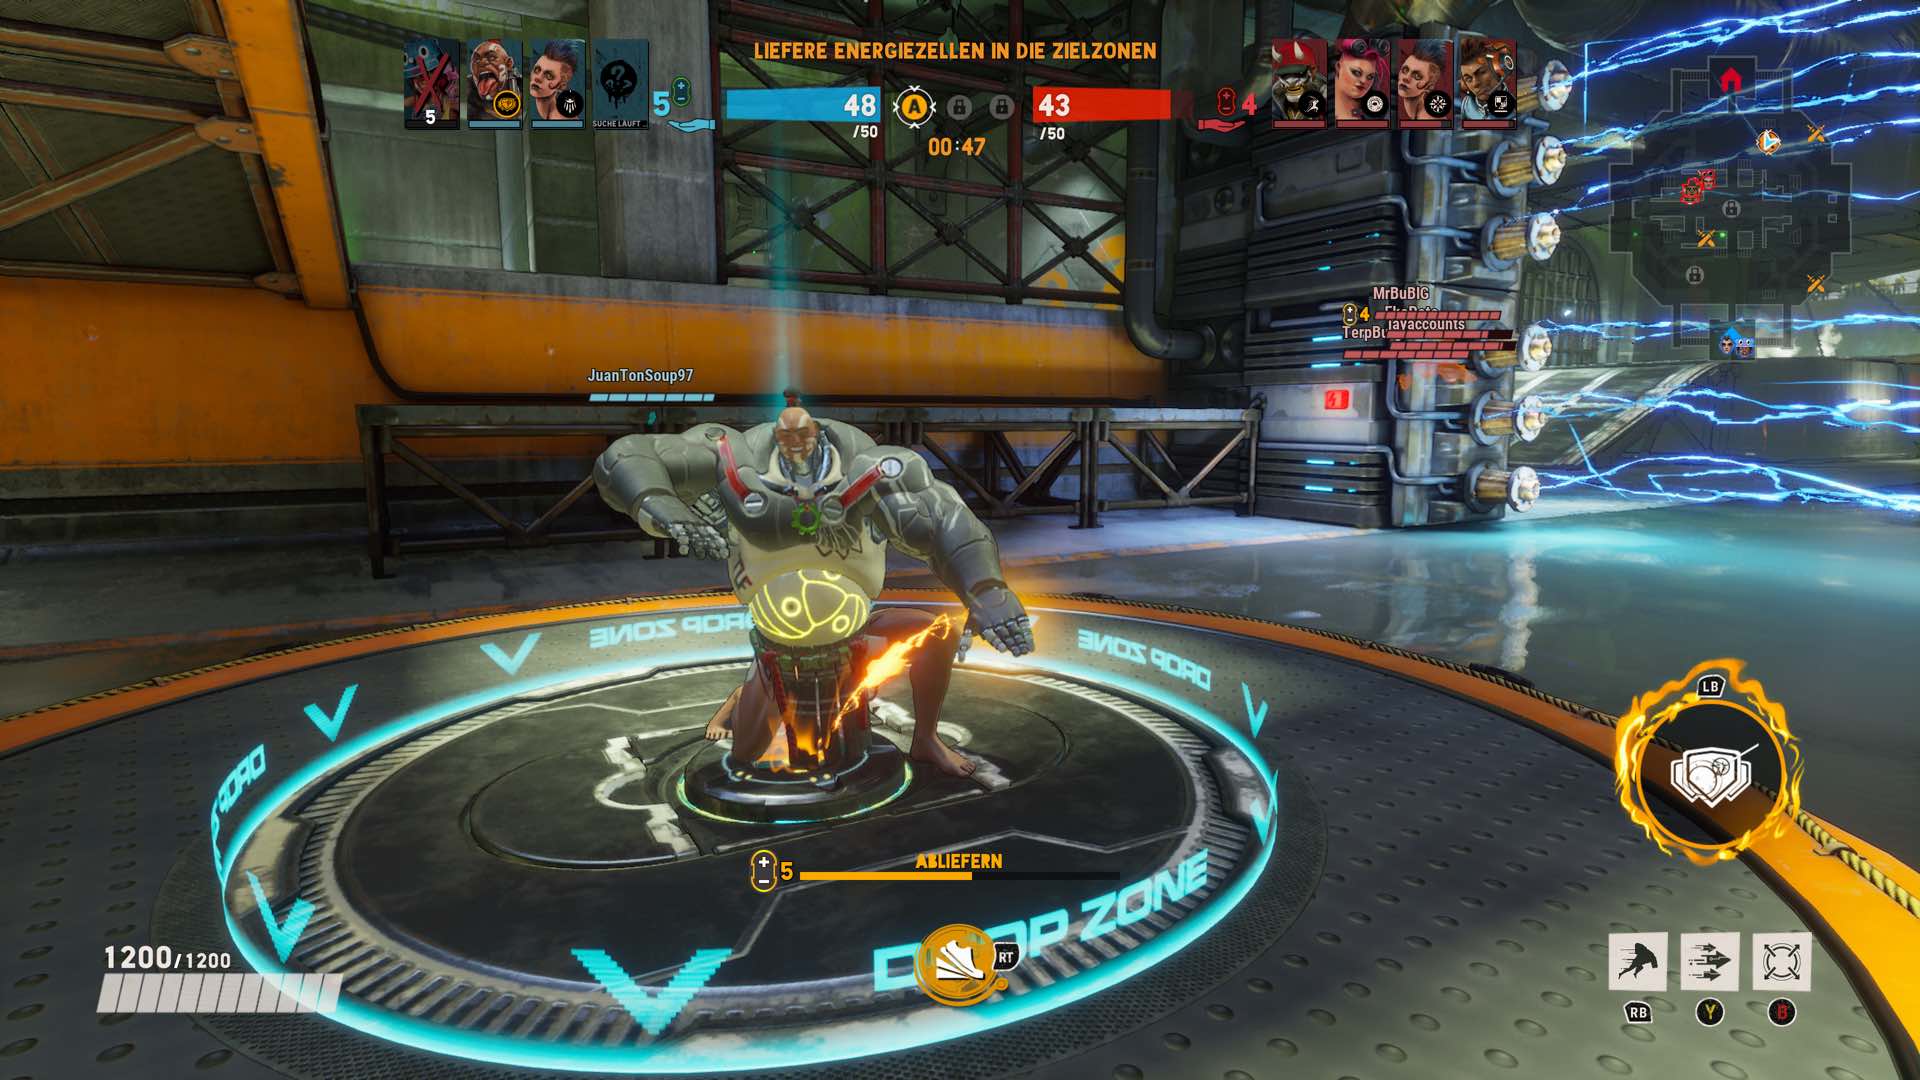
The second special feature of Aqueducts is the moving Drop Zones A and C in the Energy Collection game mode. The platforms follow the course of the outer water ring clockwise and regularly pass the lightning barriers. Conversely, this means that you will have the most time to collect Energy Cells at A and C whenever the corresponding Drop Zone has just moved through a Lightning Barrier.
You prefer to play ranged fighters on Aqueducts? Then memorize the two bridges in the center of the map one level above control point B. If you place yourself there, it's easy to attack enemies on the level below. Only jumping characters like Daemon, Cass, Gizmo or ZeroCool will be really dangerous.
Also, remember the locations of the healing containers. Ten are located in the outer ring of the map. Two more not far from checkpoint B and four in the adjacent rooms to B. Watch out: If a tank or DPS dealer is on your tail, you run the risk of being cornered in these rooms.
Skygarden - Map Guide
Skygarden takes place on the top levels of a skyscraper and confronts you with three checkpoints in both game modes. They are all located above a fire trap that can be activated with the help of a gong. Look for cables on the ground if you don't find the gong right away. Only activate a trap when someone is actually above it, as the effect only lasts for about 15 seconds.
Hit it and it burns: The gongs on Skygarden activate the associated fire traps.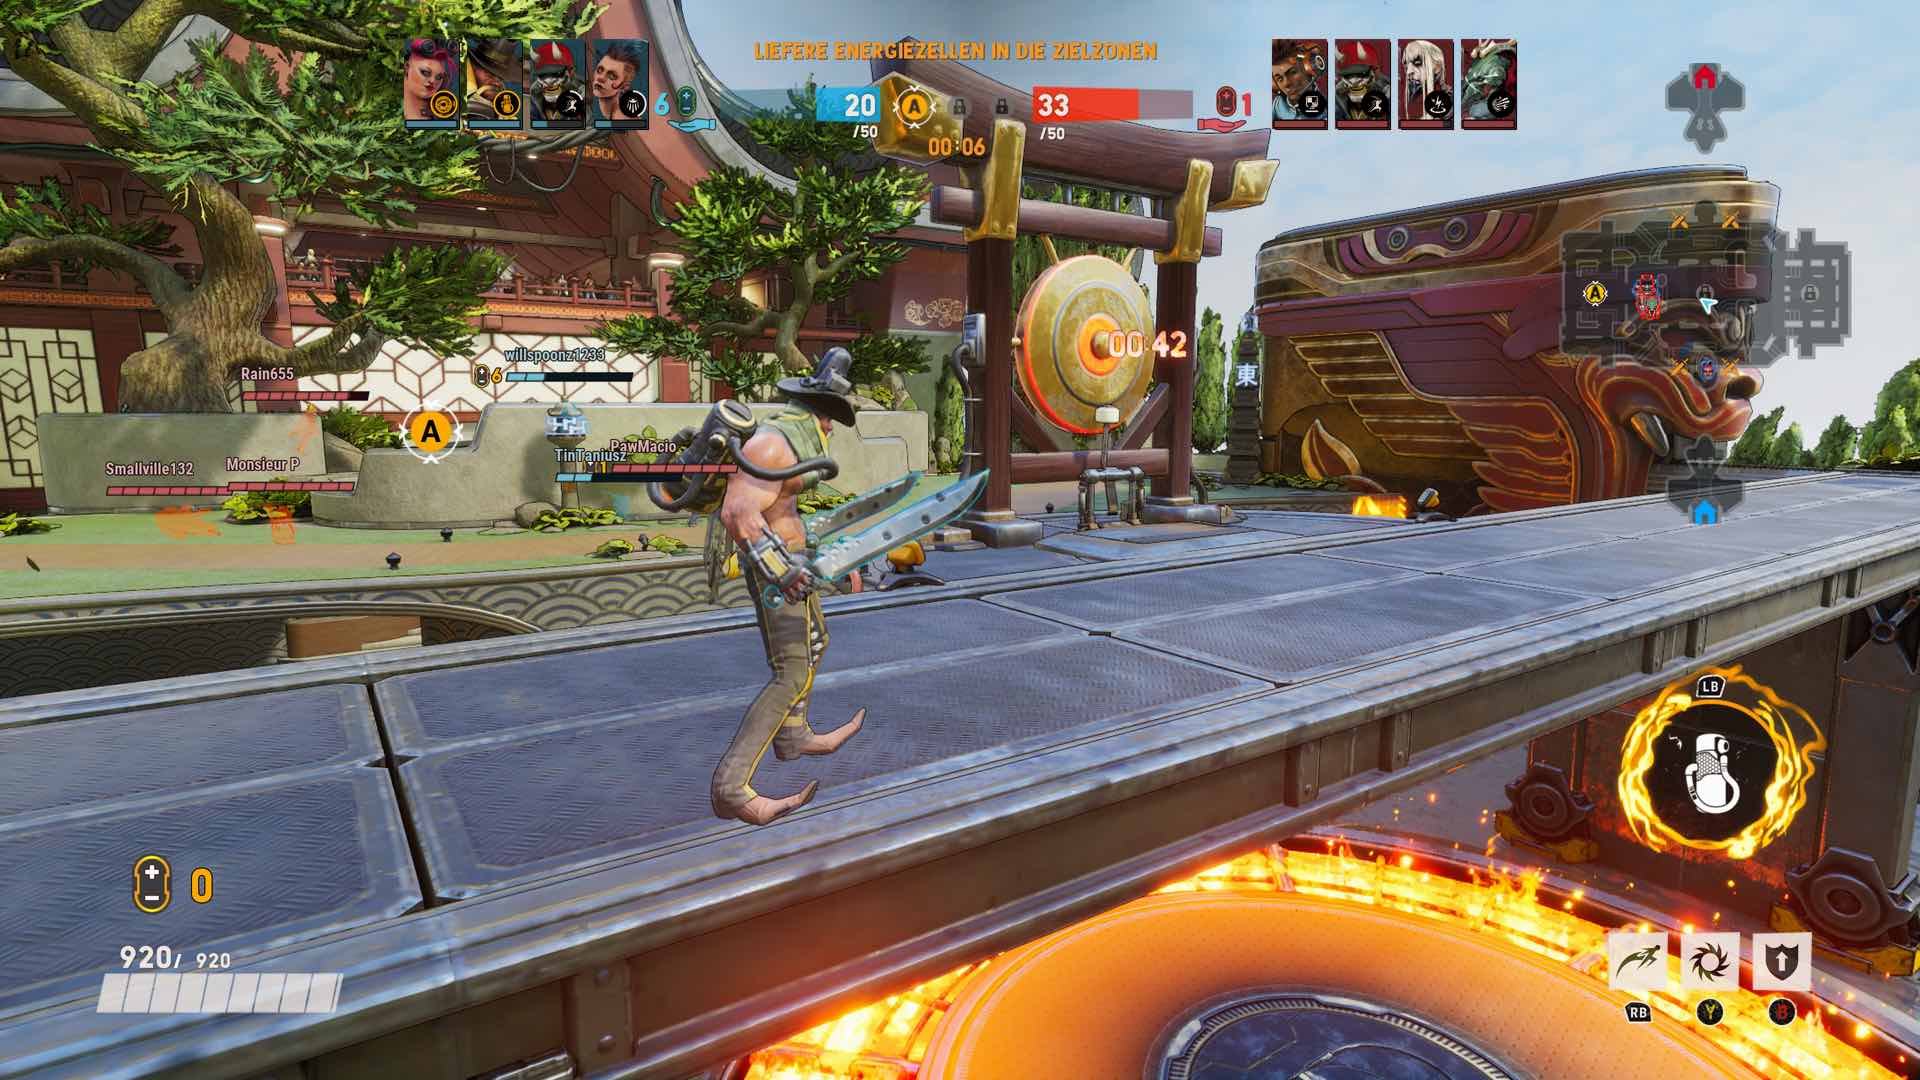
Once a trap has been activated, a nearly 1-minute cool-down follows until it becomes available again. You got caught in the fire of a checkpoint trap yourself? Don't worry: Both near A and C you will find green healing containers in the adjacent corridors. In the central area, however, the healing containers are placed to the left and right of each of the large staircases surrounded by hedges.
Skygarden is a relatively large map. If you are near A or C and want to get to the other end of the map quickly, it is recommended to use the yellow jump pads. You will find a jump pad at the end of each of the connecting corridors running north and south from the checkpoints mentioned above. Note: Just like the healing containers, the jump pads do not appear on the minimap.
Finally, a tip for all ranged fighters on Skygarden: To attack enemies from a distance, the canopies of the temples in the east and west of the map are particularly useful. The same applies to the platforms directly above checkpoints A and C.
Map: Jersey Sink - How to use the trains
This map off the coast of New York represents a sort of outsourced port facility. A maglev line runs horizontally through the center of the map. Approximately every two minutes, two trains pass through here, crushing everyone in their path. You'll know when the next train is about to pass as soon as the train line begins to glow orange. In addition, yellow arrows now indicate the direction of travel of the trains.
As soon as the trains pass through on the Jerey Sink map, yellow glowing arrows appear on the rails.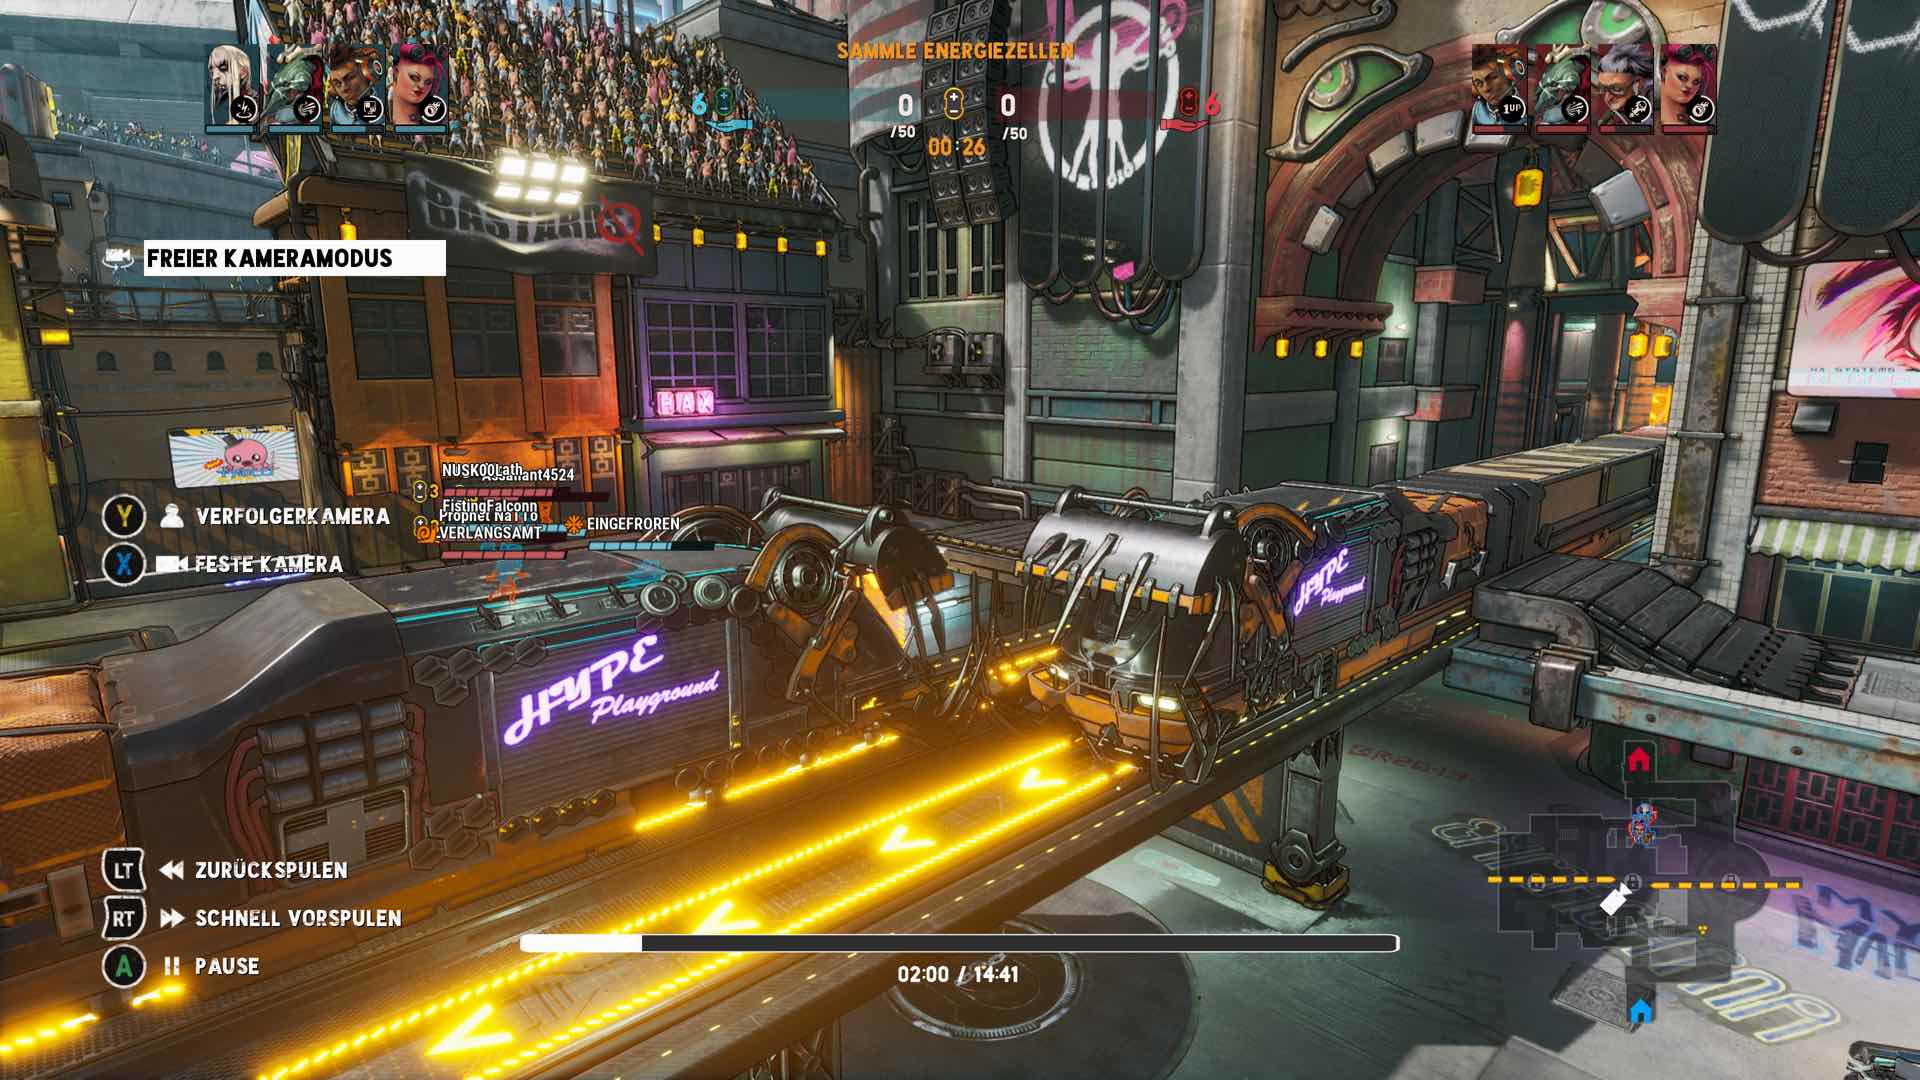
If a train is about to pass while you are fighting on the tracks, you should delay the fight for a while and then flee - seconds before the train rushes by. Opponents who have not noticed the danger are then quickly history. But a well-timed escape across the tracks can also be helpful to shake off pursuers.
Instead of dodging a train, you can also jump onto the wagons. But be careful: as soon as the train reaches the end of the map, you'll slam into the level boundary with full force. In Jersey Sink, you should also make good use of the jumping platforms, which can be found in many places. This way you can save valuable stamina and use it when you really need it.
Boneyard: Map Guide to the Aircraft Graveyard
Boneyard is an airplane graveyard surrounded by stands, which is divided into three areas - each with its own checkpoint. Boneyard's highlight: On average, four bombers fly over the map in direct succession every two minutes. Each bomber fires five missiles at the areas around the checkpoints. The missiles are only in the air for a few seconds, so you don't have much time to dodge them. To know where the projectiles will hit, look for the circular missile symbols on the ground.
Experienced fighters deliberately shift duels to the areas where missiles hit.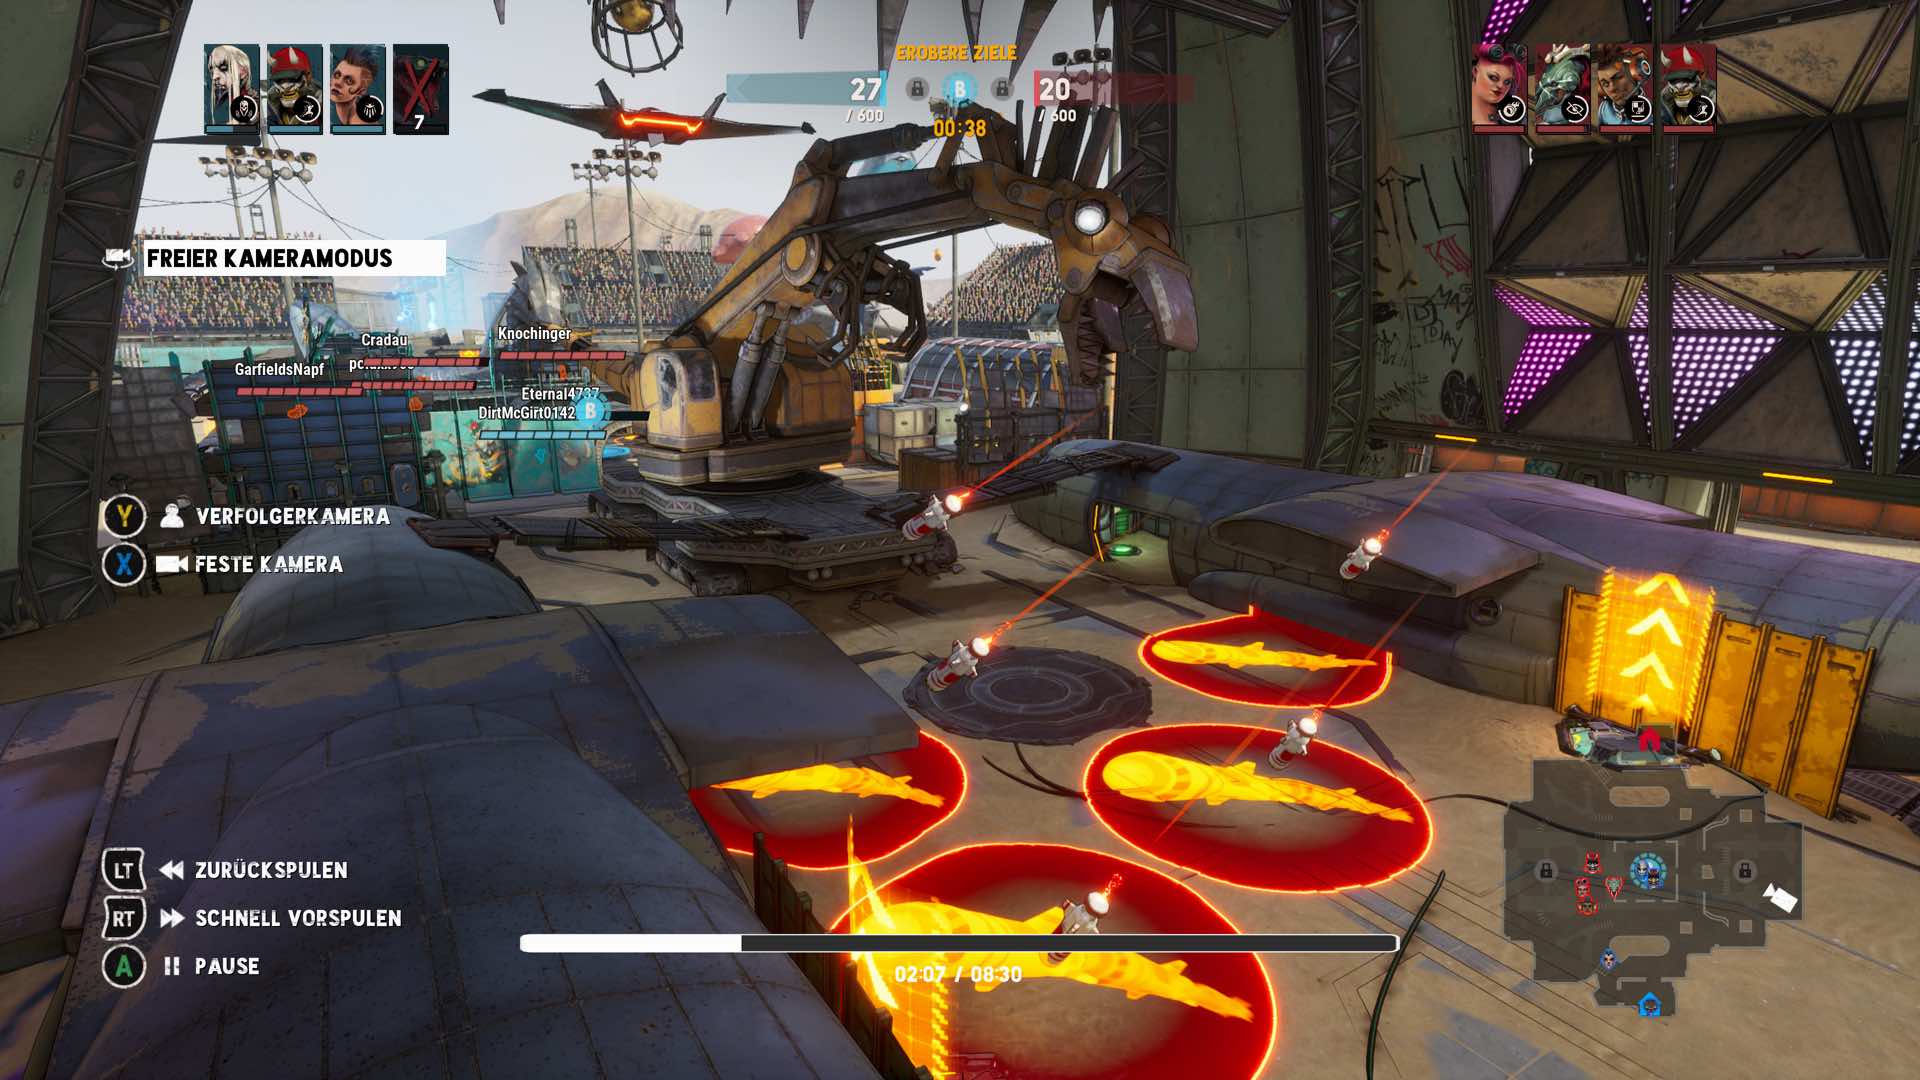
The impact locations are random, so memorization won't help. What you can do, however, is deliberately stay in the narrow areas between the target coordinates while engaging enemies in combat.
Advantage: Often your opponents get caught in the crossfire during such battles and are hit by the missiles. This is especially true if you freeze them at the right moment with special abilities (Miko), trap them with a cage (Maeve) and the like.
To better estimate when the next bombardment is coming in the hectic hustle and bustle, listen for the sound of a loud siren. As soon as it sounds, it usually takes only a few seconds for the first missiles to hit the ground. Are you a ranged fighter? Then stay more on the roofs of the plane wrecks.
Bleeding Edge - Map: Landslide
This light-filled Mexico map focuses on two rail lines in the central area. The first runs on an elevation in a circle directly around the control point in the center of the map. There is only one train on the way here. Rail line number two, on the other hand, spans the entire central area and is used by two trains that keep equal distances from each other.
The locomotives are nowhere near as fast as the ones on Jersey Sink, so they usually won't kill you immediately if you get rammed by them. Nevertheless, you should avoid head-on collisions to avoid being thrown meters through the air at an unfavorable moment and losing a third of your energy.
Important common feature of all trains: On their last wagon they transport a shimmering blue container. Destroying it will give you additional shield energy. If a battle has broken out near the central area, collect this valuable upgrade whenever possible. On the other hand, if the fight shifts towards checkpoint C, make sure to grab one of the two yellow damage booster containers in that area.
The positions of the three moves on Landslide are also indicated on the minimap by purple dots.
Another unique feature of Landslide can be found near control point A. Here, a ground platform rotates clockwise around a building. What at first seems like an unimportant detail can be used, among other things, to make quick changes of position, to throw off pursuers or to cause confusion in battles. If you're fighting inside the building, on the other hand, the four jump pads are your best lifeline when the air gets thin again.
More interesting guides:
- Bleeding Edge - The best tips & tricks for beginners
- Bleeding Edge - The ultimate character and class guide
- These 10 games you can easily play through in two weeks
- Bleeding Edge Achievements - The guide for all Achievements in Hero Multiplayer
Visit us on Facebook and Instagram and discuss your favorite games with us!