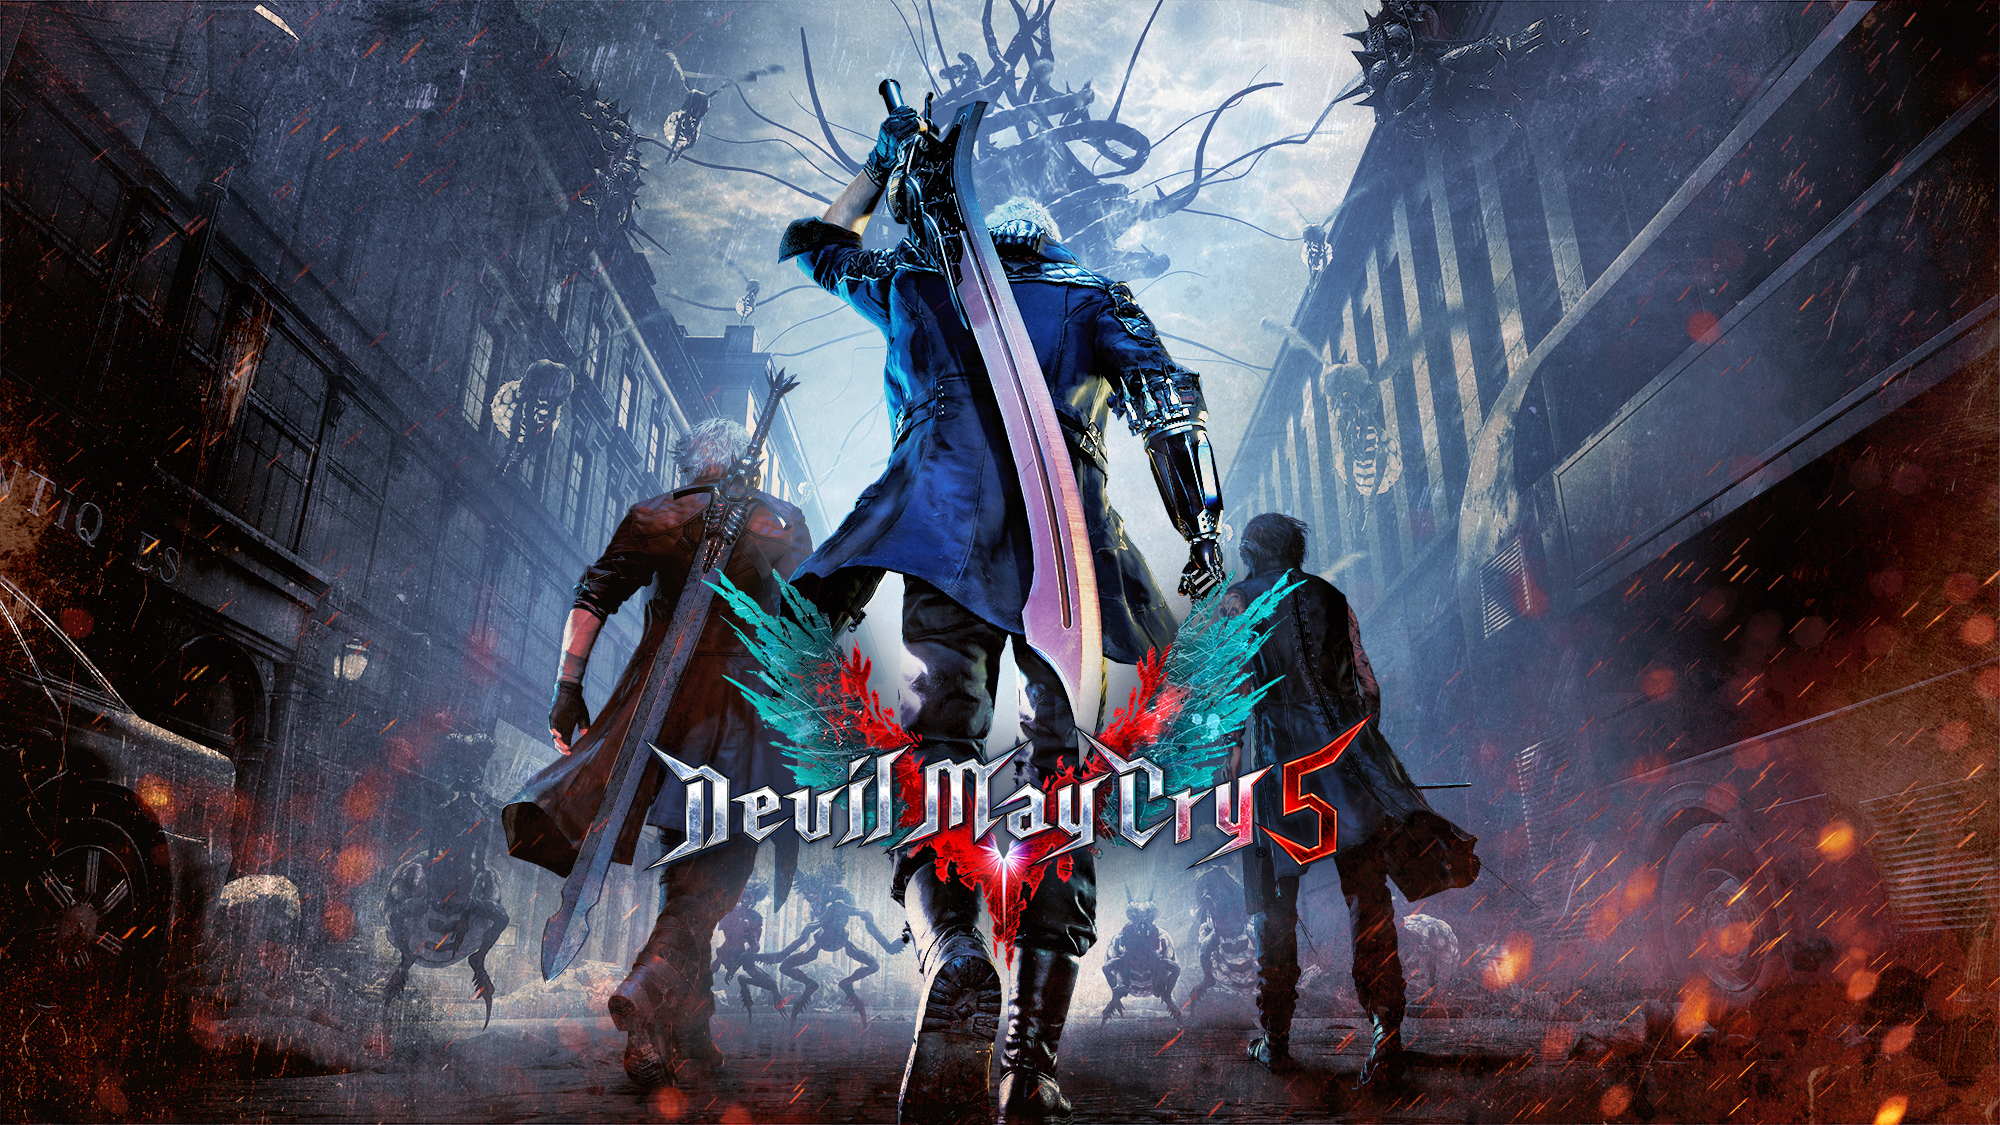
Devil May Cry 5 Final Bosses Guide: How to defeat them all!
In this Devil May Cry 5 guide, we'll tell you which bosses there are:
- which bosses there are
- how you can best defeat them
The game around Nero, Dante and V is packed with big and small enemies. In this guide, we'll take a look at the bosses that await you in the individual sections.
Since there are bosses that recur in a changed manner and the description of the enemies might tell you something, we would like to issue a spoiler warning at this point. Just scroll down to the boss you're looking for and don't read the different sections until you get to the appropriate part in the story.
Urizen - Prologue
Already in the prologue to DMC 5 the first boss awaits you, who seems invincible. Urizen has already kept Dante well in suspense and now you will swing your sword as Nero. Urizen is protected by a large crystal, which you can best finish off with Nero's gun. This boss has a lot going for it and will bombard you with lava and other attacks. Just try to hang in there as much as possible. You'll probably fail here in the first run, which is how Capcom intended it.
How you manage to trigger the secret ending directly in this section, we will tell you in the matching guide.
Qliphoth Roots - Mission 1
Qliphoth Roots doesn't really seem like a boss, but it is counted as one. To defeat him, it is recommended that you keep your distance and attack from afar. You should avoid his attacks, otherwise there is little to pay attention to. Just hit him and kill him!
Goliath - Mission 2
Big, ugly and with a belly full of lava: that's Goliath. The giant enemy looks scary and has a high number of health points, which you should minimize. He appears very early in the game and for this reason is very slow to give you a chance. There are two options here. If you want to enjoy the show with him a bit, you can keep attacking the big guy with the revolver from a safe distance. Since Nero's gun can be recharged, you'll do passable damage here.
However, if you want to challenge yourself a bit more and are into thrills, go for close combat. Standing in front of Goliath isn't a particularly good idea, but if you always stay behind him, you should be safe. He throws objects around, so be careful! If you jump in the air and attack him with a combination of Devil Breaker (e.g. Overture) and Revolver, you'll get a good Stylish rank.
Artemis - Mission 3
With Artemis the game gets a bit more difficult, because this boss can fly. This makes it much more difficult to reach him. Also, Artemis is able to summon small minions (drones) to protect him.
It is possible to shoot these drones. However, they will then transform and chase you to explode. This causes a lot of damage. Since they only slightly hinder you, we recommend simply ignoring the flying helpers as much as possible.
Since you are facing Artemis with Nero, you can use the Devil Breaker play. Gerbera is a good choice here to perform cool attacks in the air. You should also already have the double jump at this point. That makes things easier.
Artemis will start floating in the air after a while and glow brightly. At this point in the battle, the drones play an important role. They serve as nodes for your grappling hook, which you can use to get close. Now is a good moment to hit your opponent. Because if you miss this chance, Artemis will unleash a powerful attack.
From now on, Artemis is much stronger and you should pay even more attention to dodge the attacks. Repeat the previous steps and victory will soon be on the side of the demon hunters.
Nidhogg - Mission 4
As in the beginning of the game, tentacle arms are in the way here. Since they are not particularly strong, they make a good target to start this fight. However, if you attack the Nidhogg boss directly, you will damage him more. He himself doesn't have any dangerous attacks and you will be able to dodge his attacks well.
Griffon is especially helpful in this fight. V's flying pet can be equipped with buffs (e.g. L2 square / LT X). With this, you are able to hurl lightning bolts that will hit the big boss over a wide area, but also his tentacles.
Once you've wiped out the tentacles, however, Nidhogg will be immobilized for a short time. This is your chance! Hit him hard and soon you'll be happy about the victory.
Elder Geryon Knight - Mission 5
In this battle you will face the evil one with V. He can hit both demon beasts with one blow and is therefore a serious opponent. However, he must first charge up to do so. So if you very much like how he prepares, you should take Griffon and Shadow out of the line of fire. The skill Vigor 2 is especially helpful for both of V's pets. If you have trouble with this boss, unlock these skills first.
Image gallery

An ace in the hole is always the third demon of V: Nightmare. If you call him onto the field, he heals Griffon and Shadow automatically.
By the way, you'll get a trophy if Shadow and Griffon survive the fight without going down. So always keep their health meter as high as possible and use them to dodge the knight's attacks.
Scrap Demon - Mission #6
Mission #6 continues directly with a boss. The huge crab has clearly visible points on its legs, which you should attack first. With the grappling hook Nero can easily pull himself towards it.
On the back it goes then further. A red lump really tempts you to attack there. The more you maltreat this point, the faster the points of the Scrap Demon go down. However, he doesn't find this funny at all and will throw you off quite quickly.
He now hides his sore spot on the back, but the ones on the legs reappear. So just keep going like this and stay away from the spikes on his back. They will shoot at you with explosive projectiles. Double jump is again a useful skill here.
Urizen #2 & Urizen #3 - Mission 10
Remember the encounter with Urizen from the prologue? Here you will face the vicious monster again. You can use all your weapons and play really well - but you will lose this fight 100%. Sorry!
Cavaliere Angelo - Mission 11
For this fight we would like to recommend blocking. Each block will cost you a bit of the Devil Trigger bar, but it's essential to winning here. Also, the bar will fill up again as soon as you attack.
Wait for his attacks and then go on the attack yourself with the Stinger ability (left analog stick up and triangle / Y). If you do this often enough, Angelo will run away and prepare a strong attack. If you picked up the Kalina Ann Rocket Launcher earlier in this level, you can now attack him with it. You can find it in one of the first rooms in the ruins.
Urizen #3 - Mission 12
Still not fed up with the chief villain Urizen? Then here's your chance to kick his demon butt. If you're brave, you can switch to melee combat - but it's extremely dangerous. Keeping your distance and shooting with the Kalina Ann Rocket Launcher is a relatively safe strategy.
Dodge the tentacles and just hit back. Once the Devil Trigger is full, use it for your Devil Form. This gives you the opportunity to get in close and really dish out damage. Best save it for the large crystal that Urizen summons for protection.
Source: Capcom / Devil May Cry 5
Mission 14 & 15
Three different bosses await you in this mission. They are not particularly strong and can be kept in check well with the usual combinations.
Cerberus - Mission 16
You have practiced the Devil Form in Urizen - here you will need it again. Cerberus is capable of fire, ice and lightning type attacks, which he uses alternately. If at all possible, fill up your Devil Trigger bars completely before the fight.
Cerberus' heads are vulnerable, so go for those first. Then you can attack directly and do as much damage as possible with everything at your disposal. The best way to soften up the attacks is to refill the second Devil Trigger bar to take Devil Form. If you use this ability at the right moment, you should be able to beat Cerberus.
Urizen Evolved - Mission 17
Urizen is not completely dead yet. In his transformed form, it's best to get behind him and attack him with various attacks from the air. You've probably learned the double jump by this point in the game. His strategy is similar to the beginning, so you're used to it and just dodge his attacks.
Nightmare - Mission 18
Here you will face V's demonic pets. Focus on Nightmare, because the other two will keep coming back.
Source: Capcom / Devil May Cry 5 / Dante
Vergil - Mission 19
As Dante, you'll face Vergil for the first time. His attack pattern is not easy to figure out, so try to follow his movements with concentration. Dante's Devil Sword is the best choice for this fight. Blocking and the skill Stinger are the combination to win, because Dante comes so dangerously close to the opponent.
Attack Vergil best when he is through with his attack combo and has preferably not hit you. At some point he teleports away - if he comes back, it rains an attack directly. So block directly!
At some point Vergil will call a clone, which you can best counter with Ebony & Ivory. You can safely leave slow weapons here. The second Devil Form is also a waste in the fight against Vergil & the clone. Here you simply have to be fast and use it only as soon as the opponent is immobilized for a short time.
Vergil #2 - Mission 20
You are now practiced with Vergil and know his attacks - that's good, because now you have to fight him with Nero. The tactics remain the same.
After this fight you've done it!
We want YOU on Facebook! Become a part of our community and stay up to date.